
Review: Simon Hope Demo – Sunday 28th June, 2026
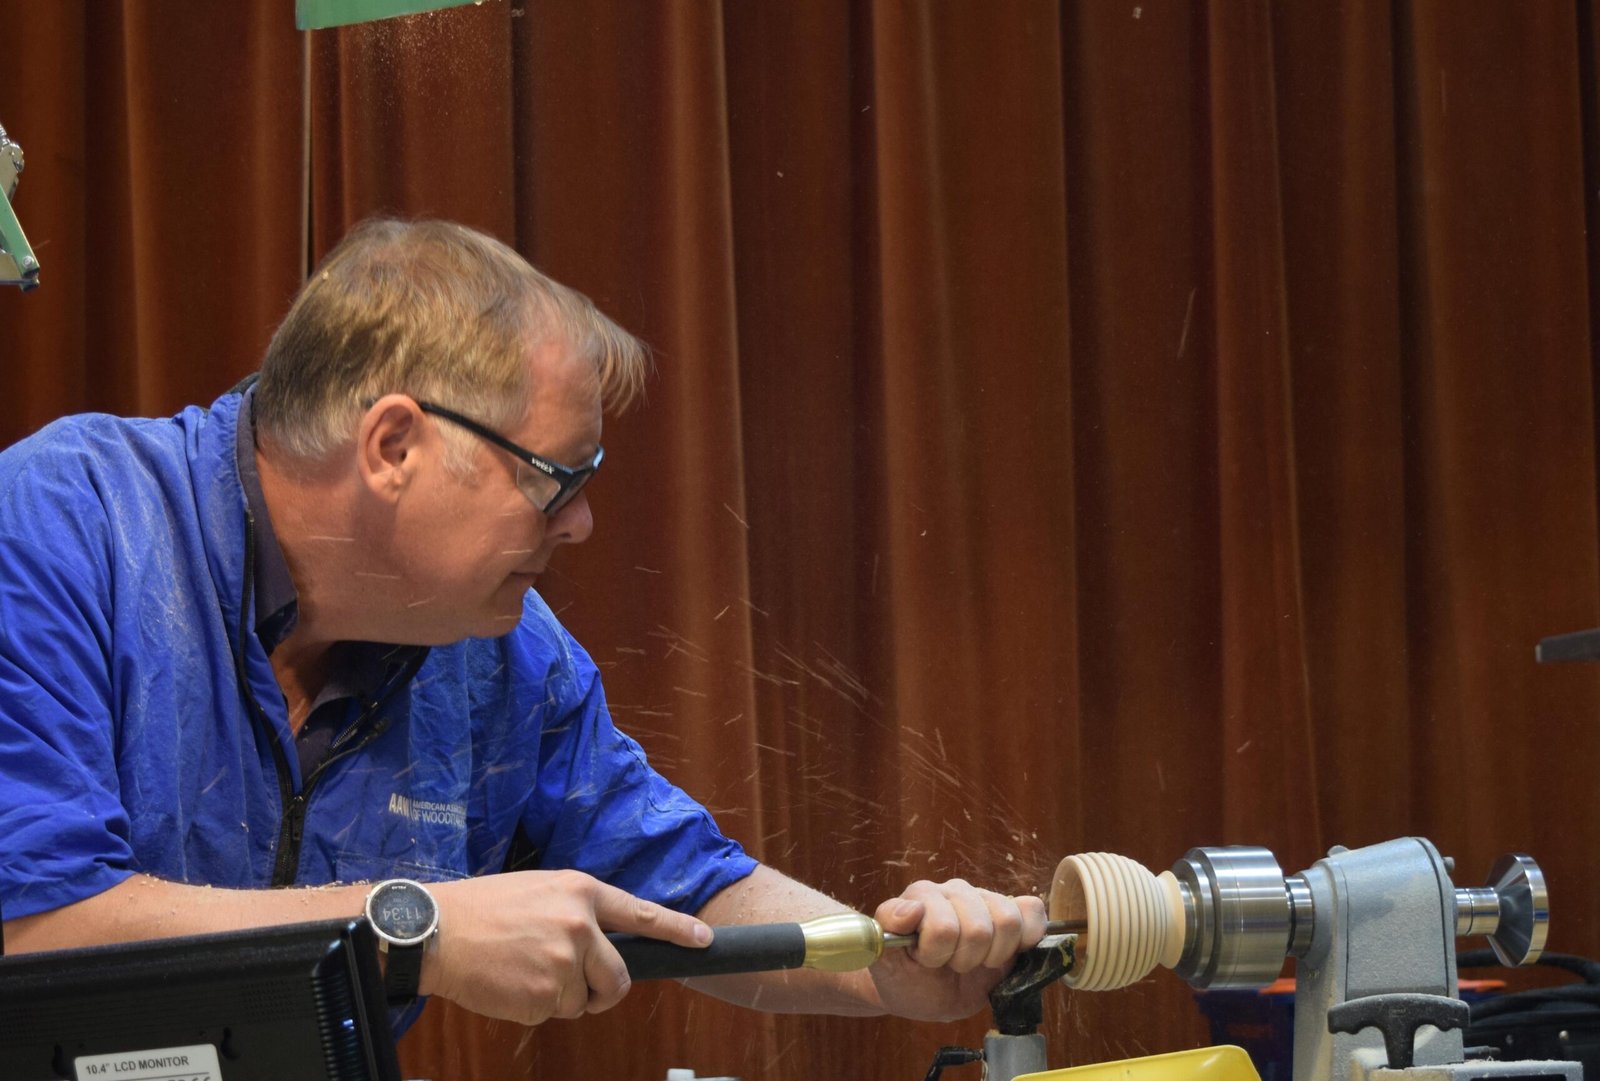
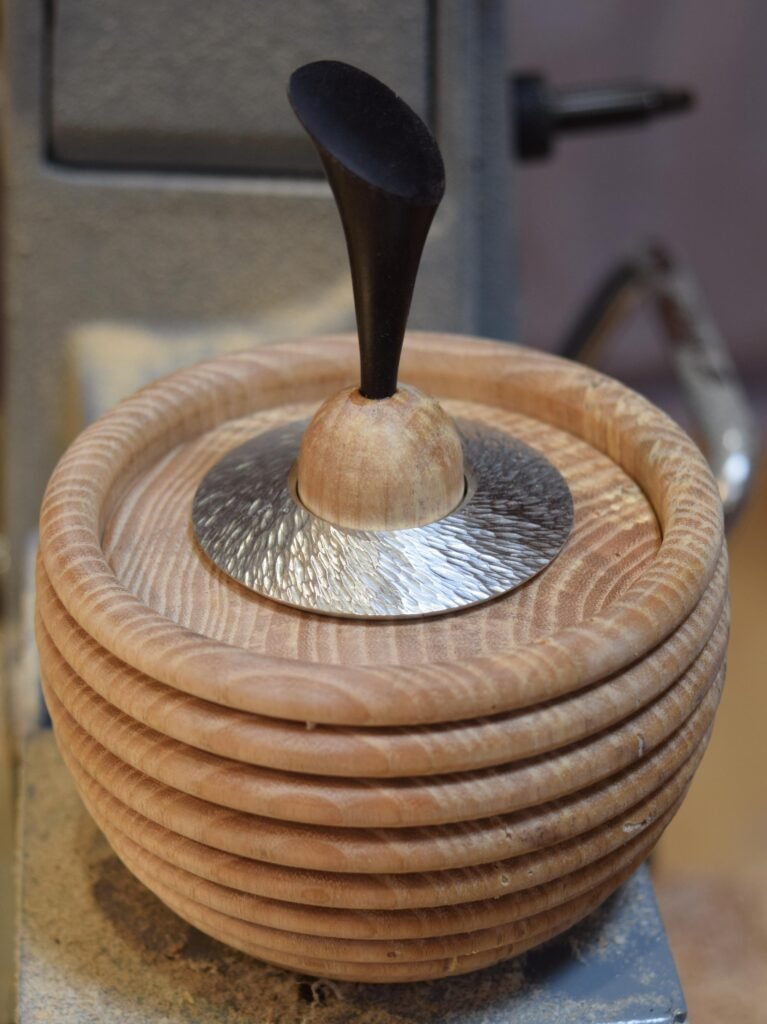
Box with Final and Pewter Inlay
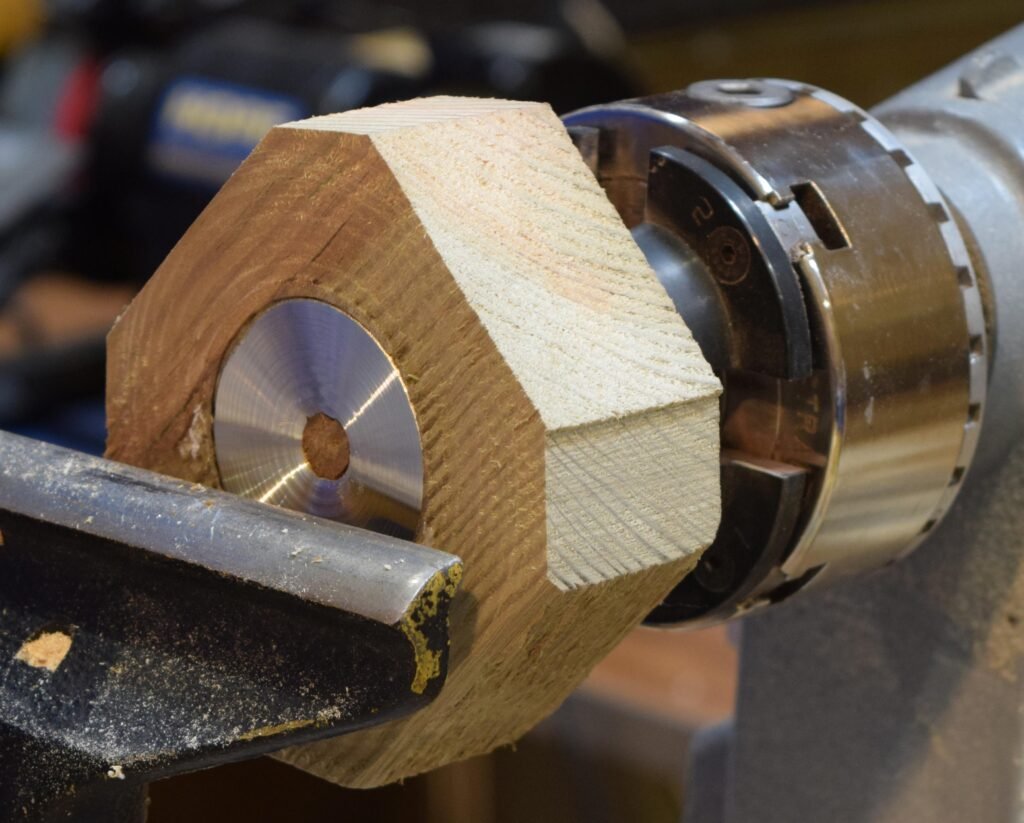
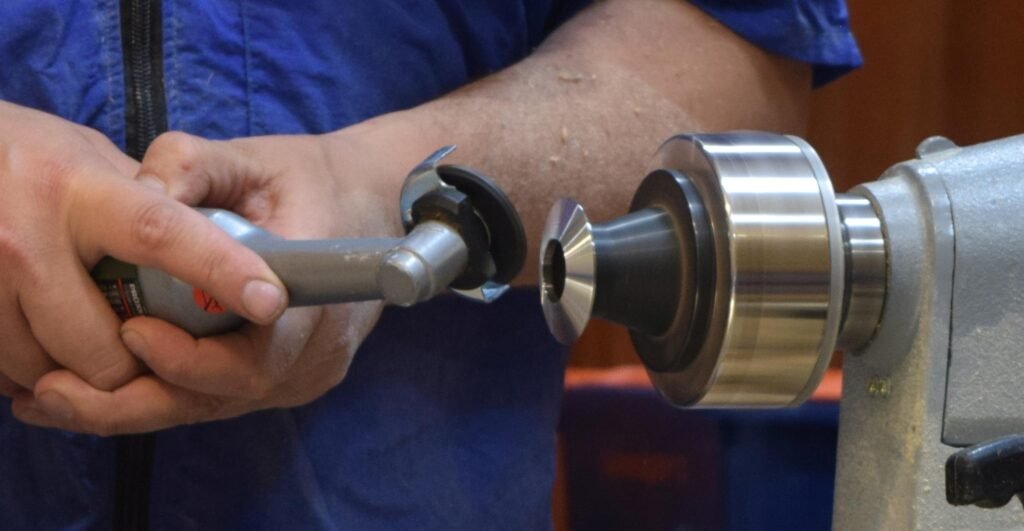
Make a mould for the pewter (S or jewellery grade) turned using a very dry piece of wood. Melt in an aluminium pan. Pour into the mould. Keep it still while cools. Simon turned this first to allow the pewter to cool, but normally he would turn this after the recess in the piece has been created so that it can be sized. The pewter needs to be larger than required to allow for cleaning up the insert.
For the box Simon used an ash spindle blank 4”X6” which was longer than required. Turn round and add a tenon. Mount in a chuck. Simon parted off a piece which wasn’t required.
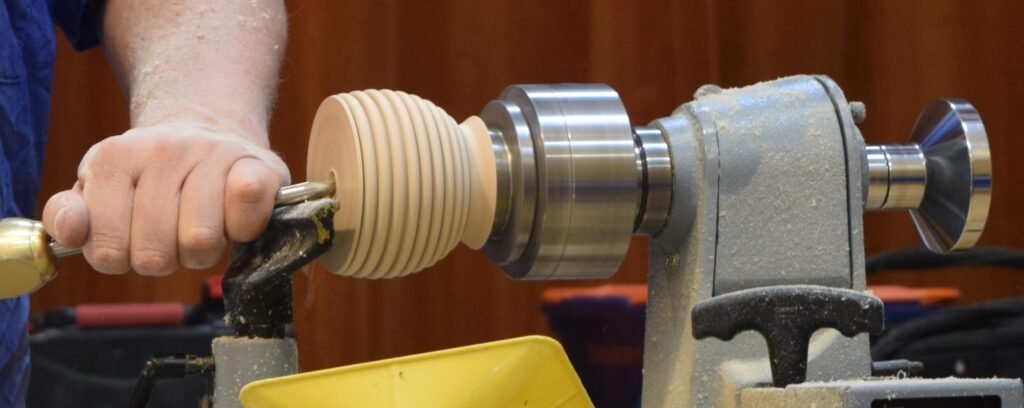
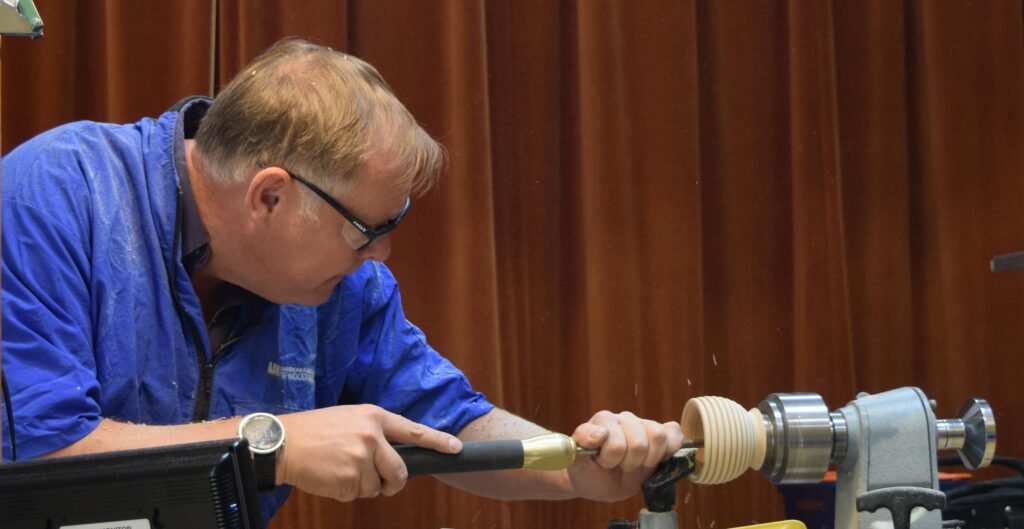
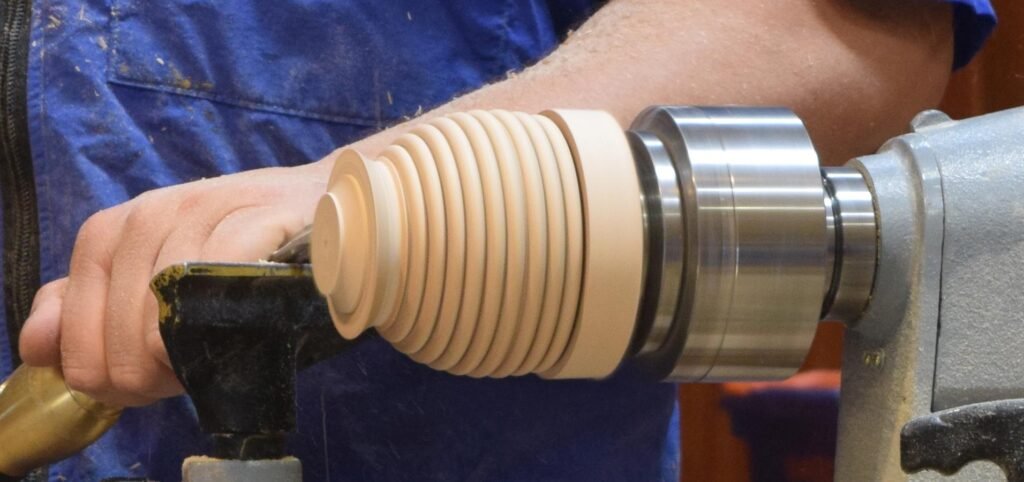
Shape the outside of the box. Simon applied some beads using a beading tool. Keep the tool perpendicular to the box shape. Sand the beads where necessary.
Remove the centre core using a drill or spindle gouge. Simon showed how to hollow using a spindle gouge but moved onto the Hope hollower.
Create a shoulder inside the box for the lid and round the outer lip blending in the first bead. Clean up the inside. Sand. Simon sanded using abrasive on a velcro pad attached to a stick and mineral oil and beeswax paste.
Next turn the lid. Round the piece, create a tenon and hold in a chuck. Create a tenon to hold the box tightly. Turn off the tenon from the box. Simon added one more bead. Create an undercut so the box will sit on the first bead. Decorate the bottom. Remove the finished box.
Create a recess, size the lid, and shape as much as possible. Hold in a chuck using the recess. Create a tenon for the pewter insert. Mark a centre point and drill a hole for the finial.
Put a ring of CA glue to hold in the pewter insert. Apply activator and allow sufficient time for the CA glue to set.
Mount the pewter in the waste wood back on the chuck. Clean up and flatten the insert using a gouge. This will be the hidden part of the insert. Measure a recess for the chuck jaws using a Vernier. Carefully create a recess a few millimetres deep using a gouge, don’t attempt to dig in.
Next size the centre hole to match the spigot on the lid. Hold the insert in the chuck. Reduce the weight of the insert, removing at least half the thickness. Use shear cuts with a gouge.
Texture using a Proxon tool. Just tickle the surface at 45 degrees. Chamfer the inside and outside edges. Polish using wire wool. Can be lacquered if required. Could also use a Elf, chatter tool, or texturing tool.
Make a conical finial. Turn a cone shape with a point to fit the hole in the lid. Add grooves for glue. Part off at an angle. Sand. Assemble.
Tape measure holder
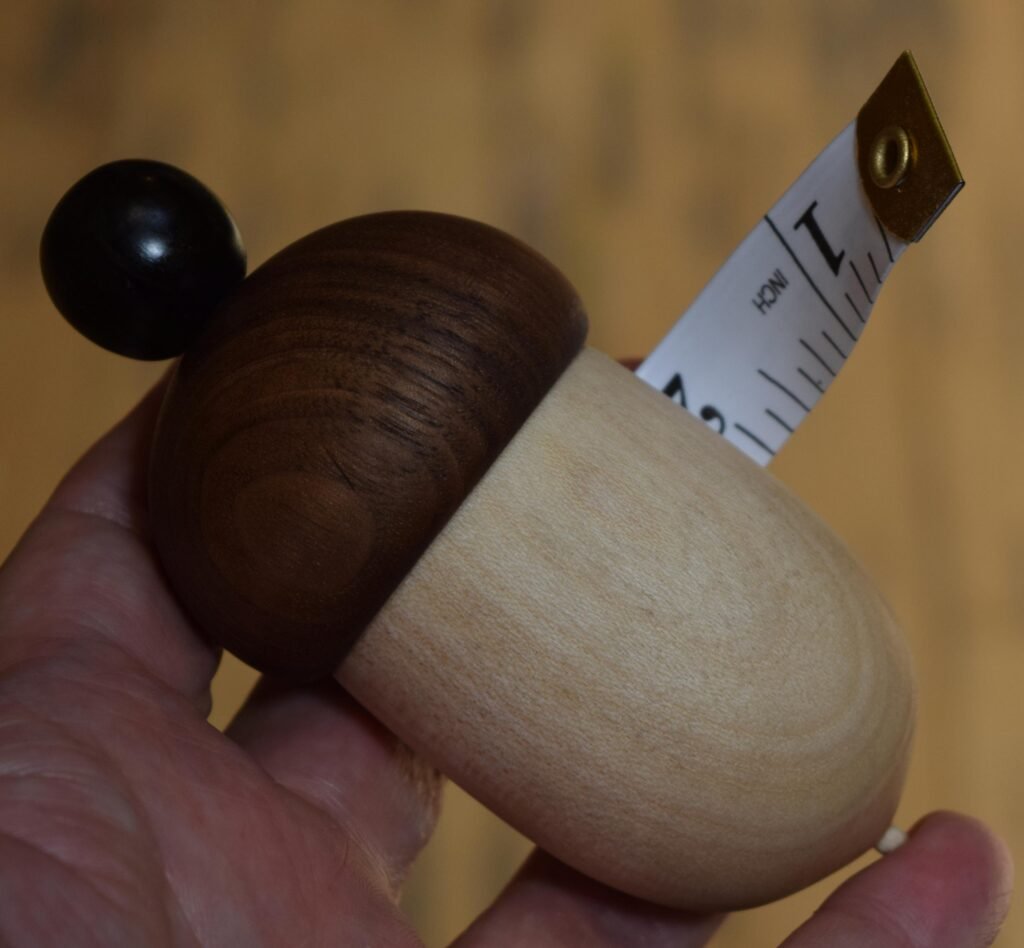
Simon rounded two 2” spindle blanks, sycamore and ash. Mount the first in a chuck. Mark 10mm in plus width of the tape. Hollow out to required depth. Drill a 6mm hole to fit a hardwood dowel.
Create the female thread. Simon used his jig. Shape the holder. Simon did an acorn. Want a wall thickness of 3-5 mm. Part off.
Mount the second piece. Round. Measure the inside of of the female thread and add the thread depth. Mark the diameter on the piece. Turn a tenon to that diameter and create a clearance recess at the bottom of the tenon. Add some CA glue to the tenon. Apply accelerator. Cut the male thread.
Use the piece as a chuck and screw on the the first piece. Finish the bottom of the acorn. Sand and part off.
Use the remaining wood in the chuck to create a jam chuck. Finish the top of the acorn.
Drill a hole 6.5mm (allow dowel to rotate) all the way through.
Turn a small spherical knob from blackwood with a 6mm hole to fit the dowel. Glue the dowel to the knob. Hold in a wood chuck with a hole. Finish the knob.
Now make two slots using a Silver line slot drill held in a chuck. Attach the tape to the dowel using CA glue making sure it fits in right position.. Fill in the empty slot with CA. Apply lemon oil or similar.
Bowl in a Bowl
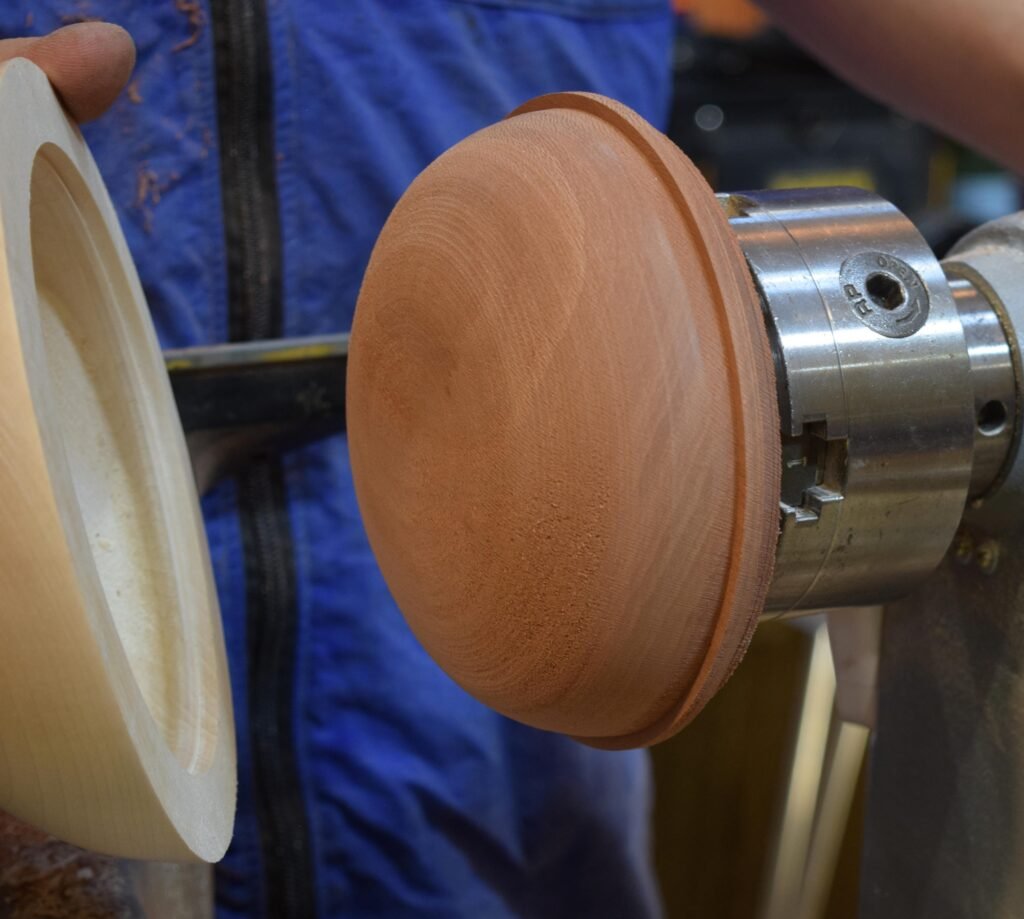
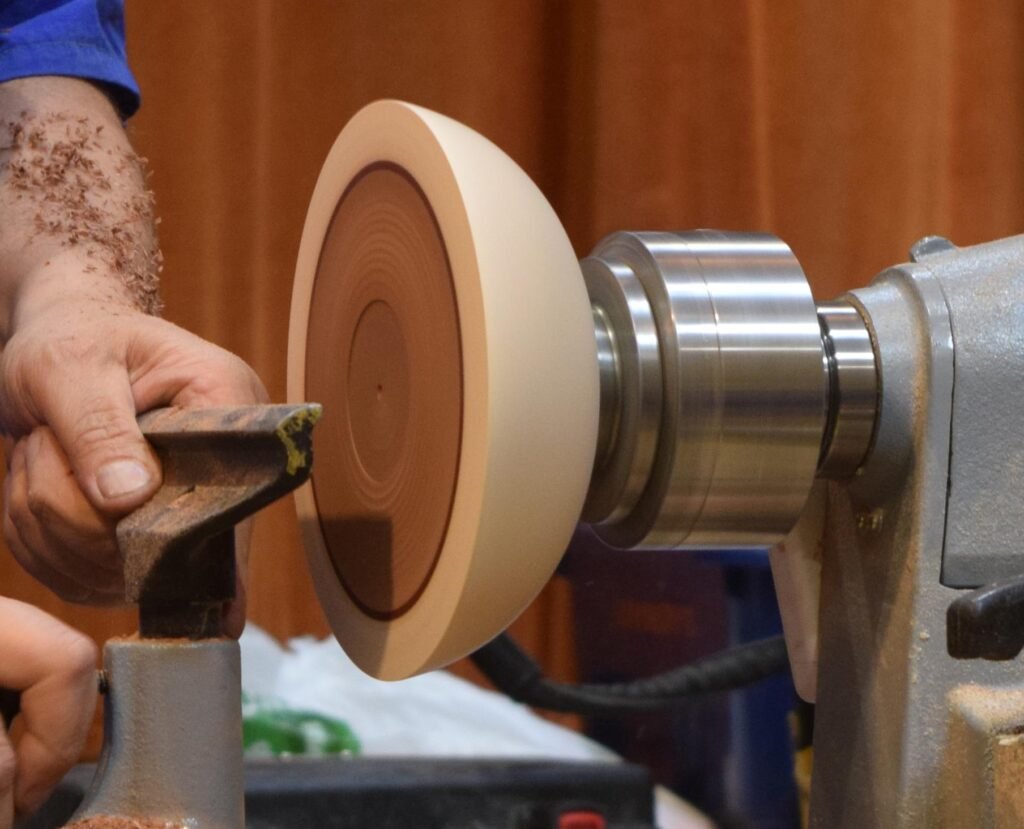
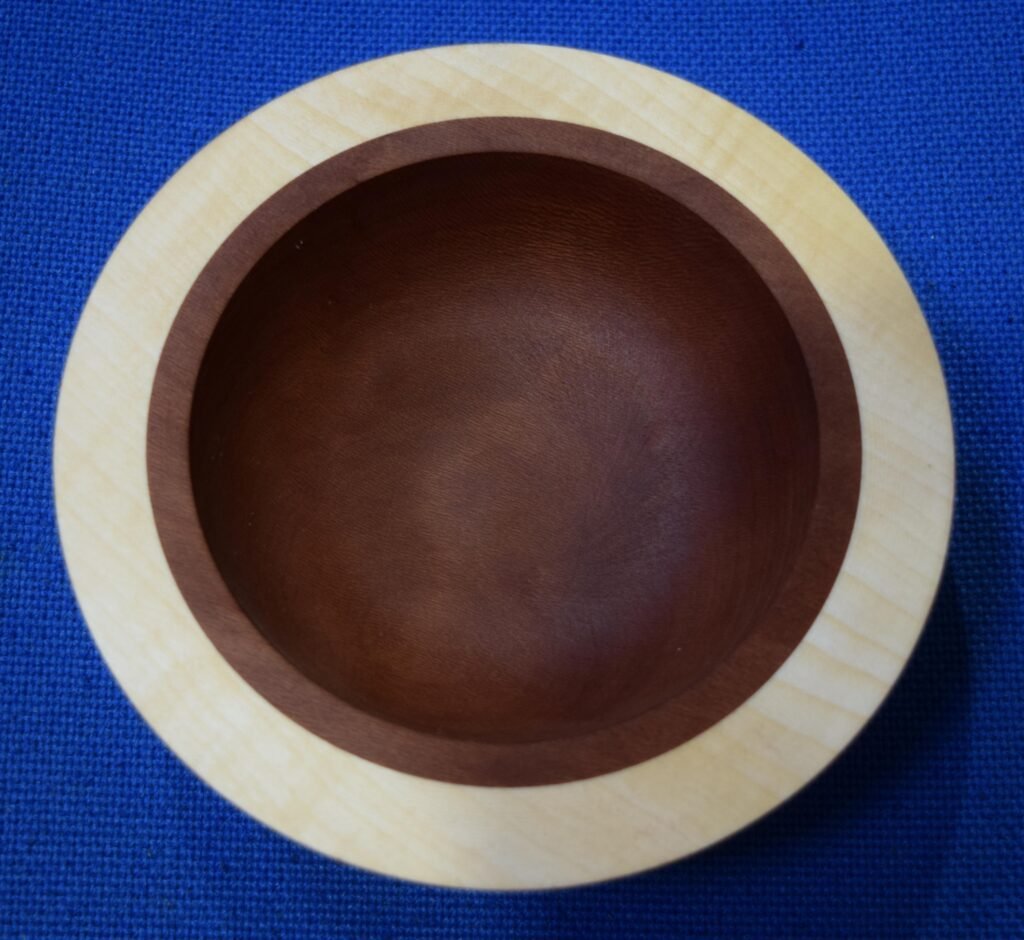
Round two bowl blanks of different sizes held in a chuck by a recess. Turn the outside of a bowl with a tenon. Hold in a chuck by the tenon. Hollow out the bowl . Simon used his 6mm hollower to get an undercut and to reduce the wall thickness to 6mm.
Tidy up the face of the rim and ensure that the opening is parallel. Create a recess shoulder. Make sure to undercut clearing away the material behind the opening.
Mount the second bowl. Create a shoulder to fit the recess in the first bowl. Depth needs to be correct too. Test fit. Beware it might not fit because of the bowl shape.Measure the depth of the inner bowl.
Glue together using CA glue to the inner rim. Apply extra CA to the joint. Apply accelerator.
Hollow out the bowl keeping a watchful eye on the bowl depth. Sand and finish.