Review: Mark Beckett – Sunday 20th July, 2025
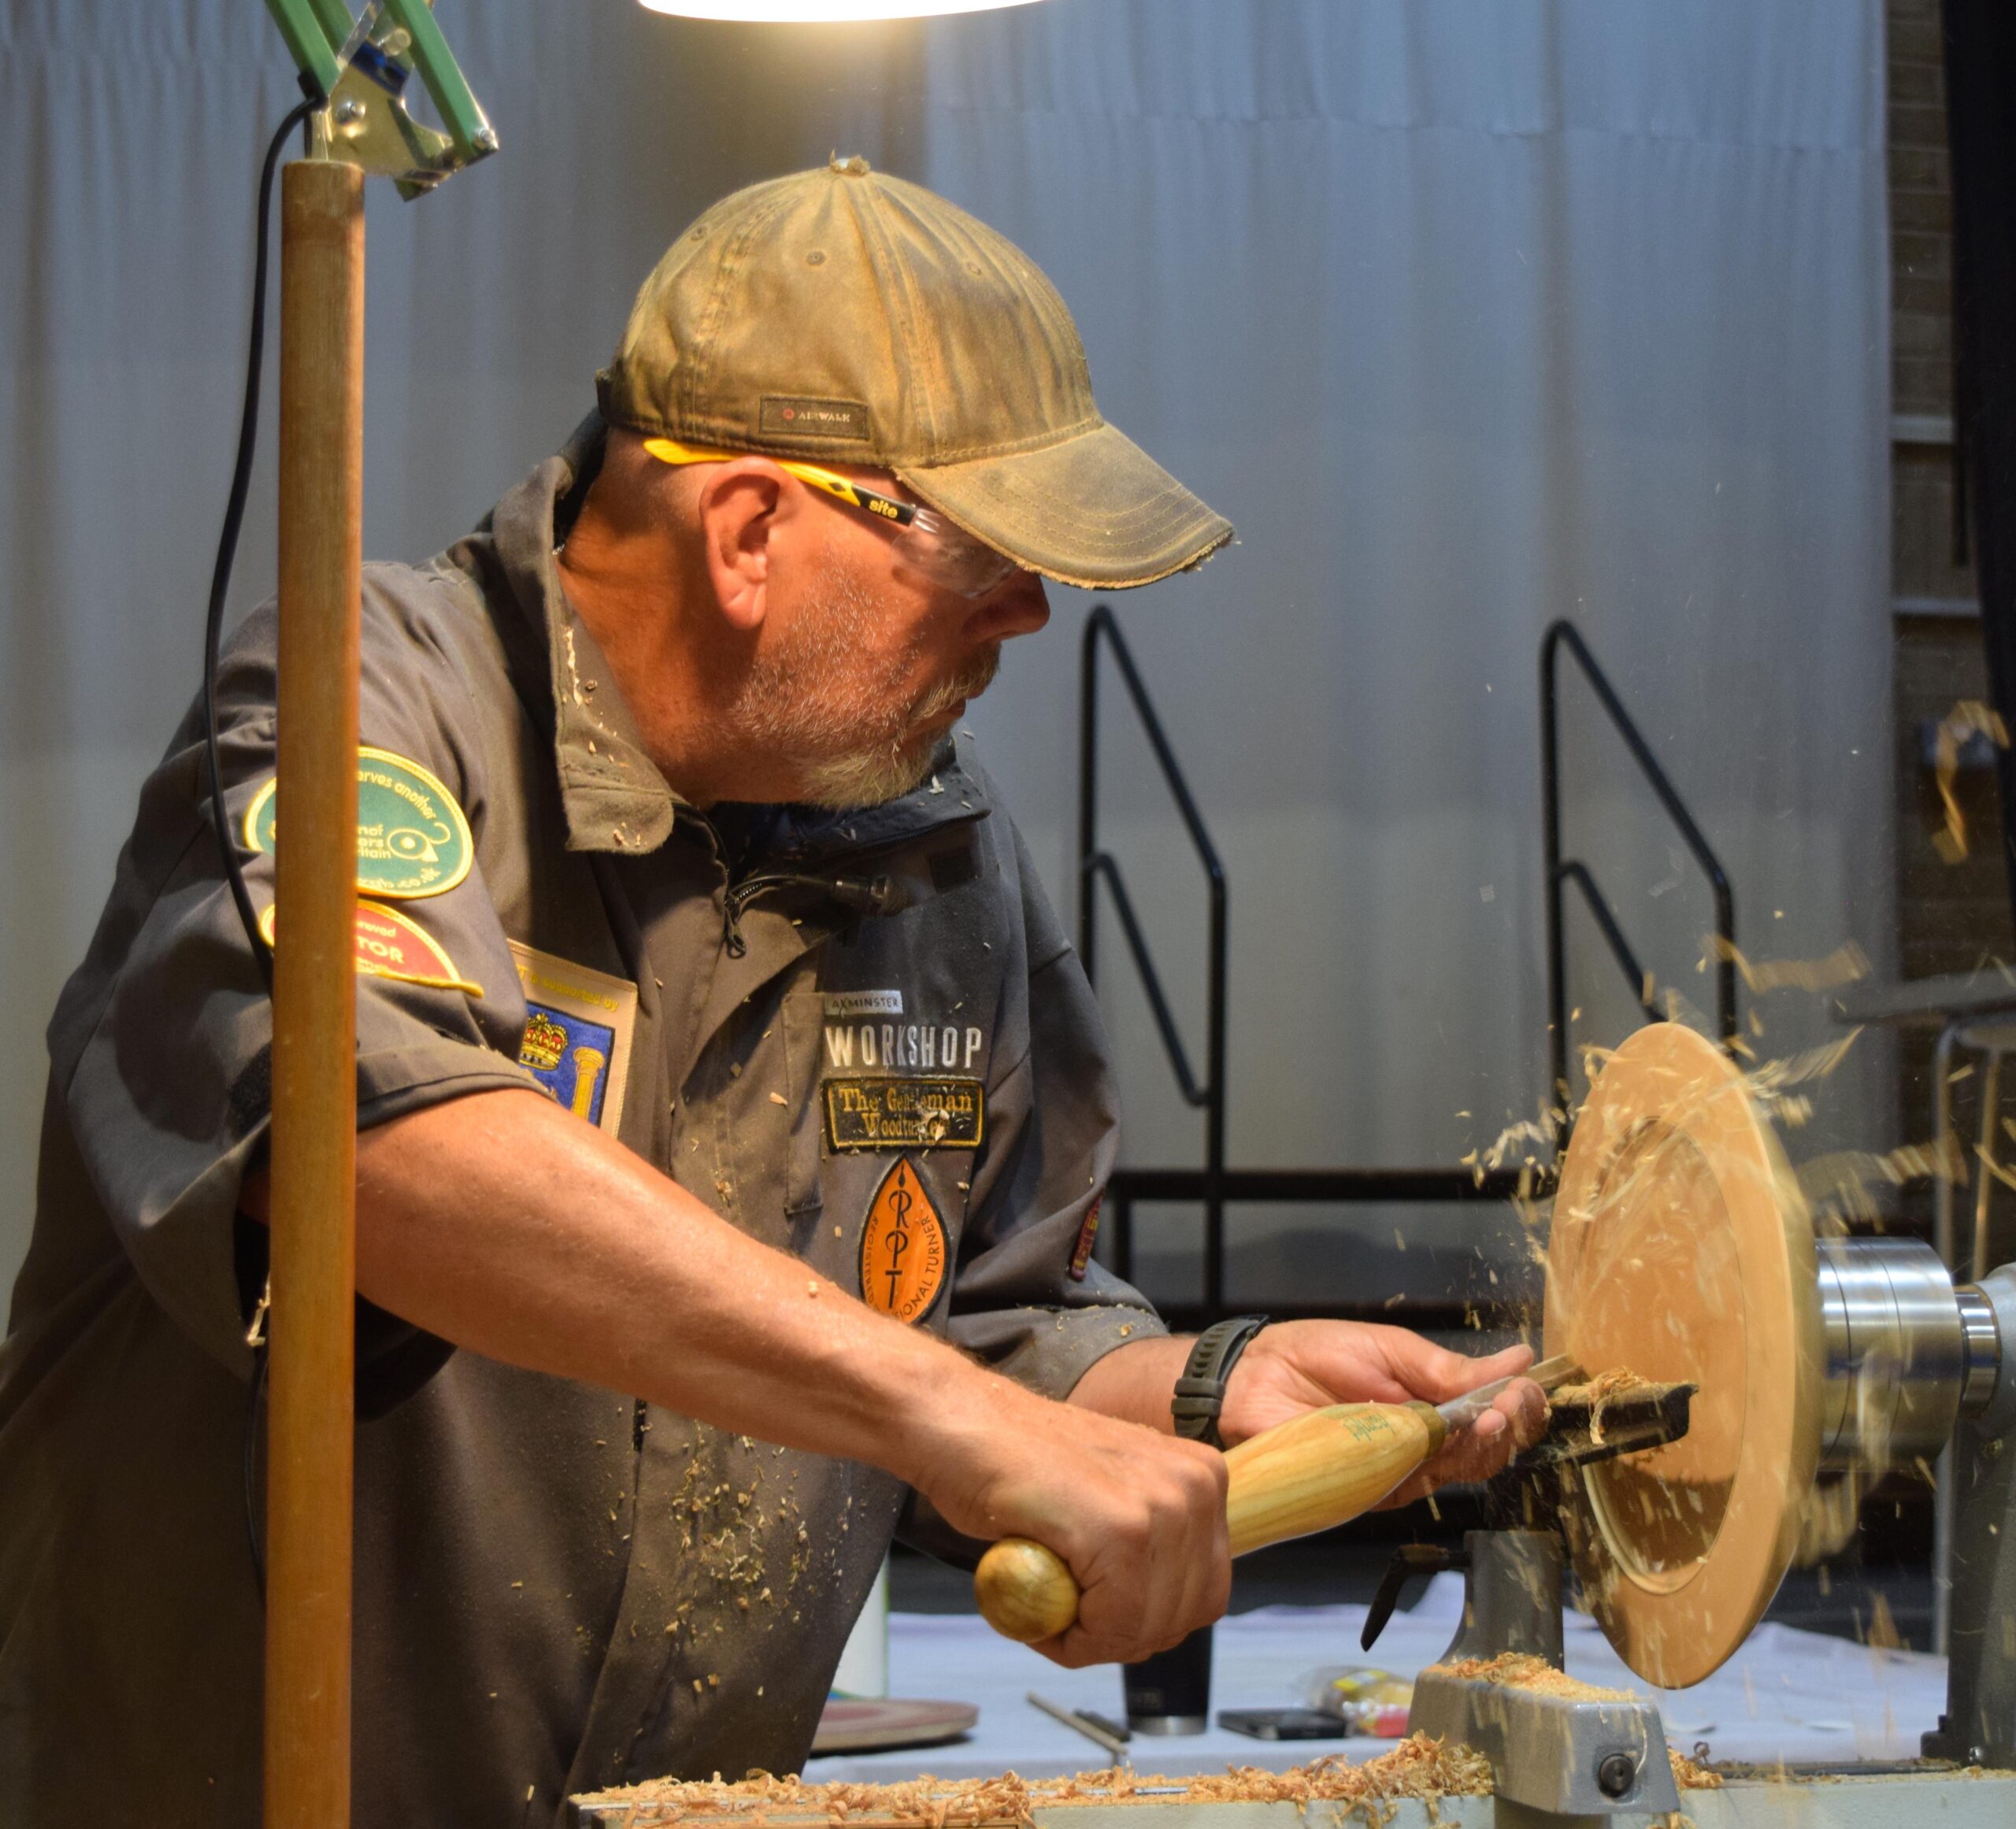
Mark started the demo with an explanation of PPE. In particular, why he was wearing a health monitoring wrist watch during the demo which you might see in some of the photos in the review. It is recommended that jewellery should not be worn when turning. It is your responsibility to ensure that you wear the necessary safety protection appropriate for you in your workshop.
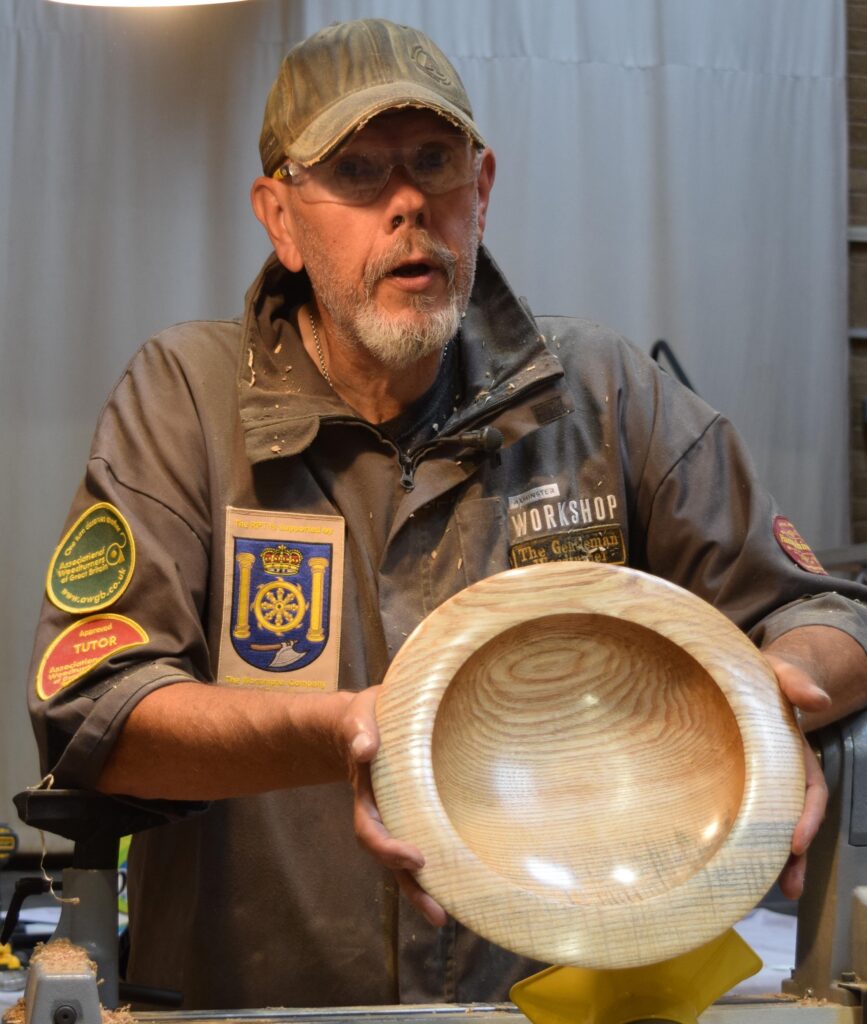
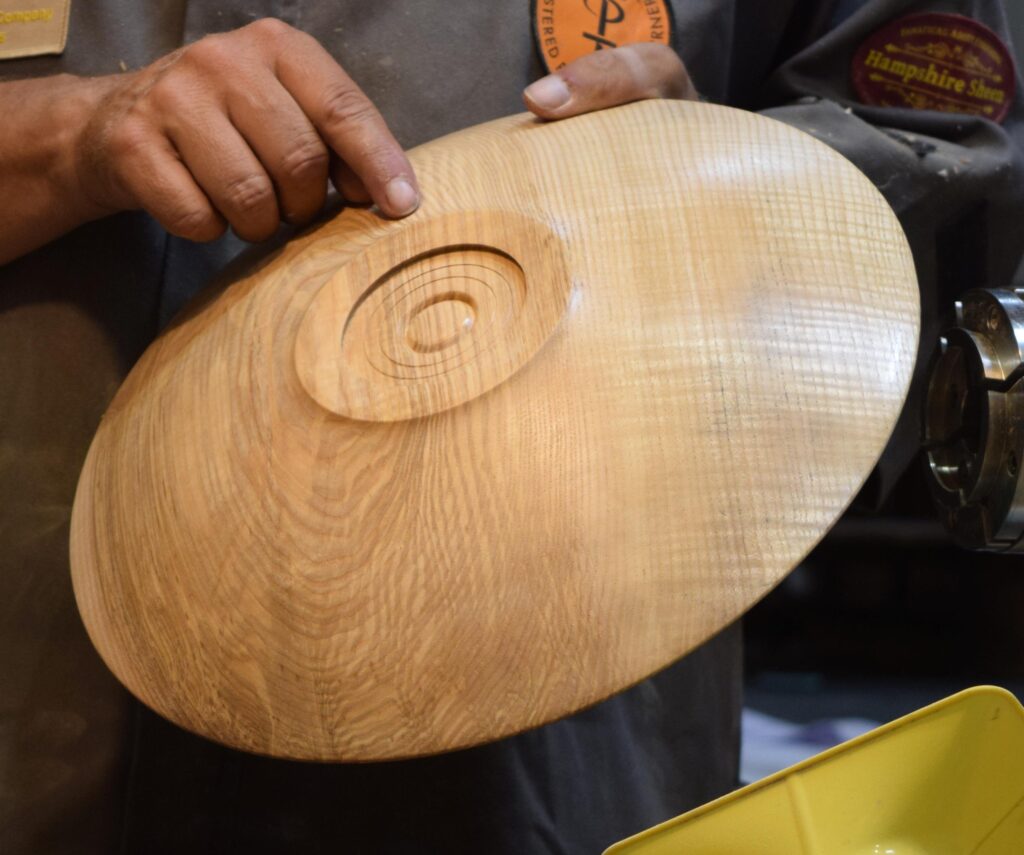
Ash Bowl
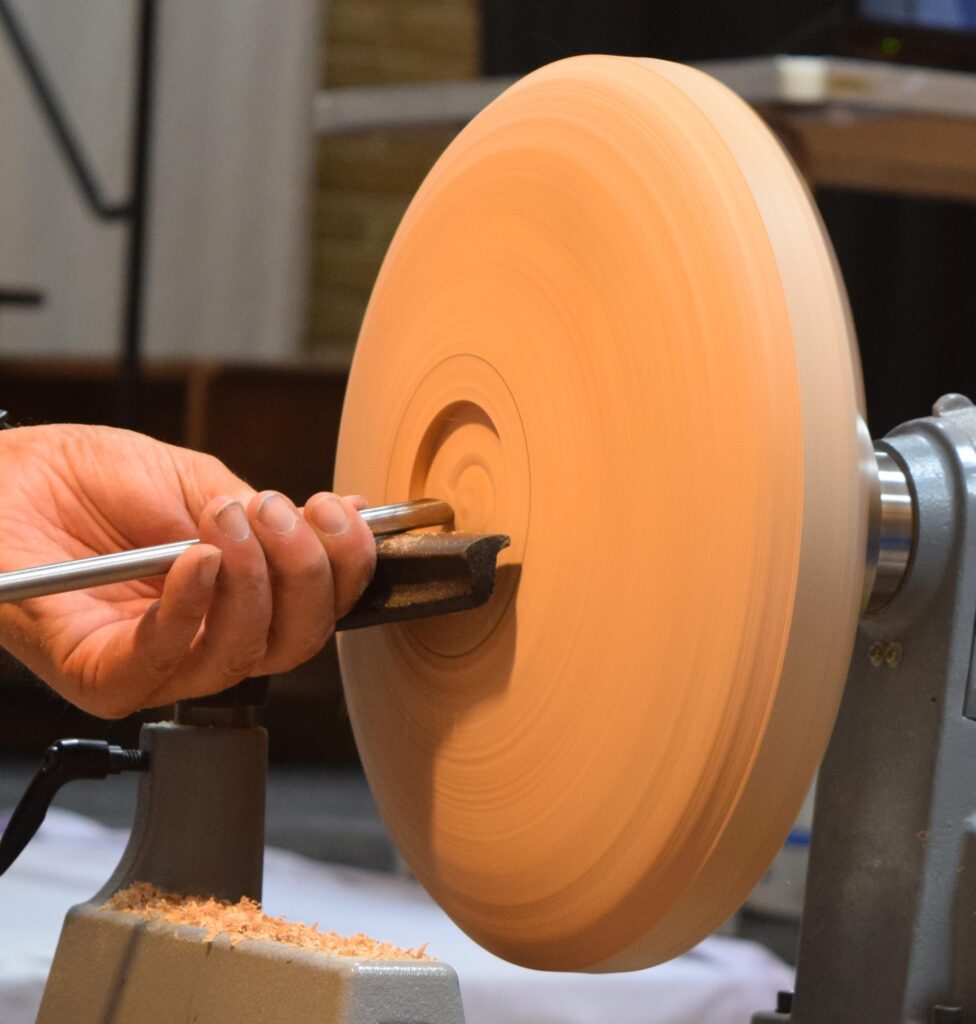
For the bowl, Mark used a 12” ash bowl blank with a face plate ring attached. Mark considered the blank too big for a wormscrew.
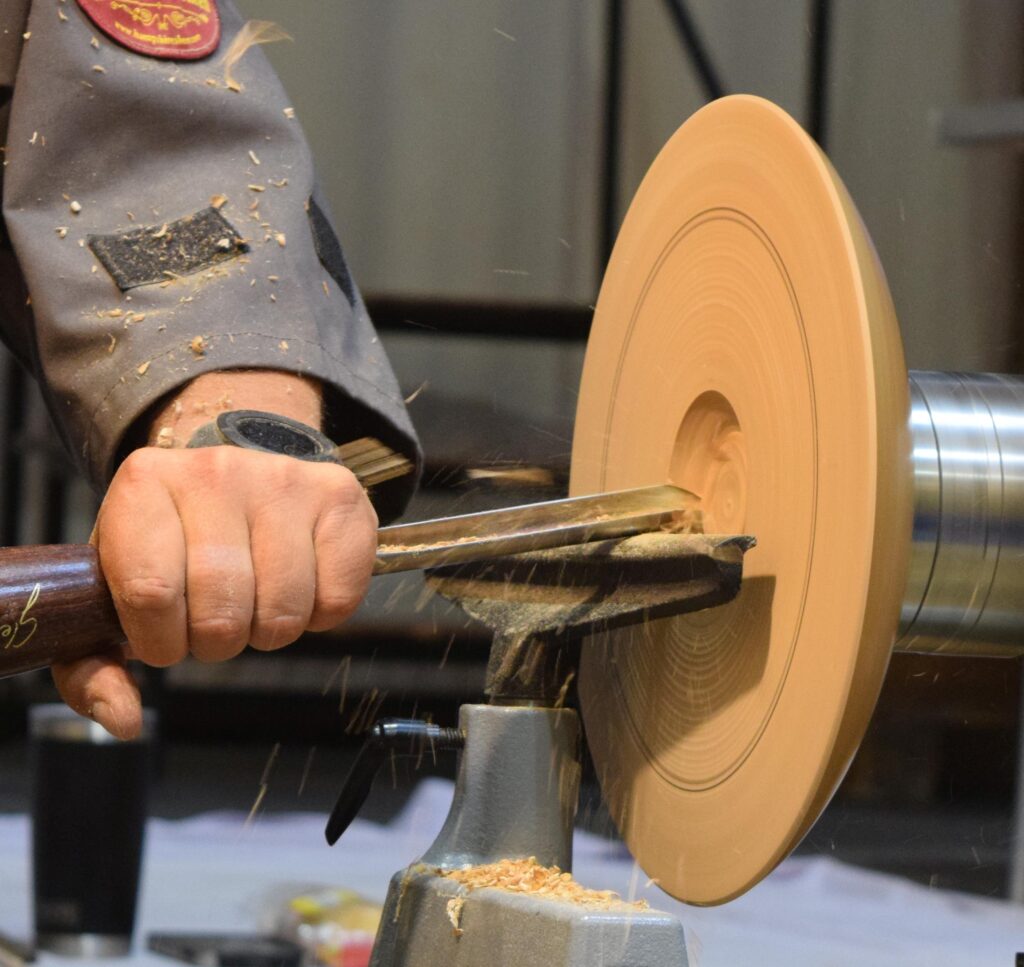
Use a bowl gouge to clean the face of the blank and to turn the blank round.
Support the gouge by your hip and point the gouge in the direction you want to cut. Don’t twist your body but move your whole body. Don’t go off the edge with your gouge as you will blow the fibres out; instead turn the edge nearest the chuck in the opposite direction.
Pencil mark the size of the foot and the mortice. Roughly shape the outside of the bowl.
Create a mortice for the chuck. Normally Mark would use a tenon, but he didn’t want to remove a tenon in a demo. Clean the mortice with a skew used as a scraper and make a dovetail. Create a little button feature inside the mortice.
Now shape the bowl using push cuts. Don’t be a hero: if the gouge is cutting too much material, then restart the cut.
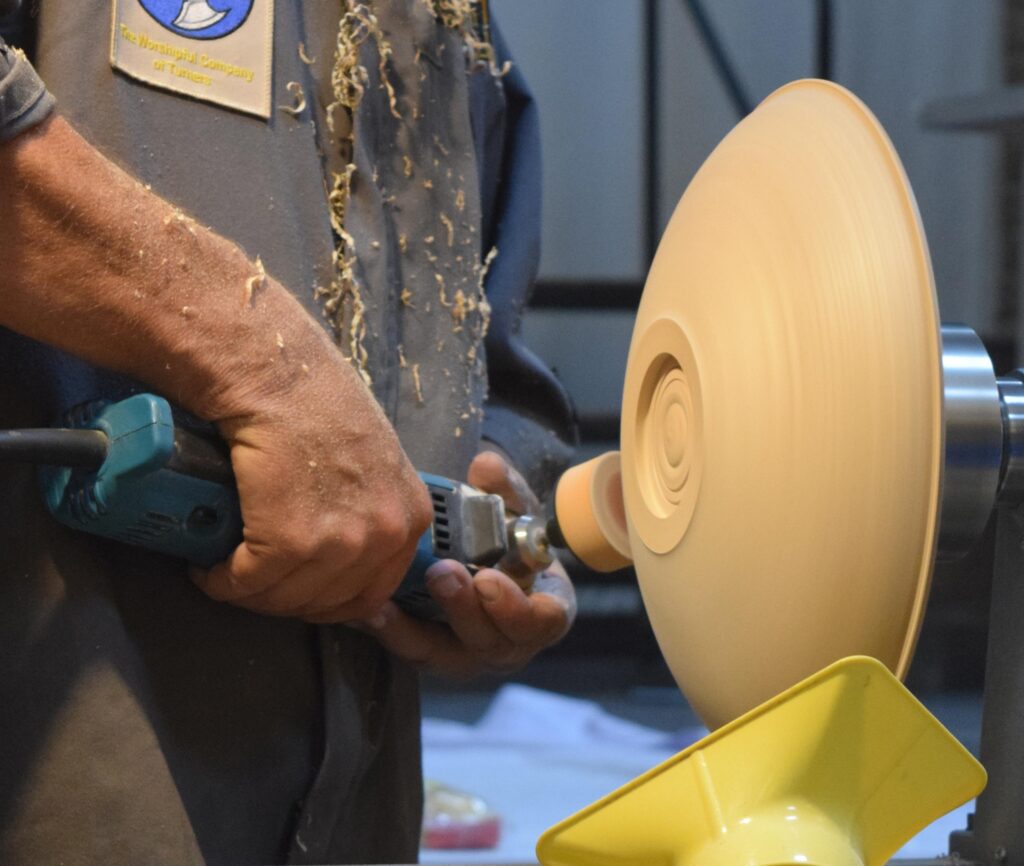
Sand to 240 grit and seal. Apply a generous amount of True Grit and polish with a paper towel for three minutes at 350 rpm. Increase the speed and remove any residual wax with a paper towel. Apply two coats of Hampshire Sheen gloss wax.
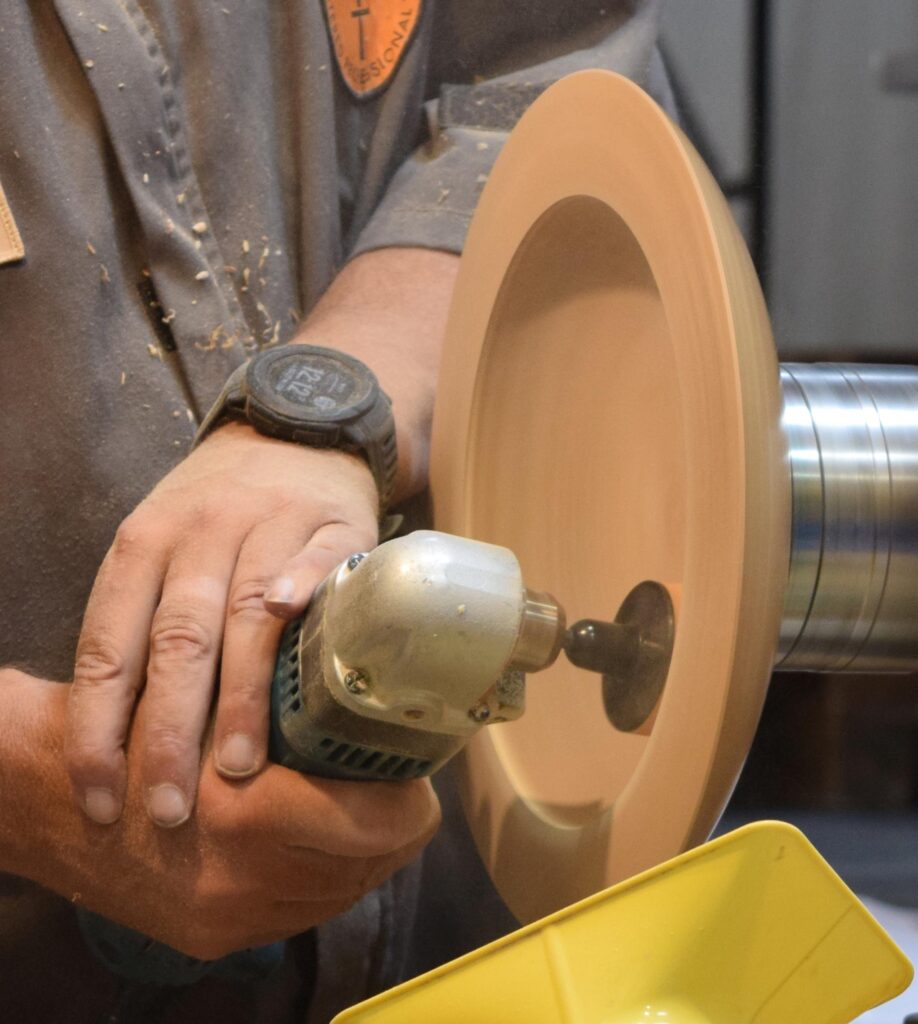
Now hold in the chuck by the mortice. Clean the face of the blank using pull cuts. Mark the size of the rim with a pencil. Hollow out the bowl. Make any final minor adjustments to the shape of the rim. Sand and seal. Polish with True Grit and wax as before.
Onion Shaped Bud Vase
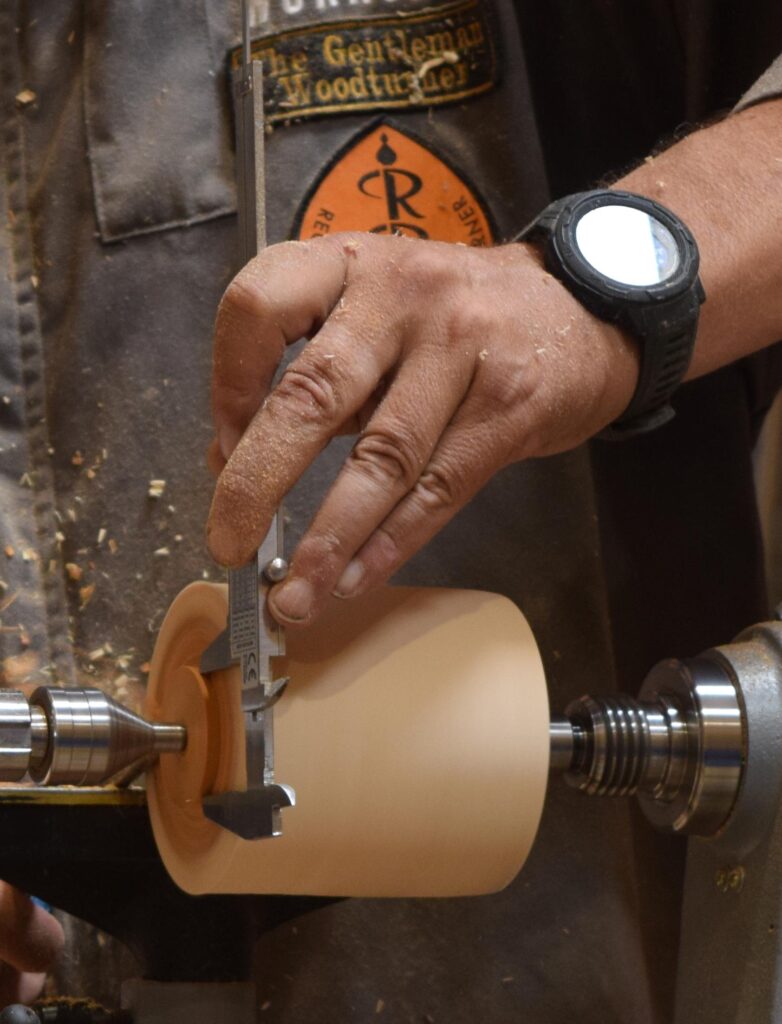

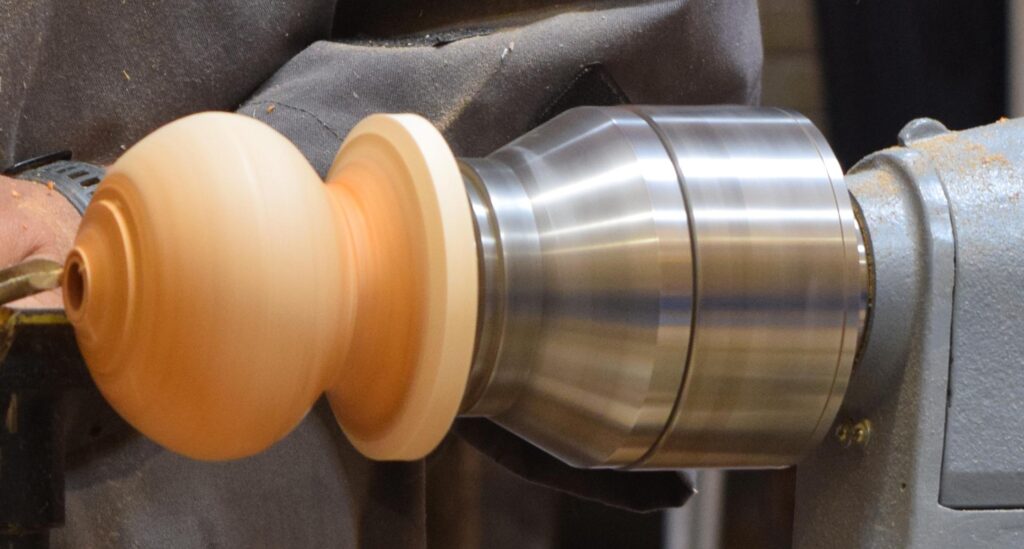
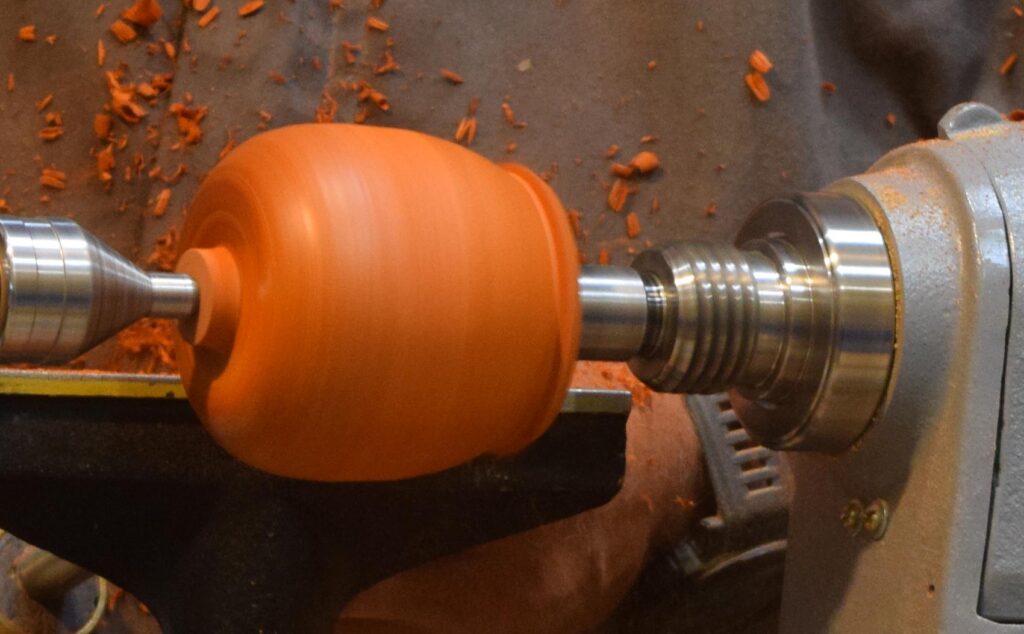
A yew log, held between centres, is rounded using a bowl gouge and a tenon is created. The piece is mounted on a chuck and roughly shaped. Mark turned a squat sphere shape leaving mass at the base to give strength for the drilling.
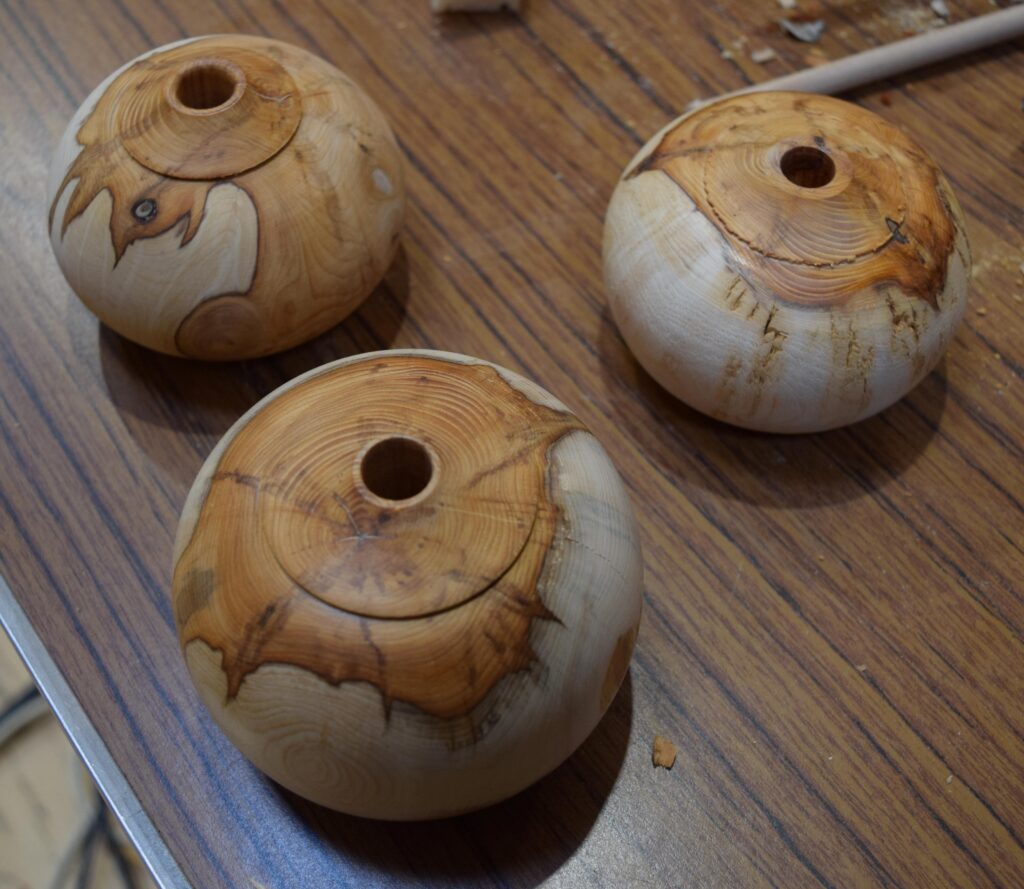
Drill a hole using a Jacobs chuck. Neaten the opening using a spindle gouge. Mark added a definition line under the “onion top” using the point of a skew. Then refine the shape, sand and finish.
To turn the base, use the drill bit as a jam chuck by reversing the drill in a chuck. Use gentle cuts! Sand and finish.
Mark turned three to make a set.
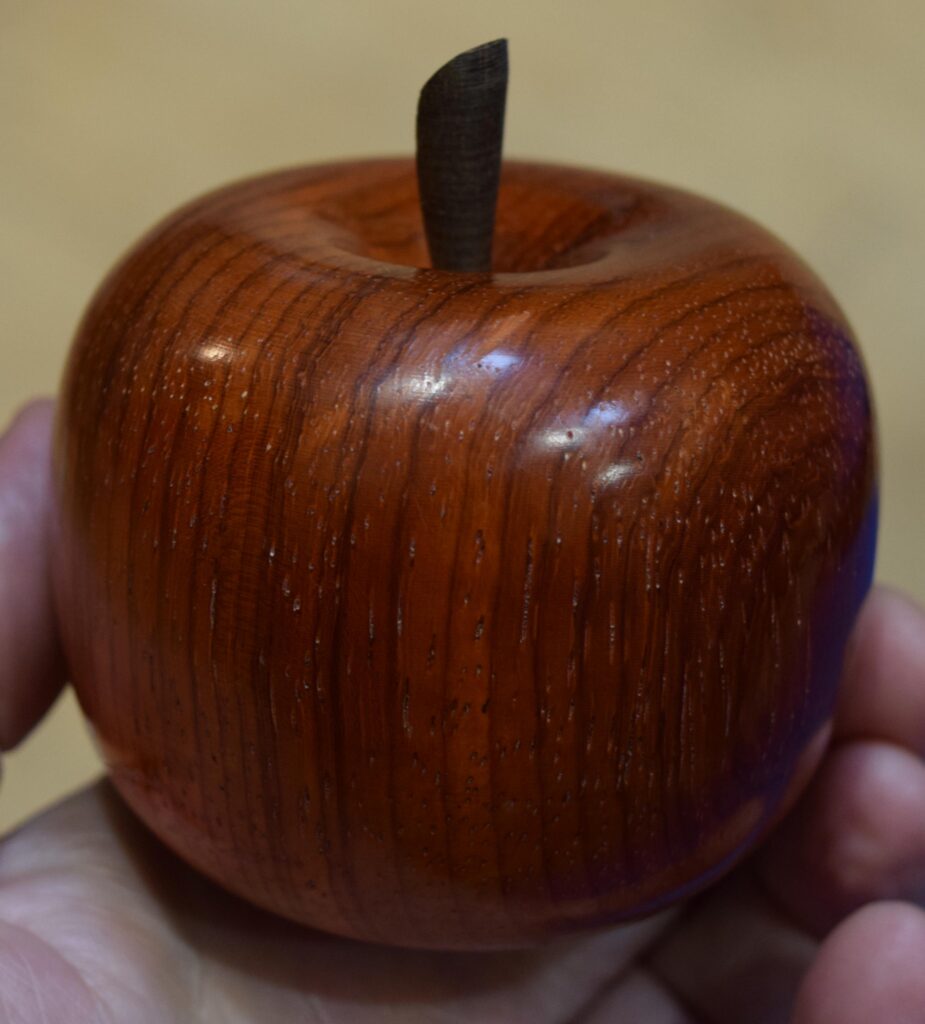
Fruit


For the apple, Mark used a padauk spindle blank approximately 3” cubed.
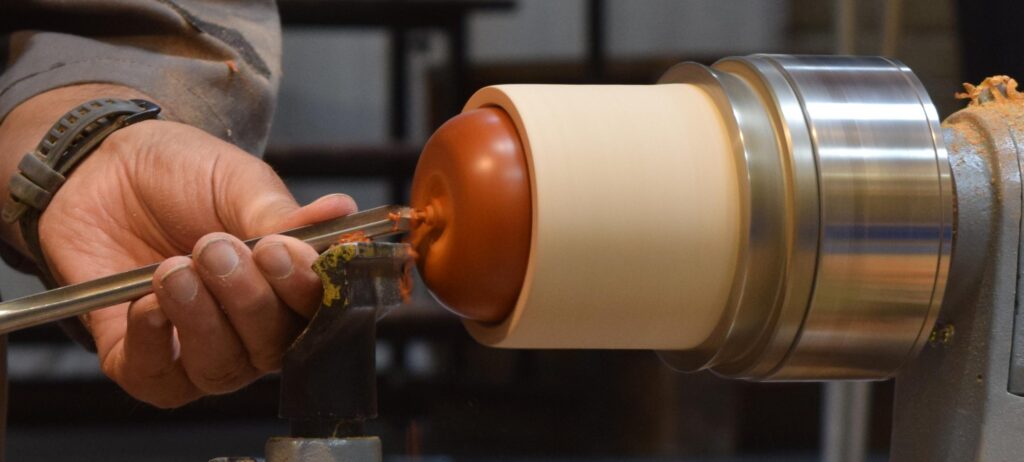
The top is turned rather like a sphere but turning in towards the centre. The bottom needs to taper and turns back towards the centre at the bottom. Sand and seal.
Use a parting tool to reduce the waste on both sides. The tool is slightly tilted to follow the arc of the apple. Apply sealer.
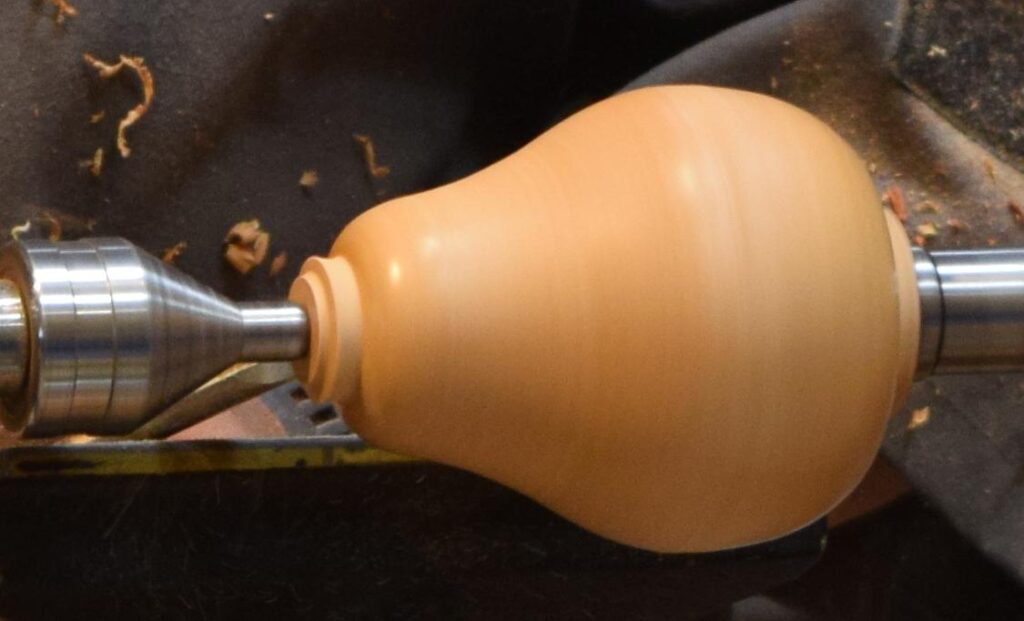
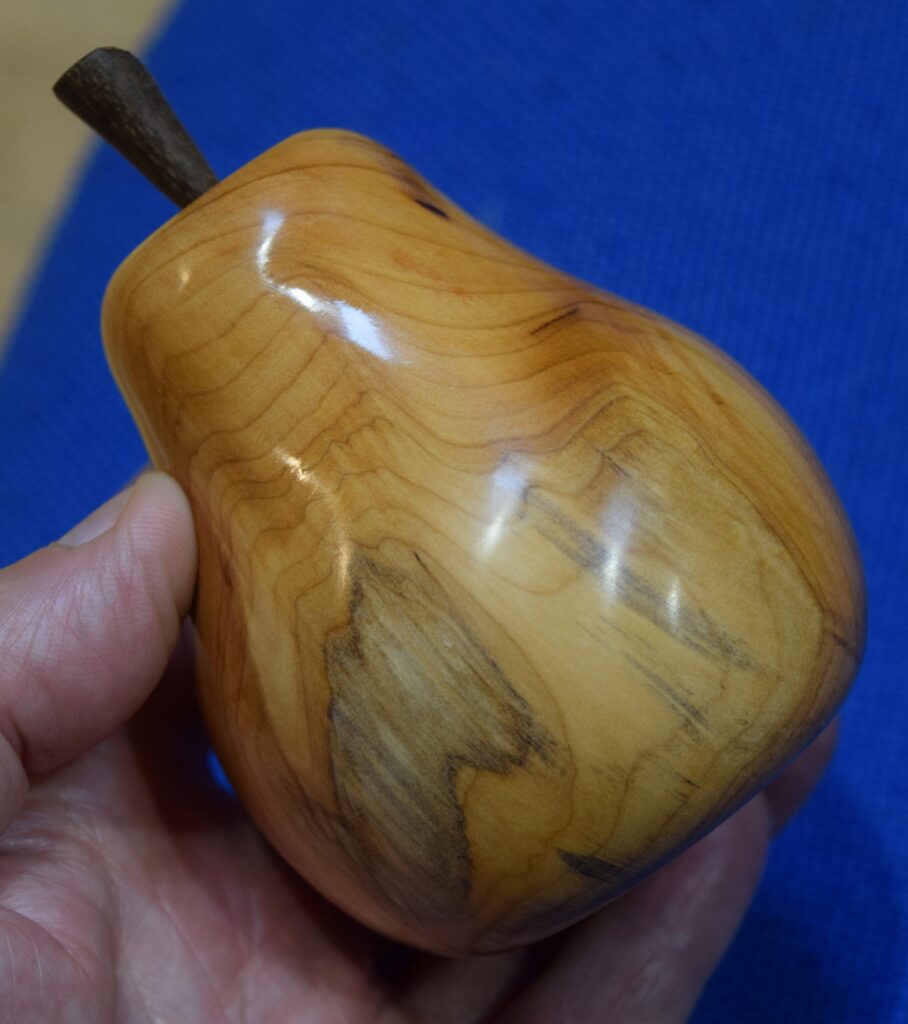
For the pear Mark used a yew blank 3” x 3” x 3.75”. First turn the top of the pear, then the bottom (which is similar to the top of the apple), then blend the two. Sand to 400 grit and seal.
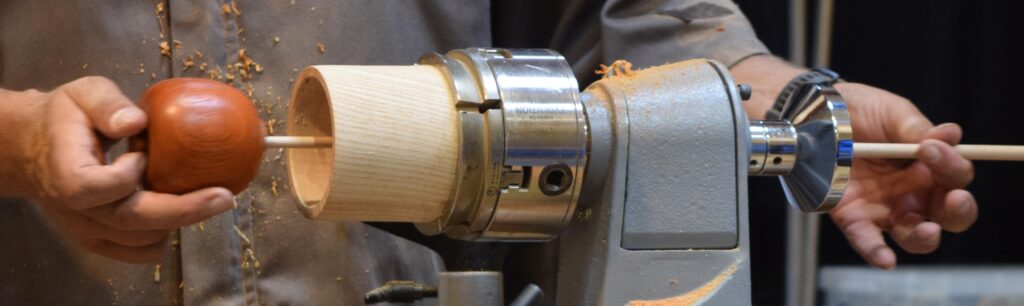
The top and tail wastes are removed by putting the fruit in a jam chuck. The fruit is centred using a rod through the headstock. Knock the fruit in once with a gentle tap of a mallet, no more or you won’t get the fruit out. Sand, seal and finish the top. Repeat for the bottom of the fruit. Note, for the pear, turn the bottom waste away first as it is difficult to get the pear top centred.
The tops are drilled at an angle, and the bottoms straight; do this with a 4mm drill bit held in a chuck. The stems are cut from a small piece of greenheart. Use a skew to shape the stem into a cone about 2cm long. Shape the stems by flattening the top at an angle using a shading disk.
Finally, buff them. Maximum speed 1600 rpm. First, with buffing compound, then with carnauba wax.
Glue in the stems, and glue in a clove to the bases.