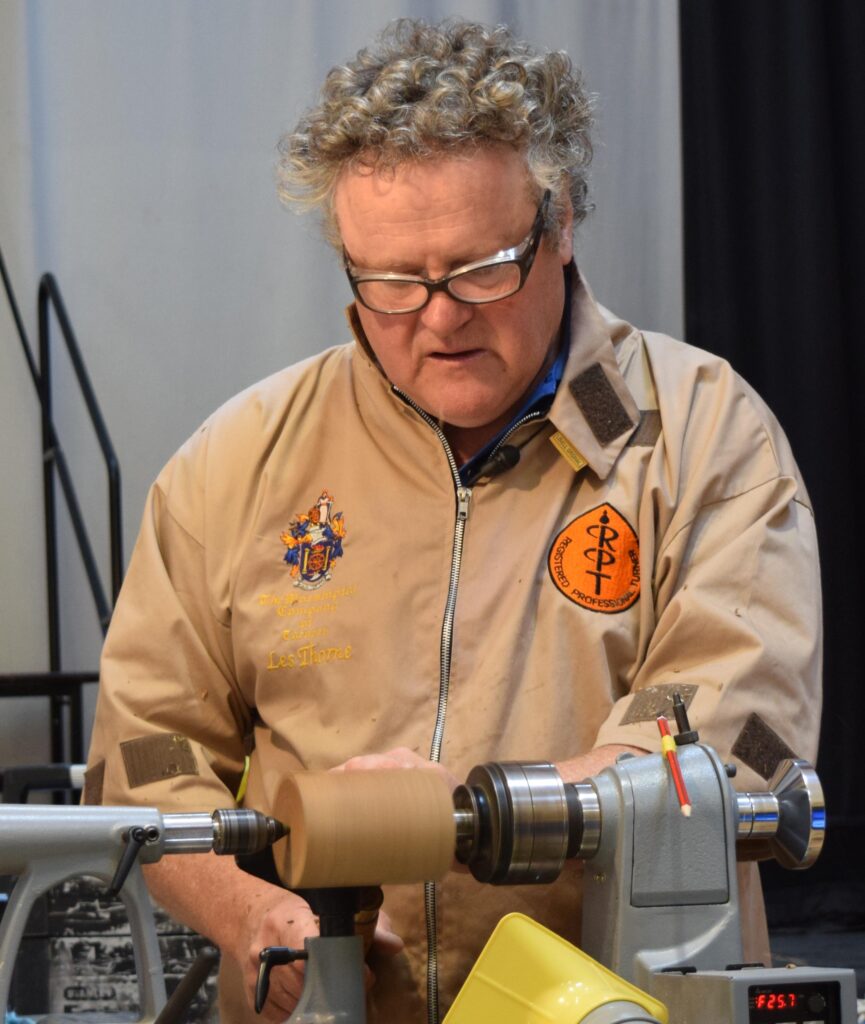
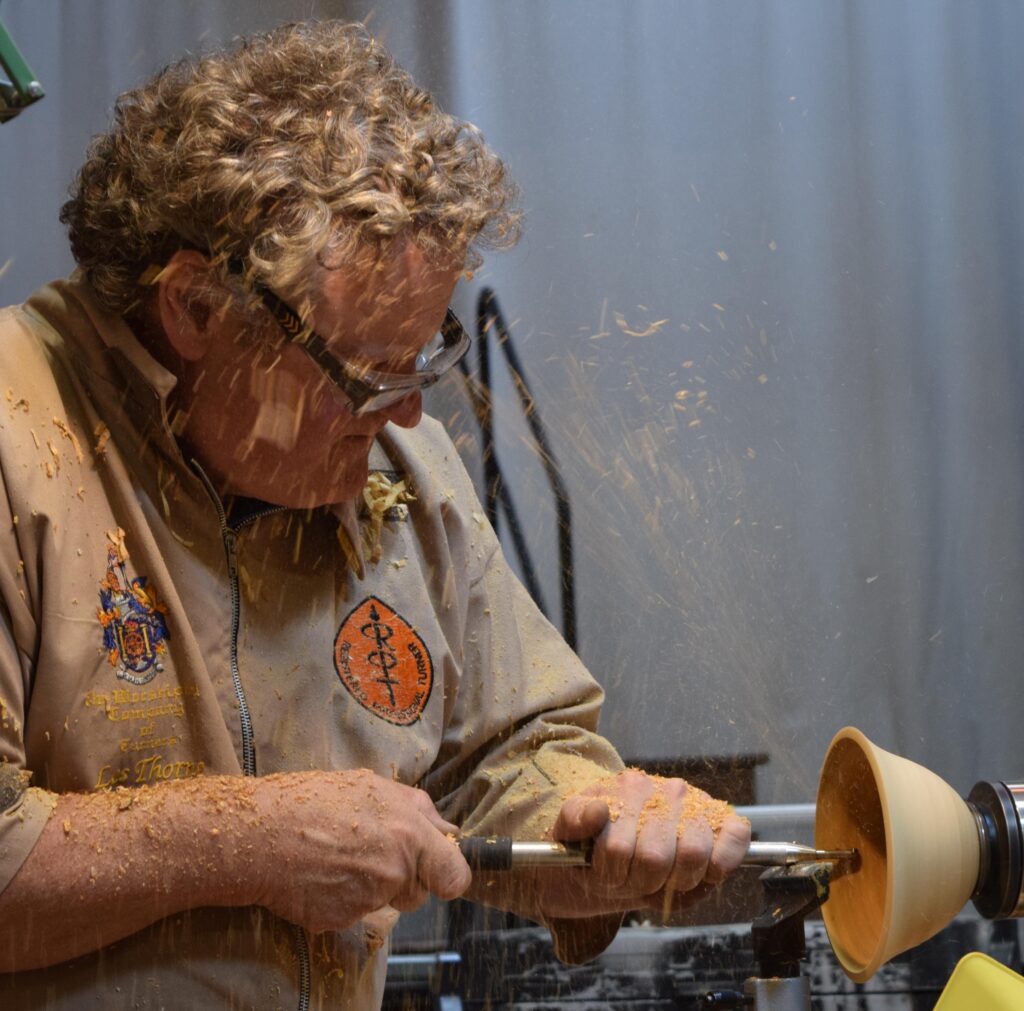
Review: Les Thorne Demo – Sunday 18th May, 2025

The demonstration focussed on techniques from a production turner’s viewpoint rather than creating finished articles. Les demonstrated three items: a double finial box, a concept bowl, and a thin-walled end grain bowl.
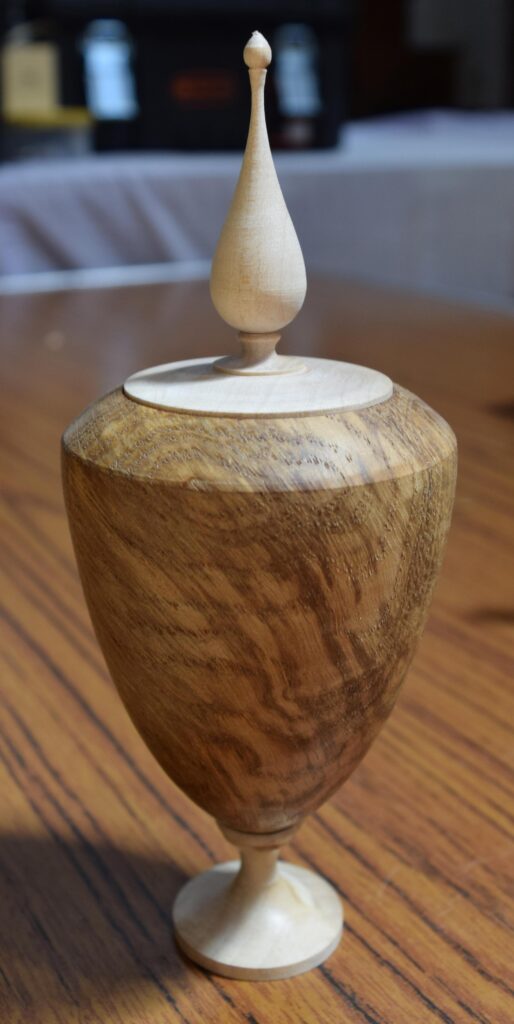
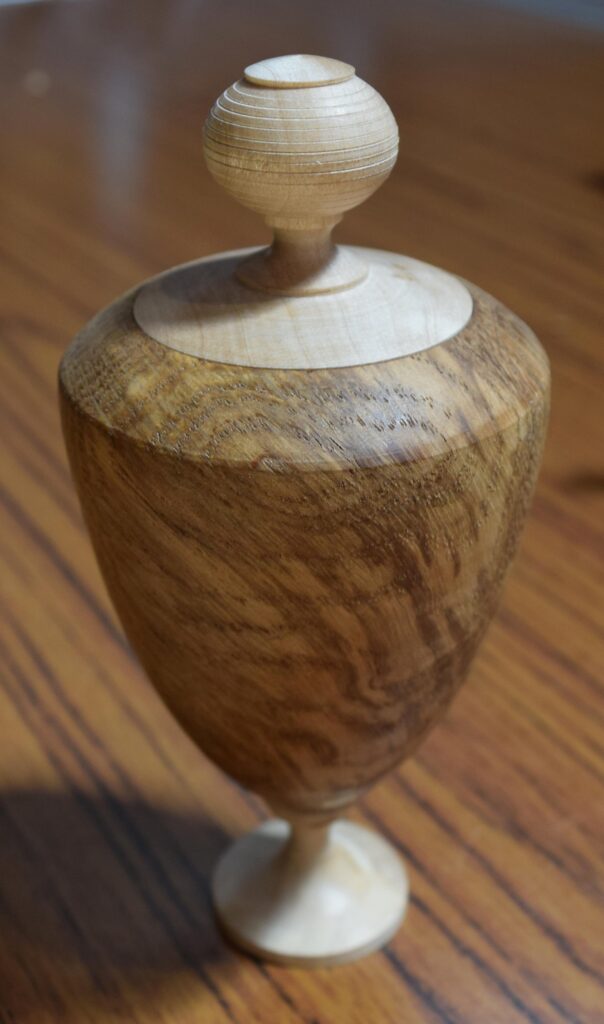
Double Finial box
Les used an oak spindle blank approximately 3″ x 4” which was held between a steb drive and a live cone drive. The blank was rounded using a spindle gouge. A spigot was created at the headstock end as lathe is stronger. Les used his own round multipurpose “skew”.

The blank was then mounted in a chuck using the spigot and supported by a tail cone centre. Les roughly shaped the outside of the box leaving the bulk of the material at the chuck end to retain strength for hollowing. He then created a pilot hole for the drill and then drilled a larger hole. Les started hollowing using a spindle gouge which is OK for the first 1” to 1.5” of depth. It is then necessary to use a hollowing tool such as the Hope 6mm hollower.
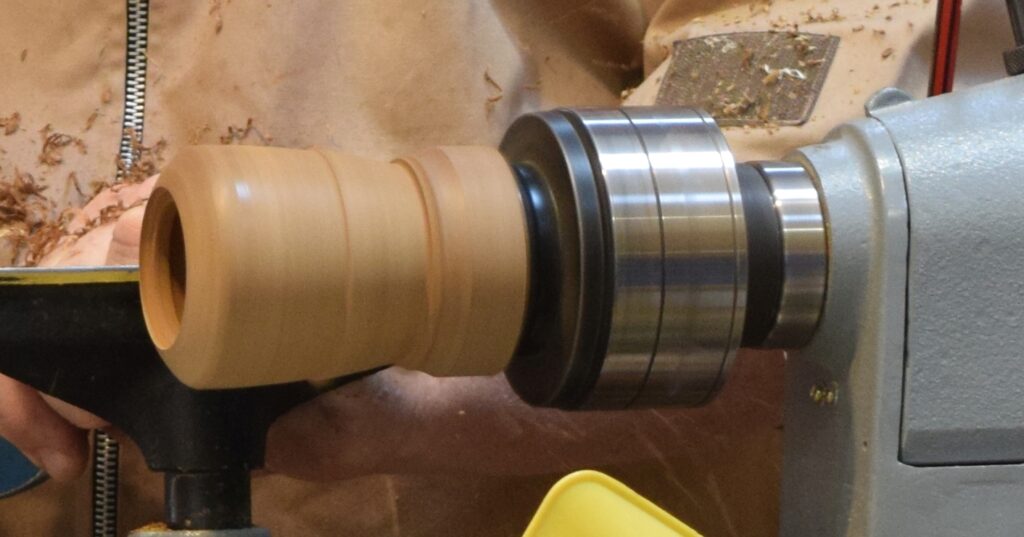
An opening is created for the lid. Les then hollowed the wood nearest the opening and created an undercut. Les used the Hope 6mm hollower to finish the hollowing. The tool is very efficient at removing material but leaves ridges. To obtain a better finish you need to move the tool smoothly and slowly after finding the cutting position.
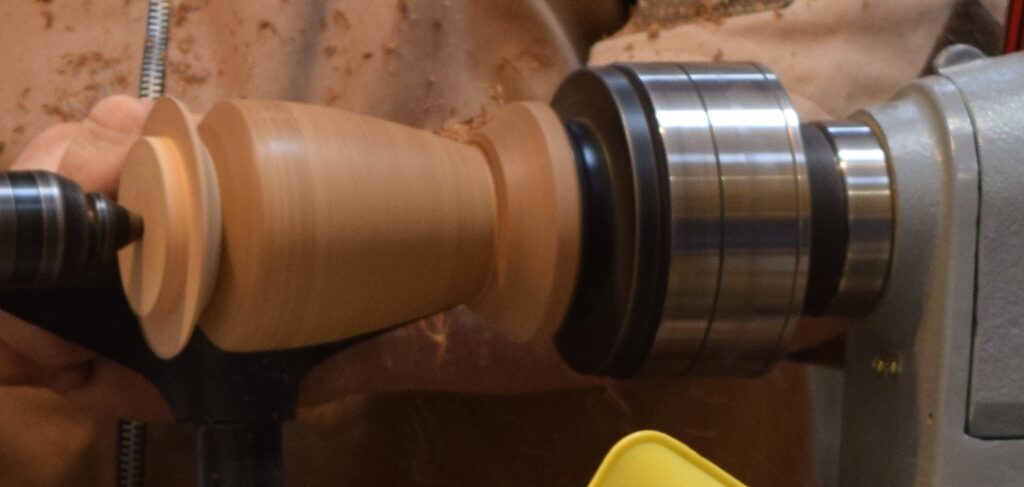
Les then moved onto a Hope Swan neck tool to create an undercut. These tools need to be supported on the tool rest on the straight part of the tool. Next, Les shaped the outside to roughly the desired shape, and refined it using a spindle gouge or skew. Les supported the piece with a piece of scrap wood and the tailstock.
More waste is then removed from the bottom of the box. Les then created a spigot at the base and refined the shape. You should sand and finish at this point. Les then parted off leaving a tiny spigot on the bottom.
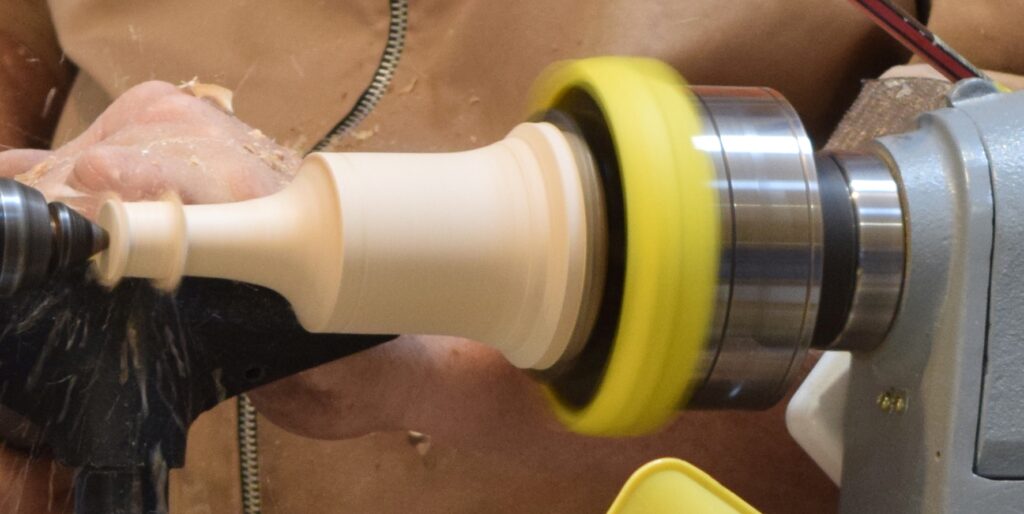
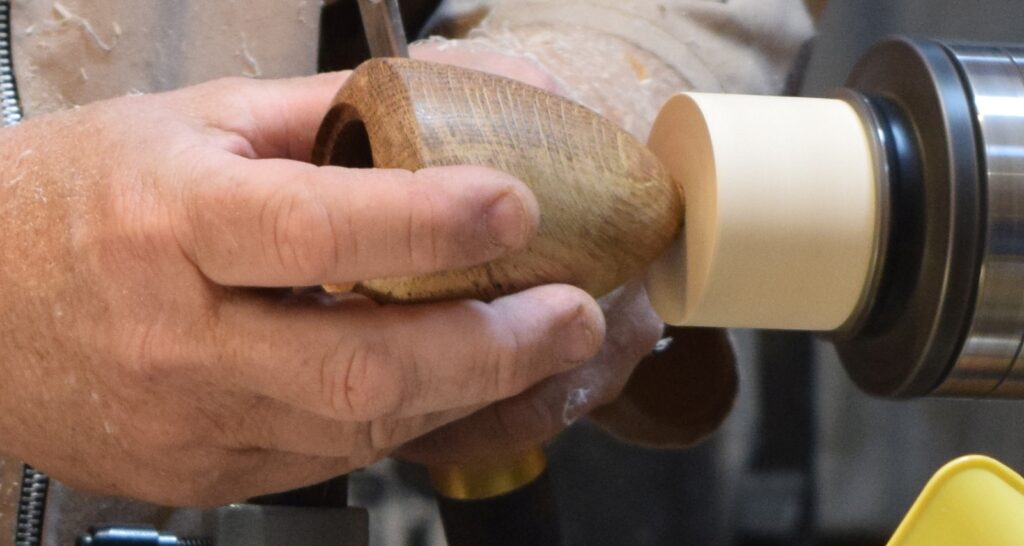
For the double finial lid Les used some sycamore. There is quite a bit of waste material so if you intend to use expensive wood then turn the lid in three parts. Round the blank and create an oversized spigot so it can he used as a jam chuck later. On the Vicmarc chuck the Jaws protrude so Les taped over the jaws for safety. Roughly shape the finial. Measure the box opening using callipers and transfer the size (plus a bit) to the central part of the blank. Mark the intended finial length with a pencil to ensure it fits into the box when finished.
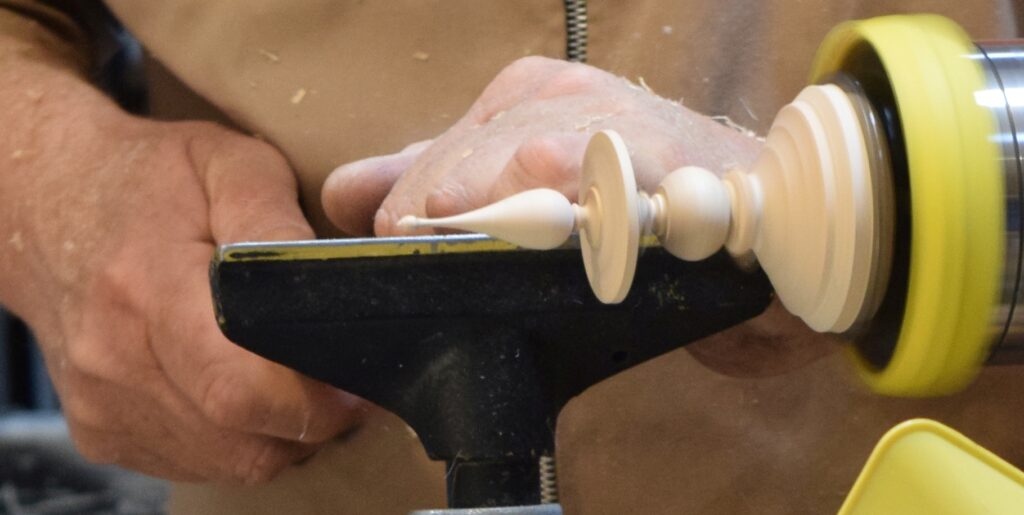
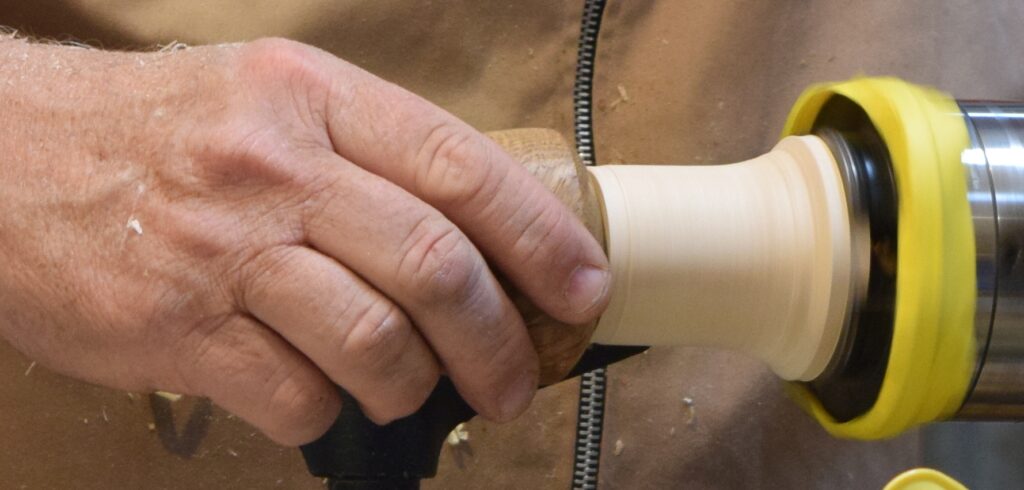
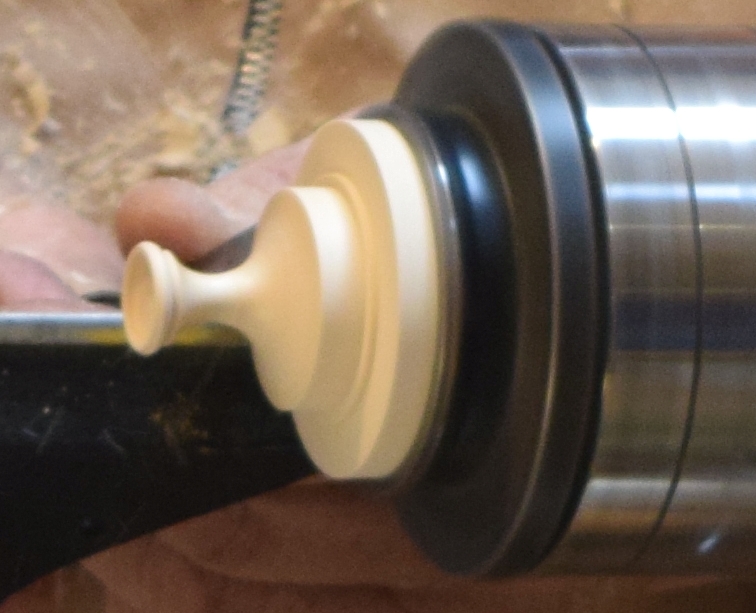
Shape the first finial. Then create the lid shoulder and test fit. We want a snug but not tight fit. Next turn the second finial. Les created a knob shape. Part off.
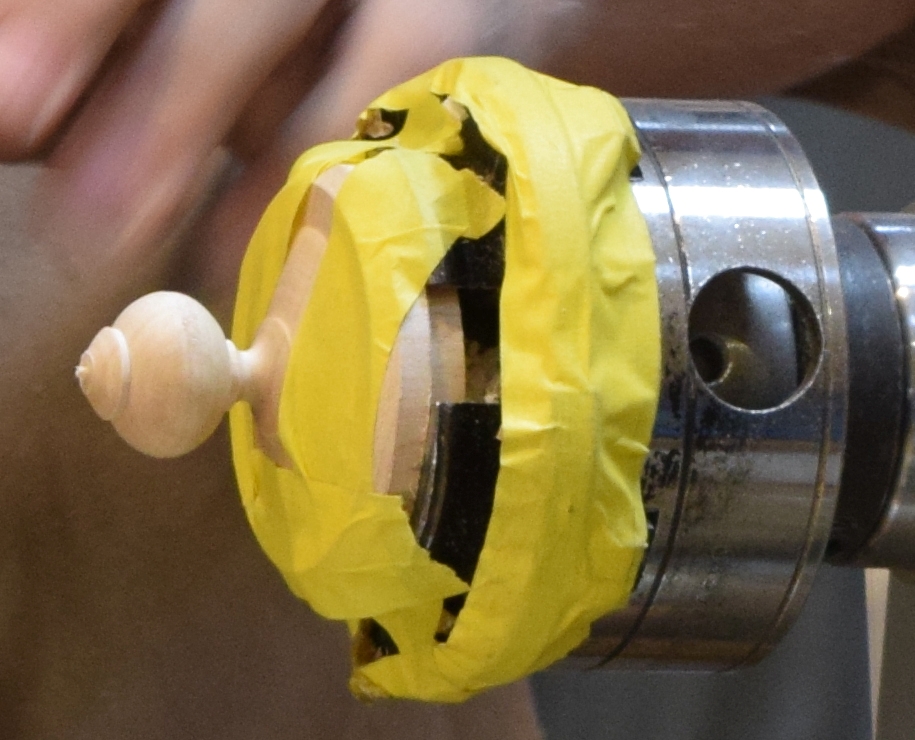
Use the waste wood to create a jam chuck. Measure to opening size using callipers. Tighten the chuck as much as possible. Create a recess and shoulder with a hole in the middle big enough for the finial to pass through. Secure the piece using masking tape. Finish the finial carefully. Les decorated the knob with tiny grooves. Turn way some material from the jam chuck to ease the removal of the lid.
The base is made from an oversized blank so that we can make a jam chuck. Round and clean the face using a spindle gouge. Create a recess to fit the small spigot on the box. Then shape the base. Les created a bead where the box will meet the base. The base shape needs to balance the finial shapes. Part off leaving a a witness mark. Create a jam chuck and and reverse mount the base. Clean the bottom of the base. If the centre tears out try turning leaving a tiny plug and hand sand away.
Concept Bowl
Les used an ash bowl blank, approximately 8”x3”, still moderately wet. Rough shape and create a spigot.
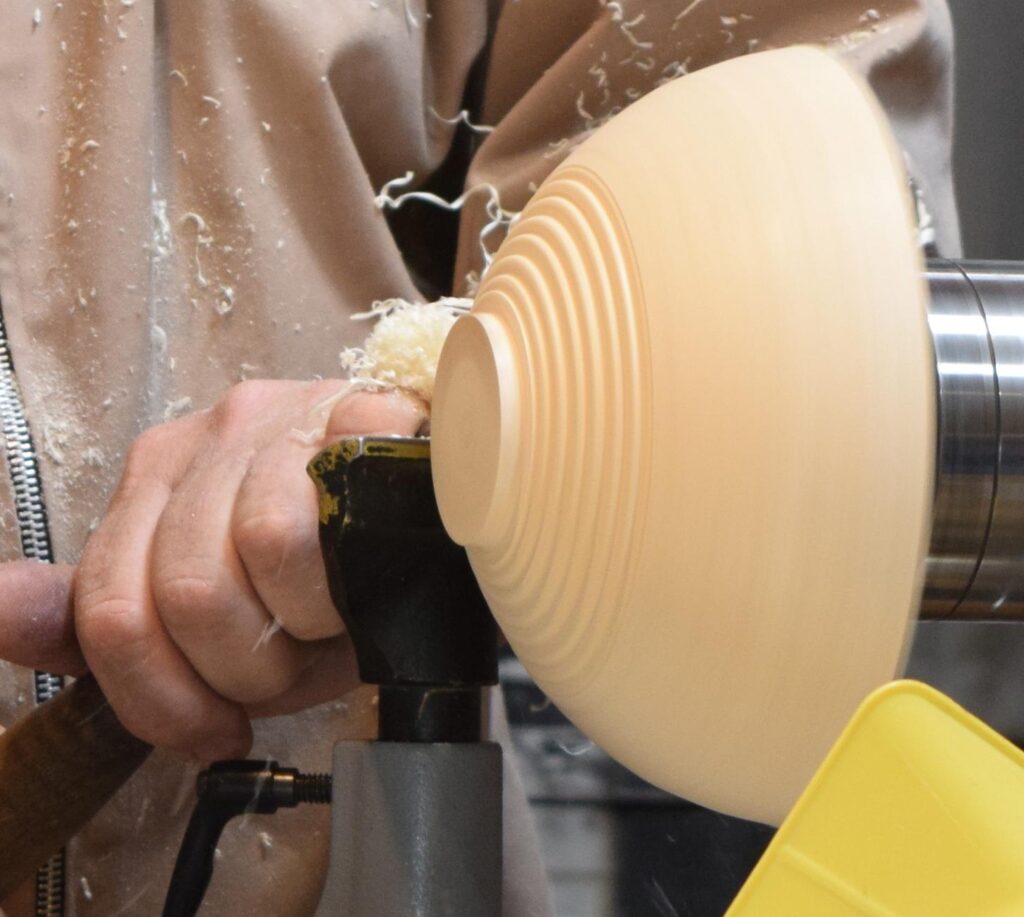
Les demonstrated a continuous bead decoration on the outside of the bowl.
Mount in a chuck. True up the face. Start the hollowing using a bowl gouge. Les created a feature on the rim which could be textured. Create an under cut with a spindle gouge. Les changed to a ¼” gouge as it had a shorter bevel to get round the bottom of the bowl.
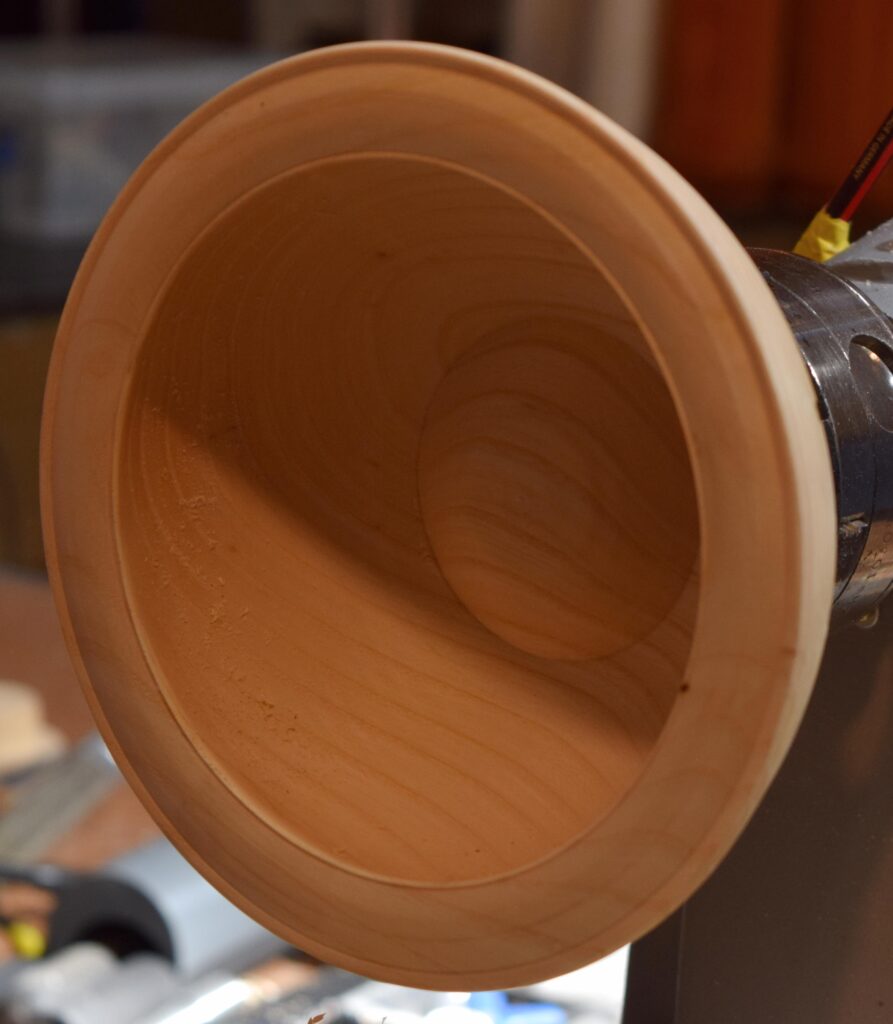
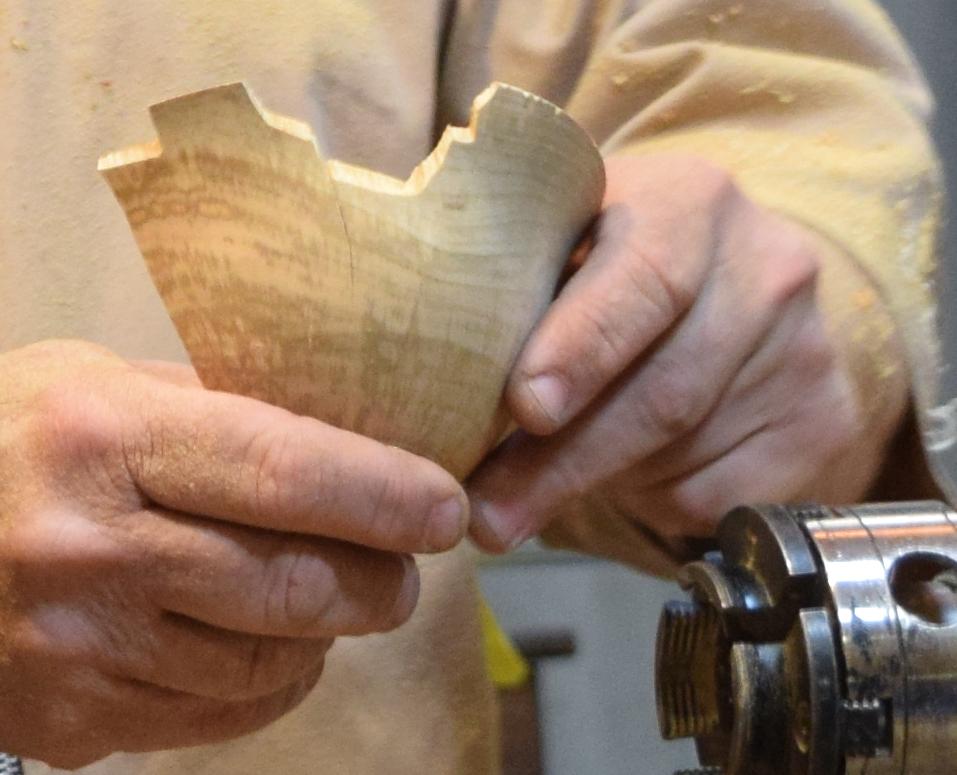
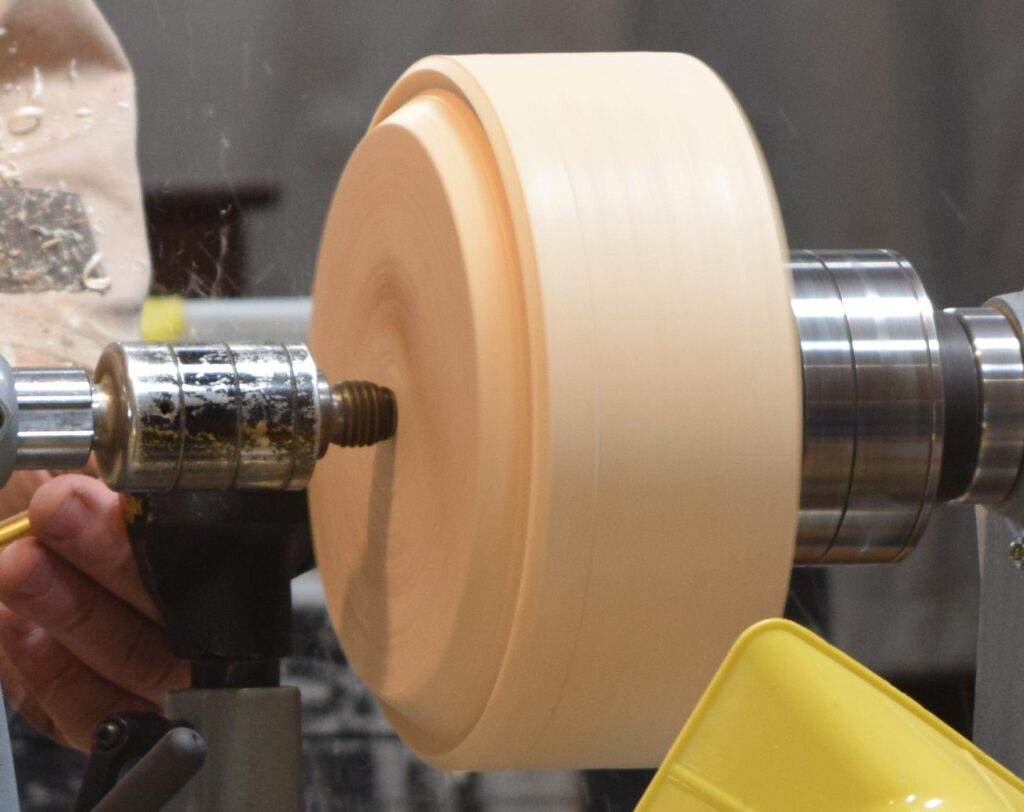
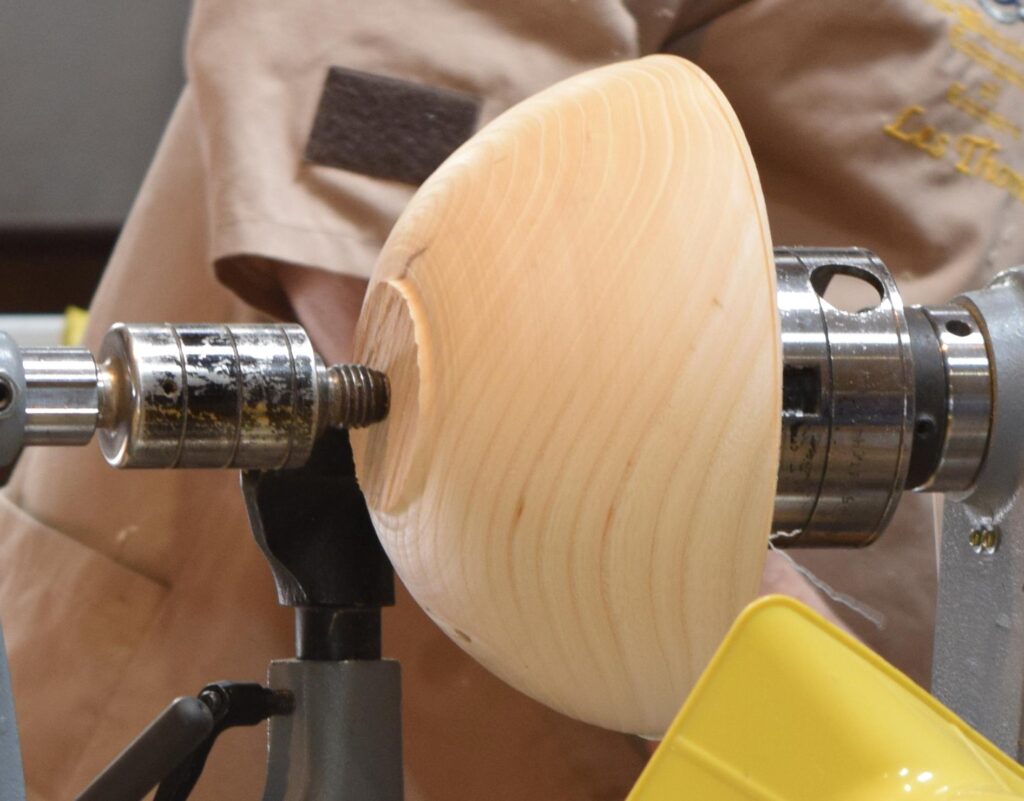
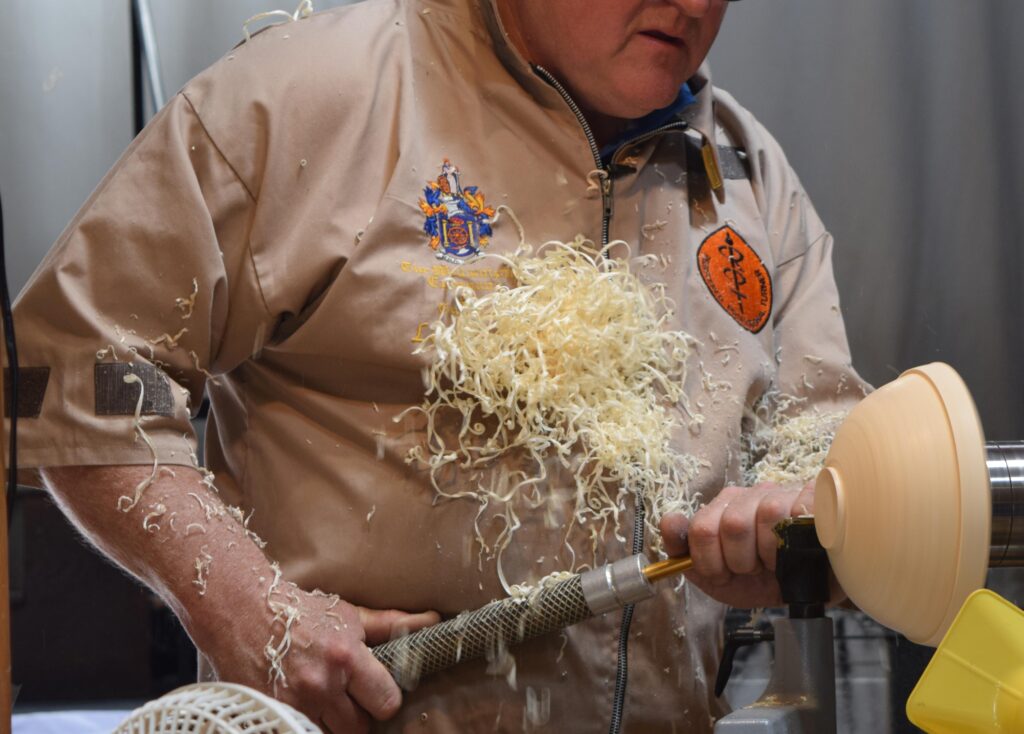
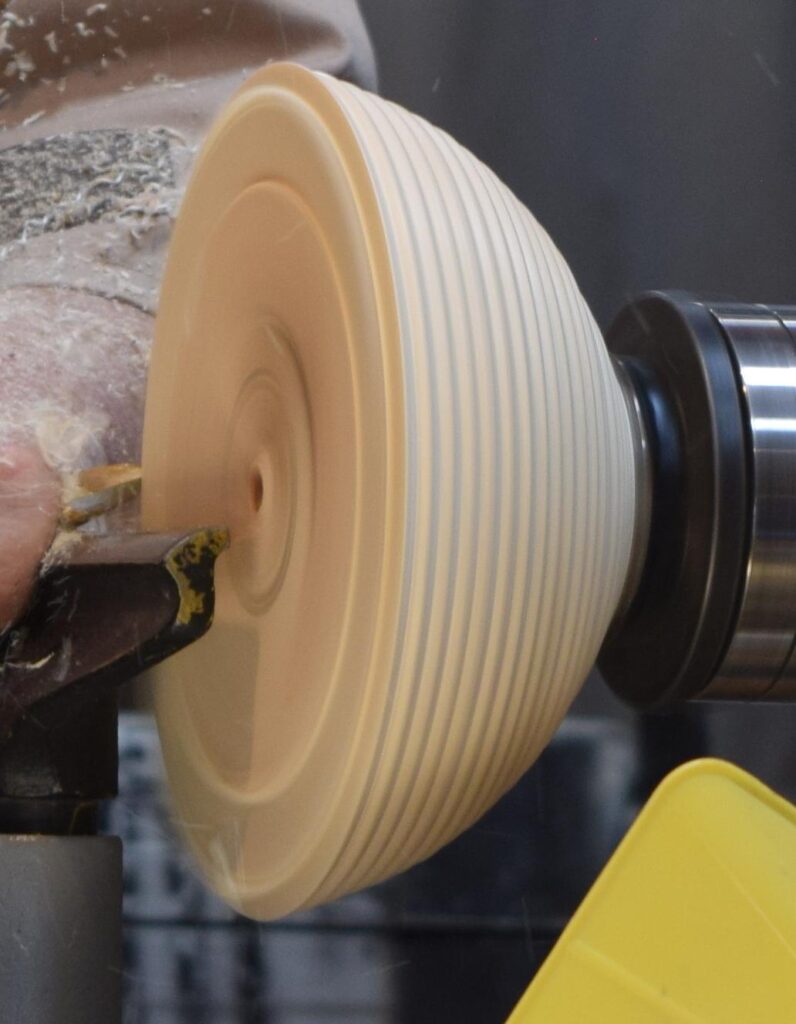
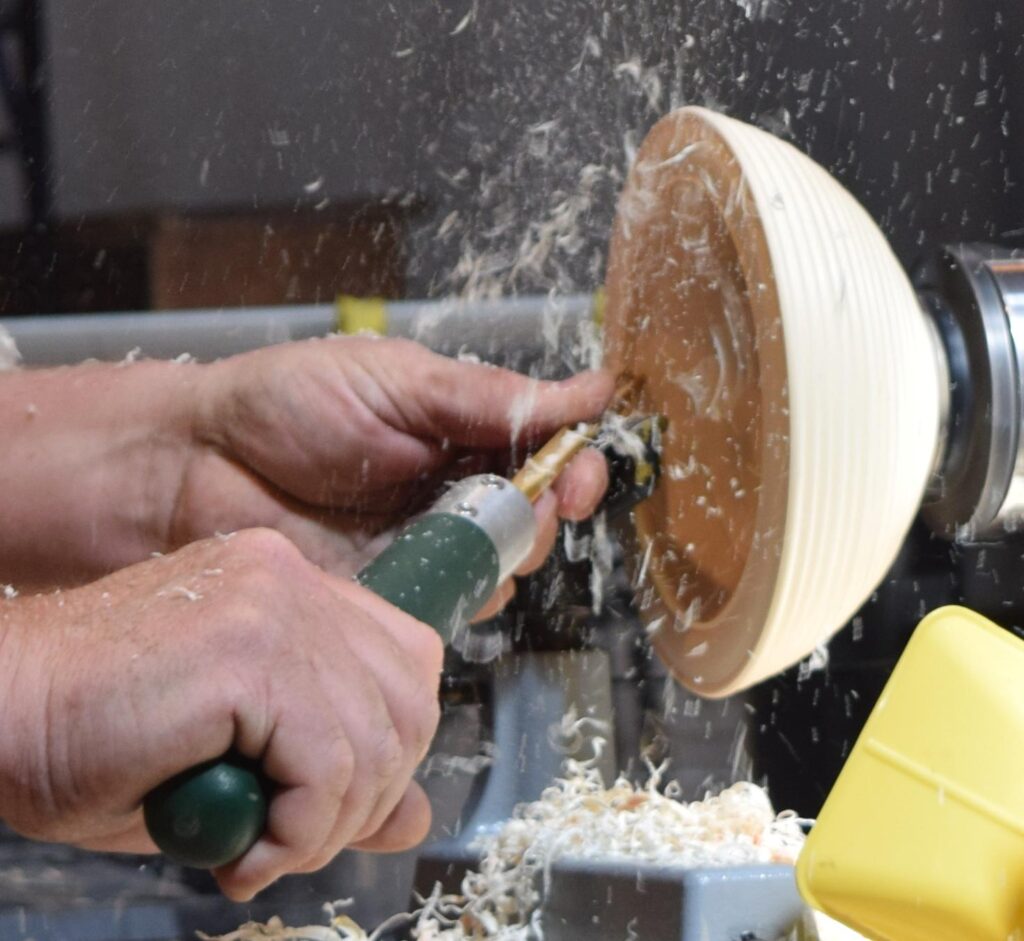
Thin-walled End Grain Bowl
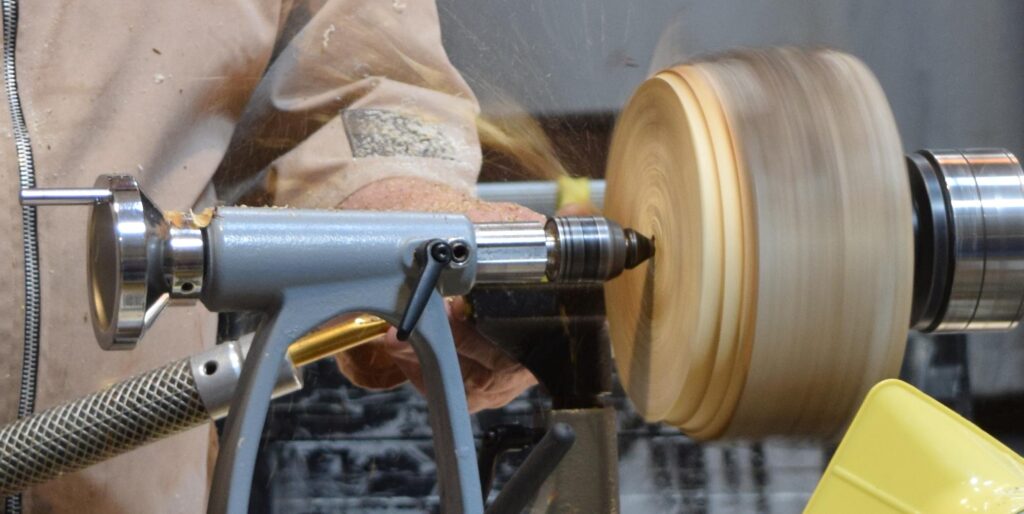
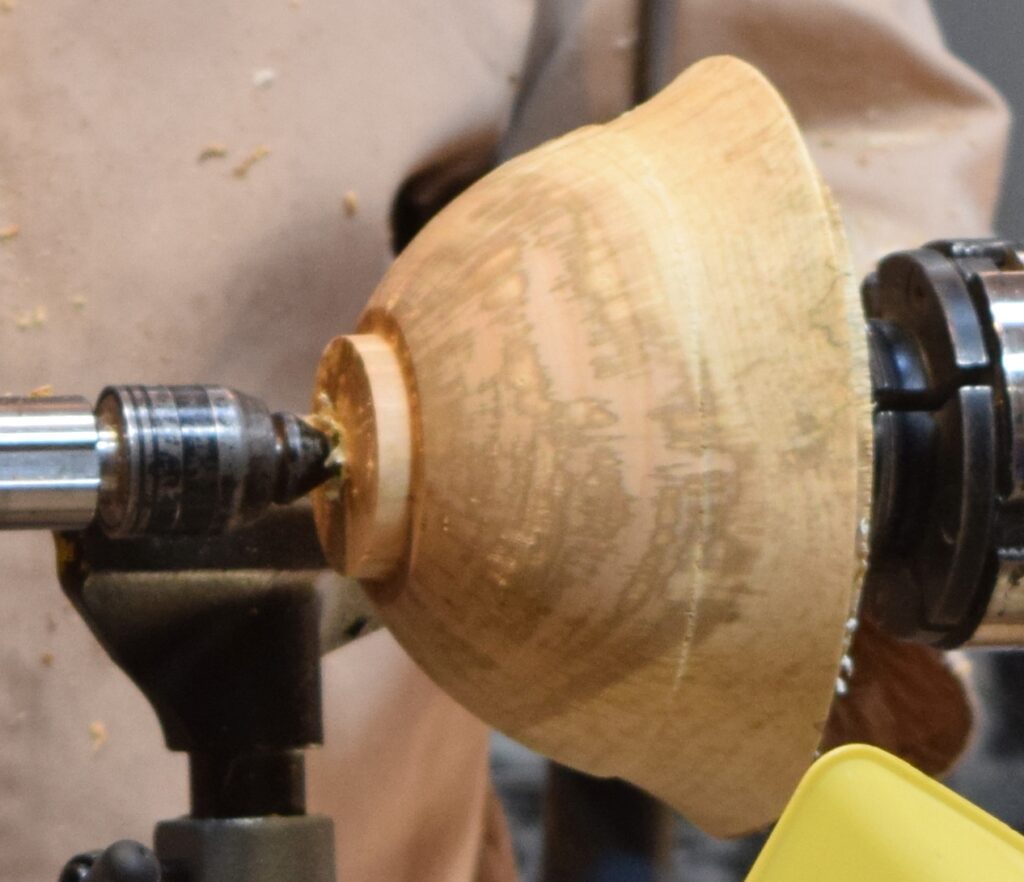
The wood was probably birch or cherry and was held on the lathe between a steb drive and a live cone drive. Roughly shape the bowl and create a spigot.
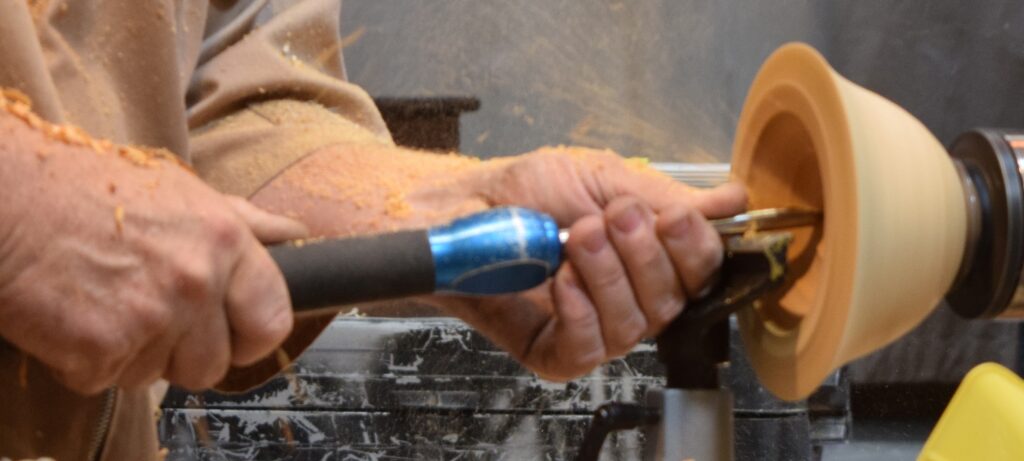
Mount in a chuck using the spigot. Hollow the bowl as you would a box. Les demonstrated various tools and methods including the 6mm Hollower. Les cleaned the rim and sides by scraping as the wood was a little punky. Les finished the demonstration by smashing the bowl in order to show the thinness and evenness of the bowl.