Review: Les Symonds Demo – Sunday 16th February, 2025
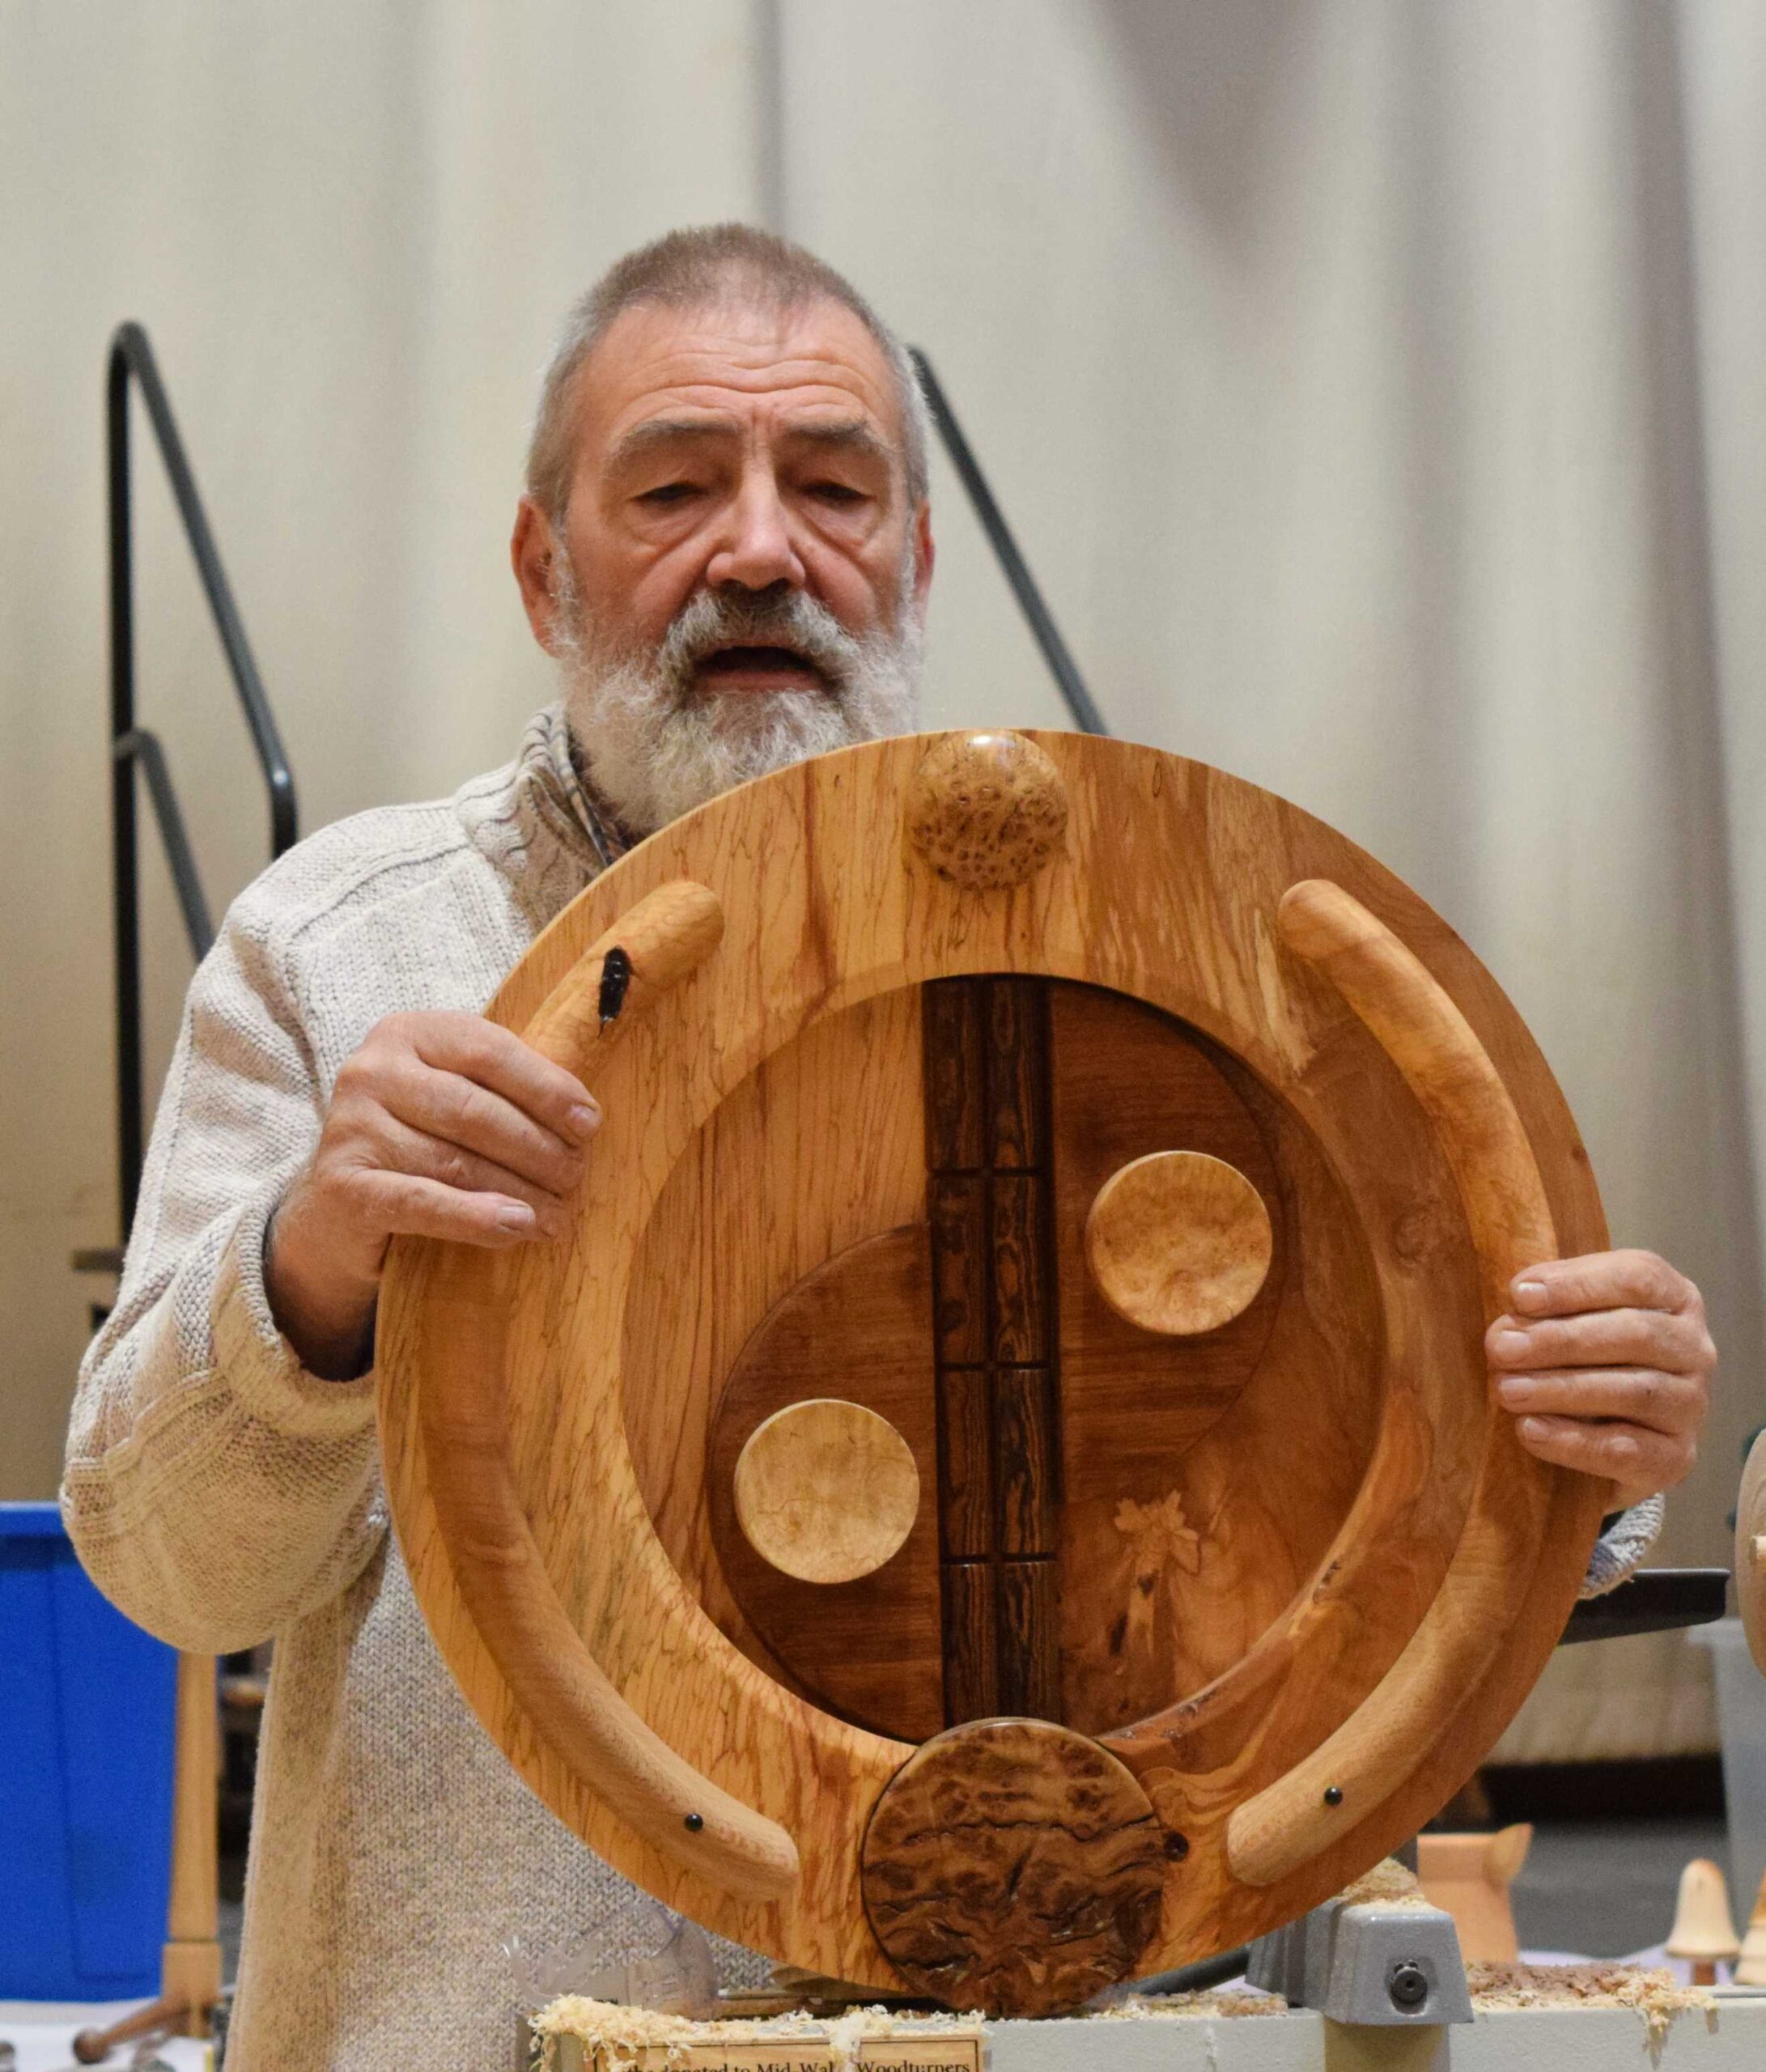
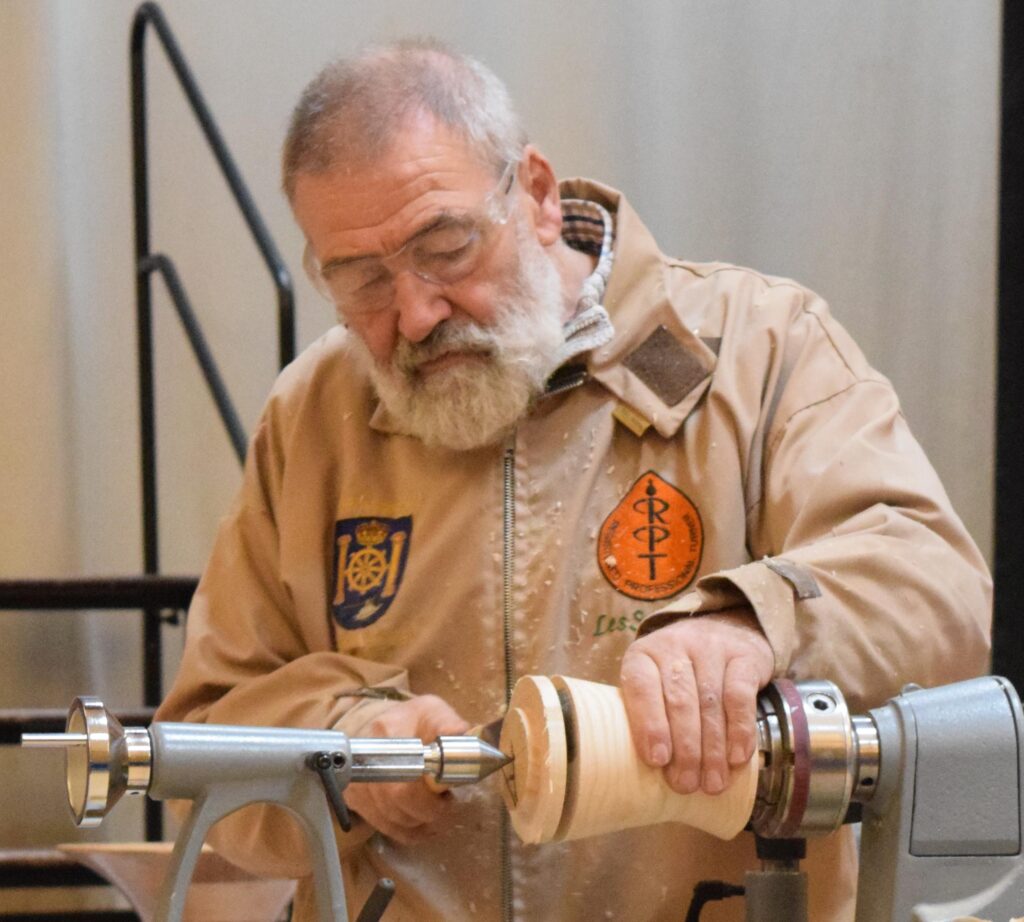
Following our AGM, Les Symonds gave an afternoon’s demonstration of a jug with a handle and spout. Apologies for the photo quality as the front row was further from the demonstrator than usual.
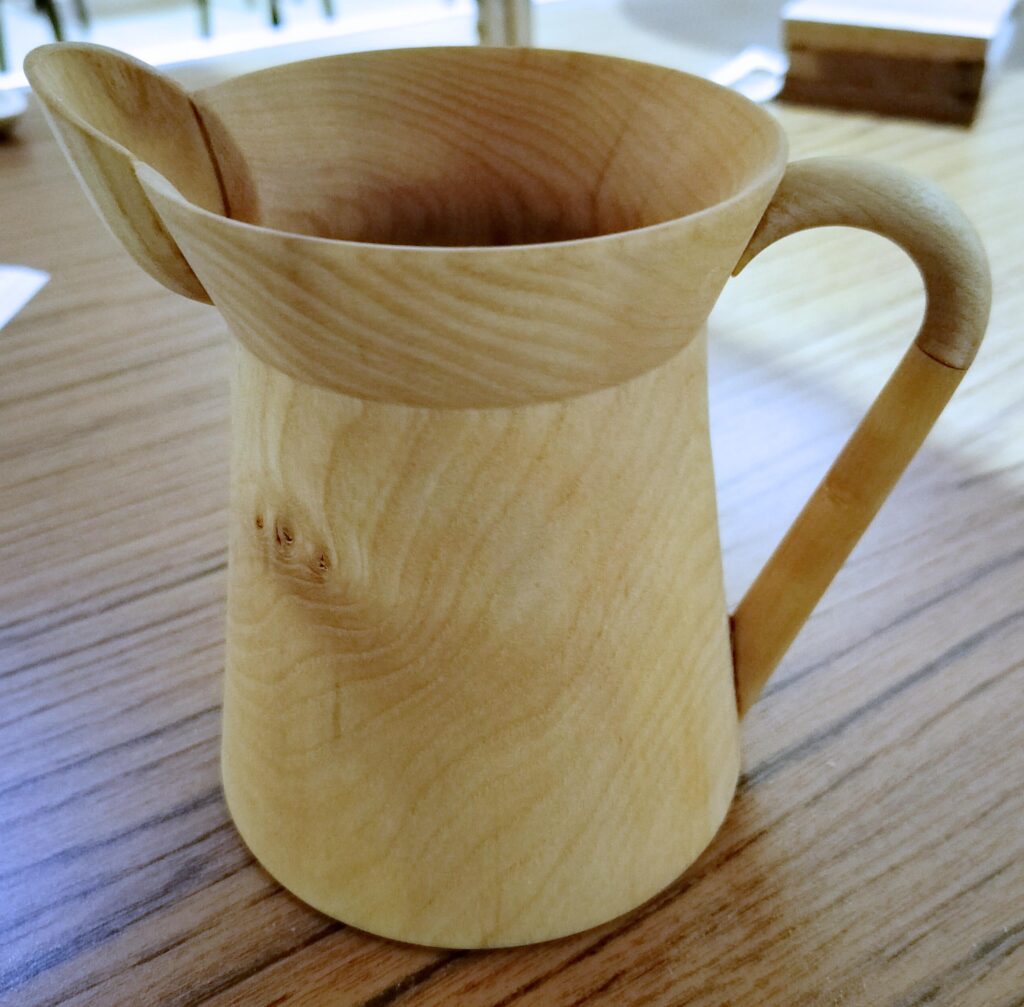
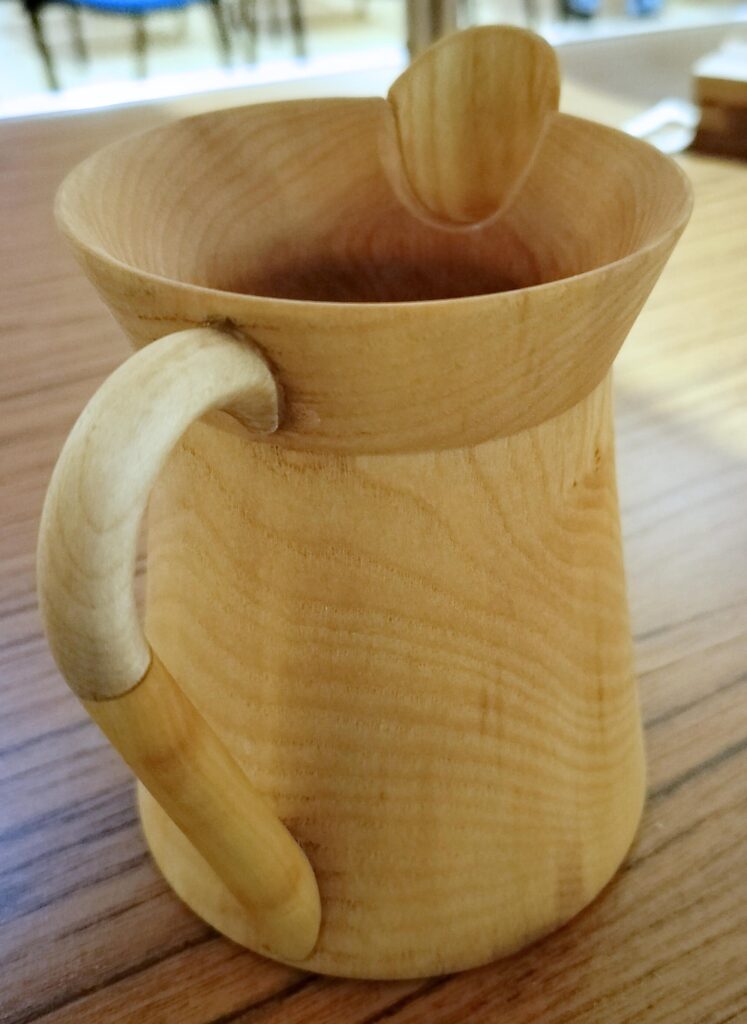
Jug with Handle and Spout
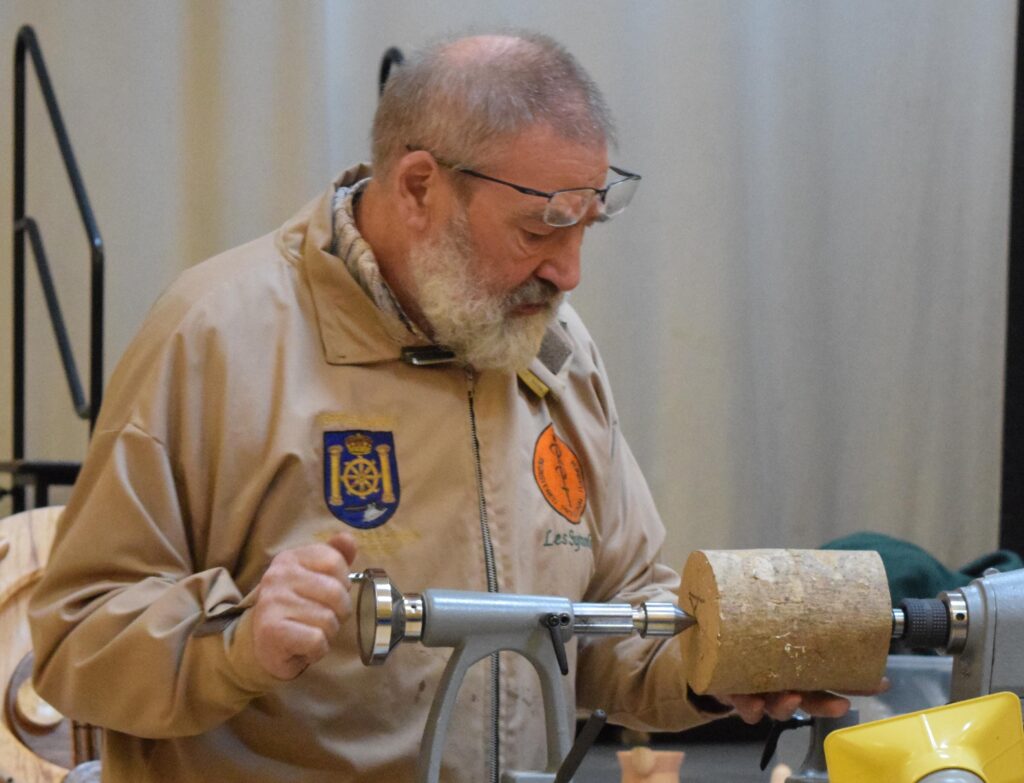
Les used an ash log mounted between a steb centre and a live cone centre.
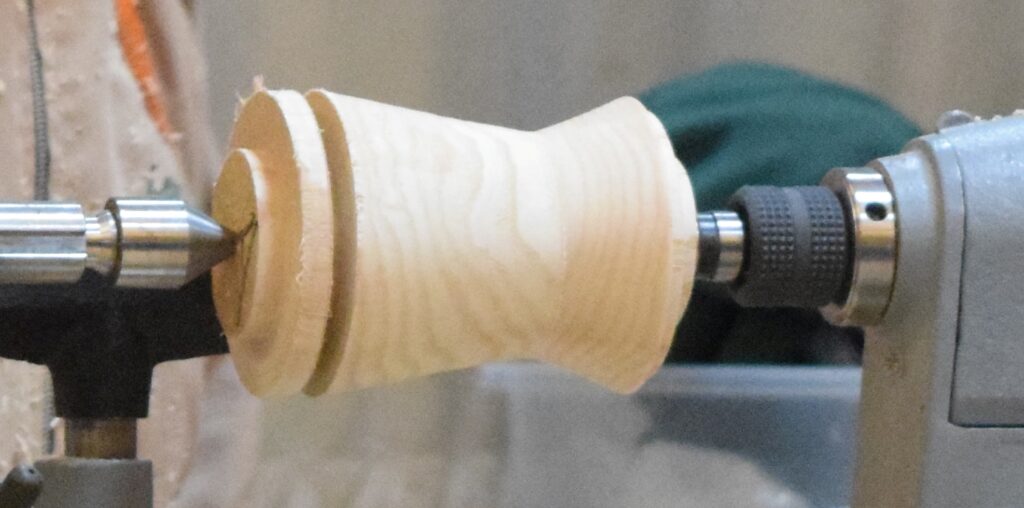
The log is rounded using a spindle roughing gouge. A smoother surface is achieved by turning the gouge to an angle with the bevel rubbing to give a shear cut.
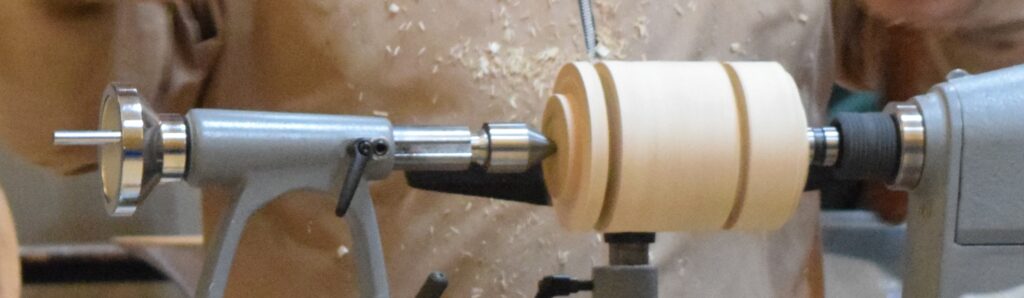
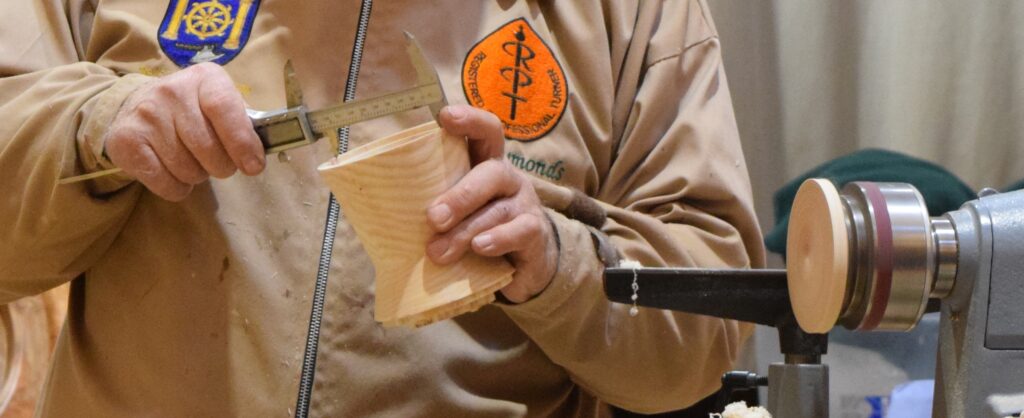
Create tenons at both ends. Mark one centimetre from the tailstock end with a pencil. This portion will be parted off to form a plug for the bottom of the jug. Start the parting off of the bottom plug with a parting tool. Then decide where the lip of the jug will be and use the parting tool to establish the depth of the lip. Shape the jug.
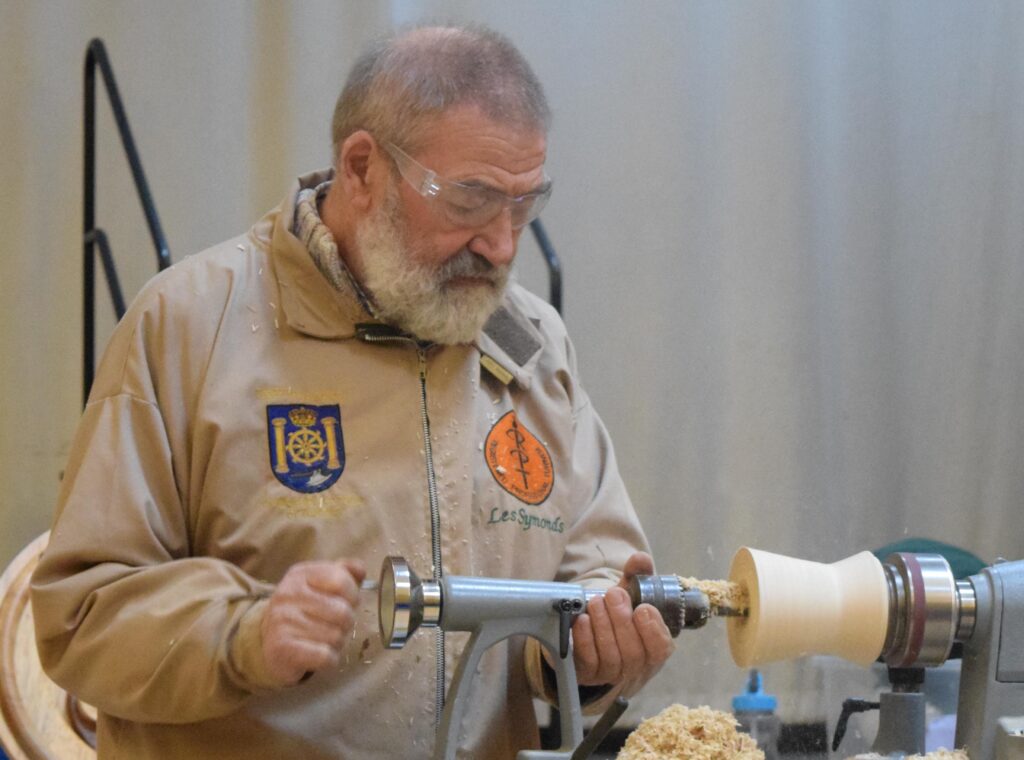
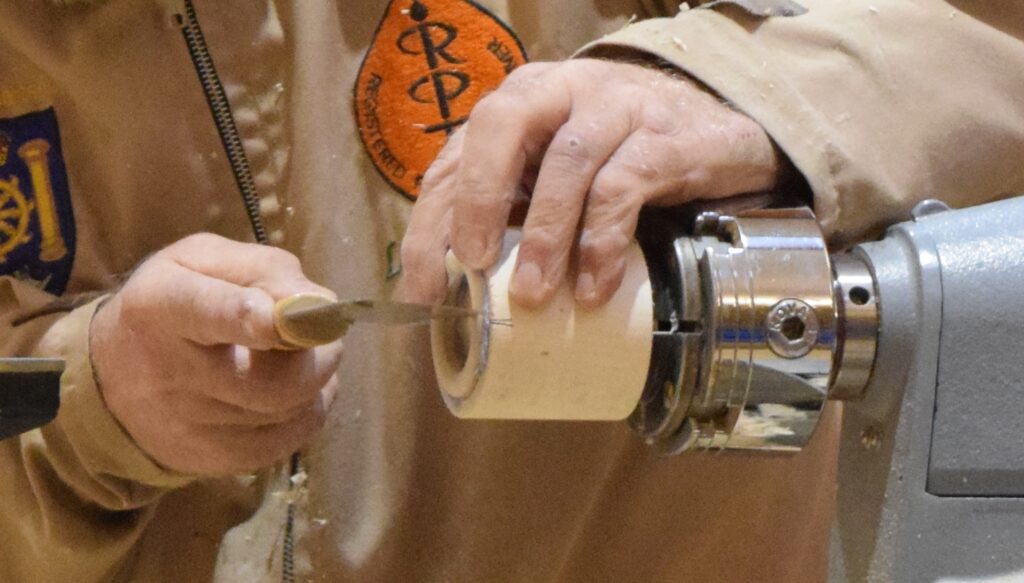
Hold the piece in a chuck. Fully part off the bottom plug. Drill a hole using a Forstner (saw tooth) bit to start off the hollowing.
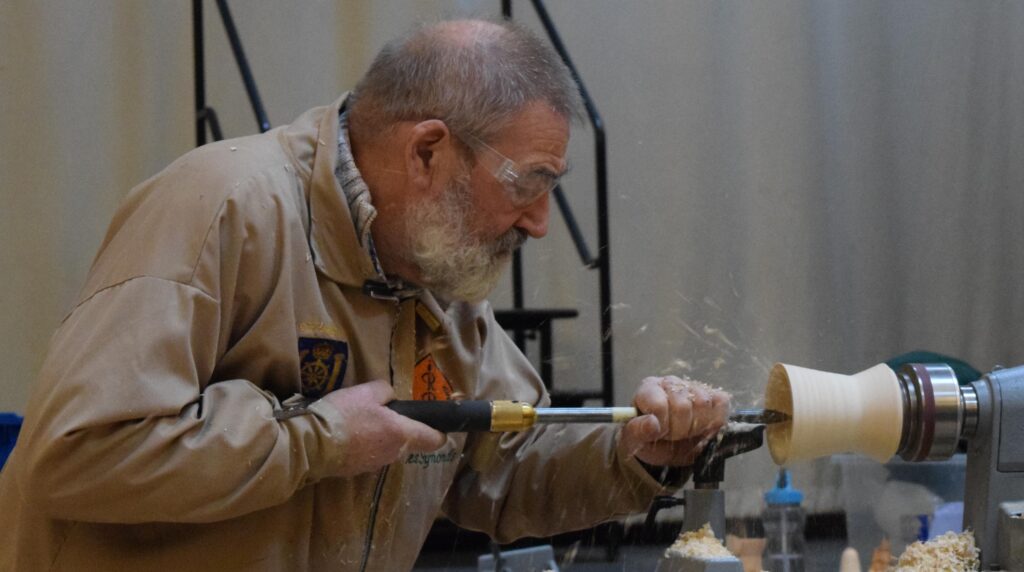
Use a skew chisel to cut a rebate for the bottom plug. Complete the hollowing. Les used the Hope 6mm hollower and a bowl gouge. The aim is to hollow just beyond the lip. The remaining hollowing will be done later.
Mount the plug in the chuck. Clean up the surface using a spindle gouge. This will become the inside bottom of the jug. Measure the diameter of the rebate in the jug using callipers and transfer the dimension to the plug. Reduce the diameter of the plug and test fit. Use two-part epoxy to glue the jug to the plug. Leave overnight to cure. Les coats the face of the plug with epoxy too, as there is always glue seepage and this helps to disguise it.
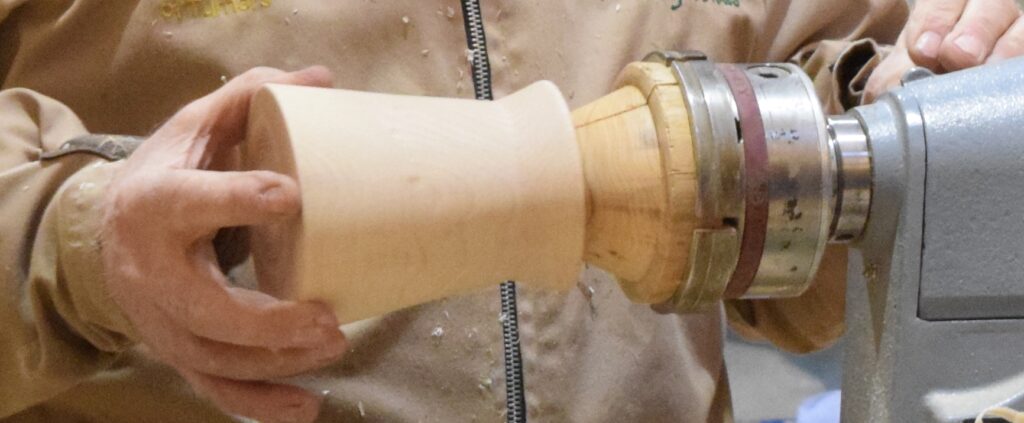
To complete the jug, mount the piece in a chuck using the tenon on the plug. Hollow out the other end.
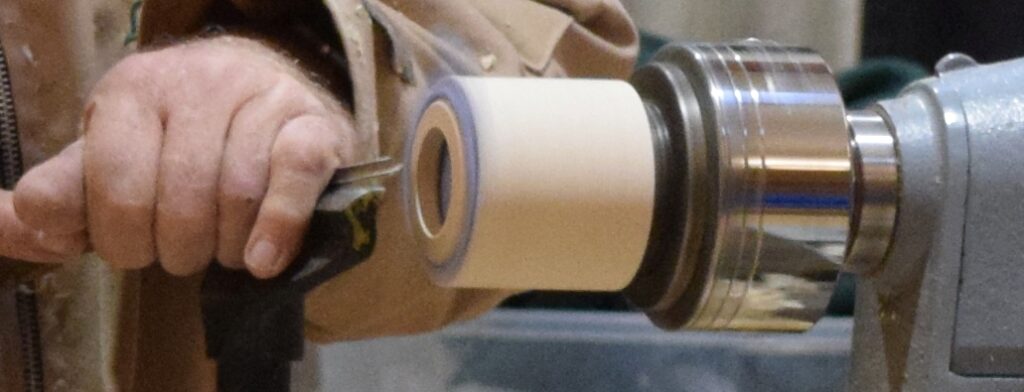
The bottom tenon is removed using a jam chuck supported by the tailstock.
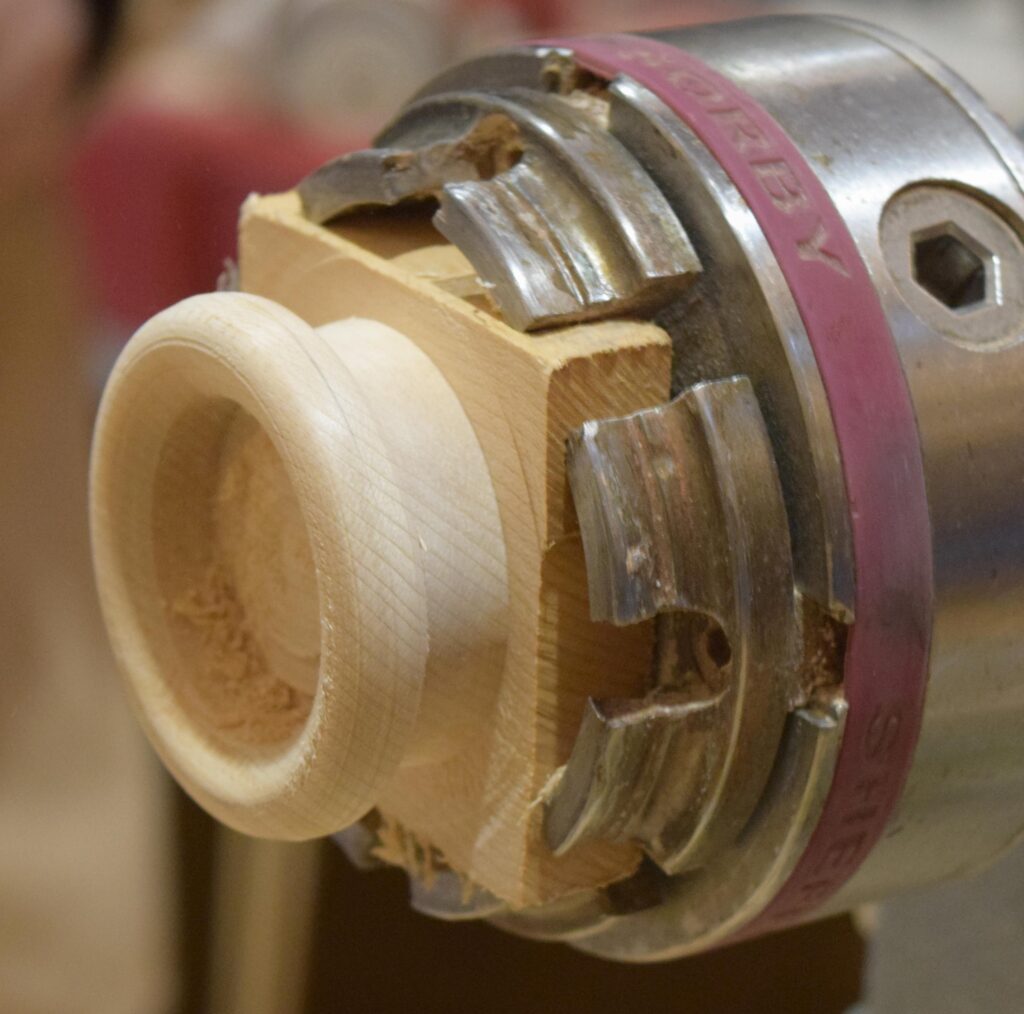
The handle is made in two sections. The straight section is a simple spindle turn. The round section is made by holding a square piece of timber in the chuck jaws. The piece is rounded. Use a pencil to mark 5mm in from the edge, and 10mm in from the edge on both the face and side. Remove the material inside the 10mm mark using a parting tool.
Round over the inner edge to form a quarter quadrant using a spindle gouge. Then do the same to the outer edge to form half a donut. Then use a parting tool to remove the material beyond the second 10mm mark. Continue to round to form three circular quadrants of the donut. Part off.
To complete the donut shape we use a jam chuck.
The donut is cut in half. The two parts of the handle are joined by inserting a short brass pin for strength and epoxy glue. Create a paper template of the shape of the jug and use this to determine the angles at which to trim the ends of the handle. Place the handle against the jug and draw the profile of where the handle meets the jug. Flatten the area using a regular hand chisel. Glue the handle to the jug. Les didn’t demonstrate the spout, but this is essentially a small bowl with piece cut off.
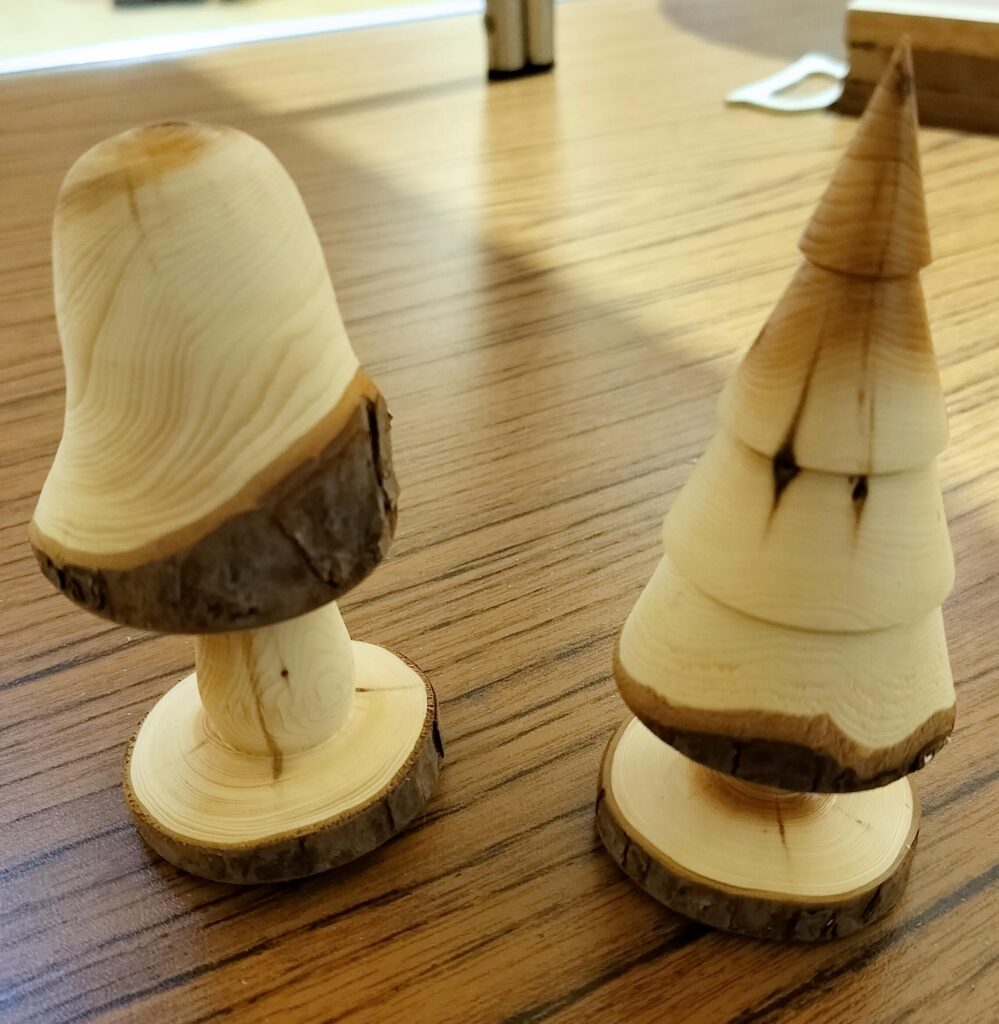
Les finished off the afternoon’s demo with a tree and a mushroom.