Review: John Morgan Demo – Sunday 19th January 2025
John gave us a full day’s demonstration consisting of projects for the beginner and the more experienced turner. In the morning, John demonstrated a vase with a slotted decoration, a platter with a pierced rim, and a quick bottle. In the afternoon, he demonstrated how to create two very different dishes using half logs.
Further details can be found in the February 2025 newsletter.
Vase with a Slotted Decoration
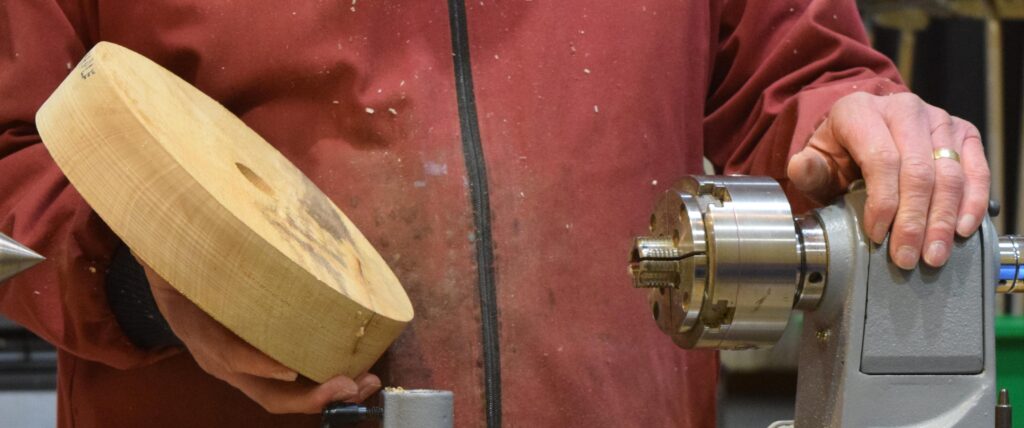
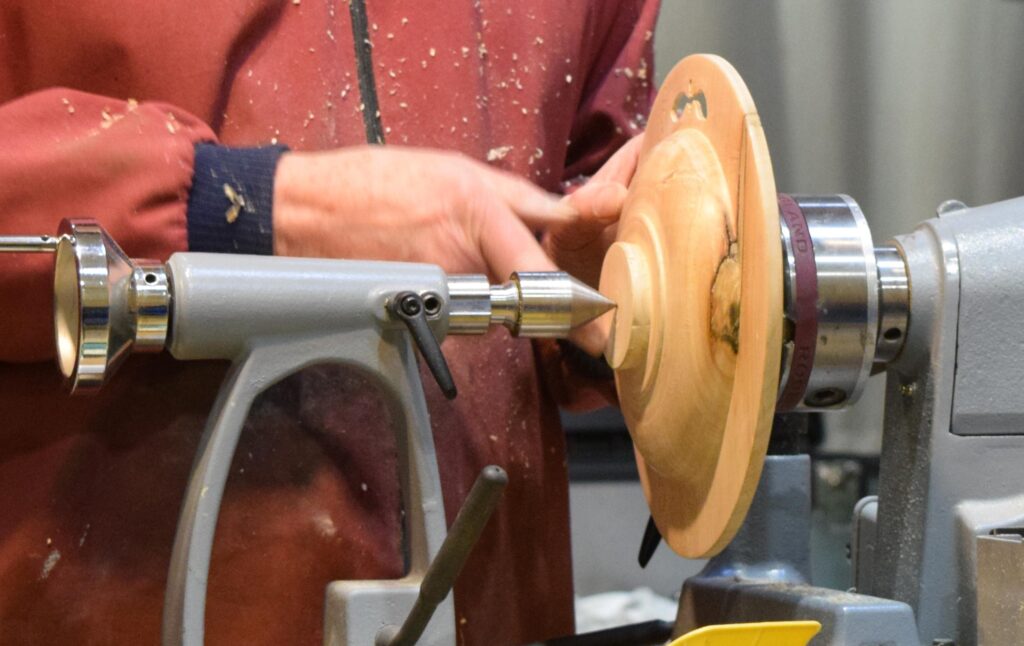
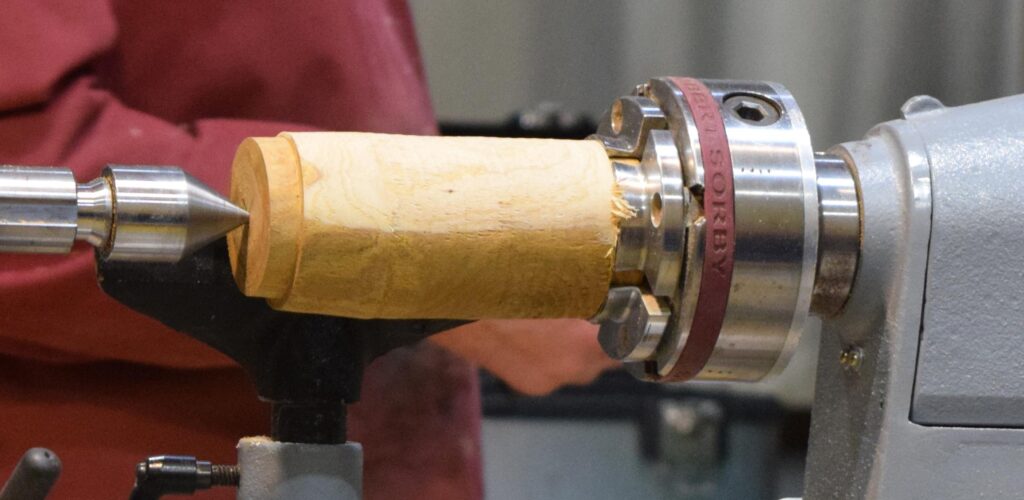
For the vase, John used a fairly green walnut log which was held between a 4 prong drive and a tailstock cone centre.
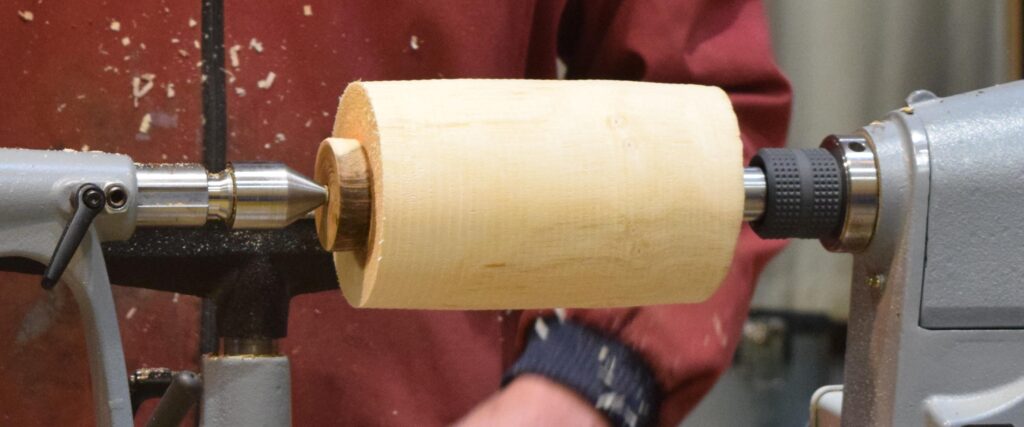
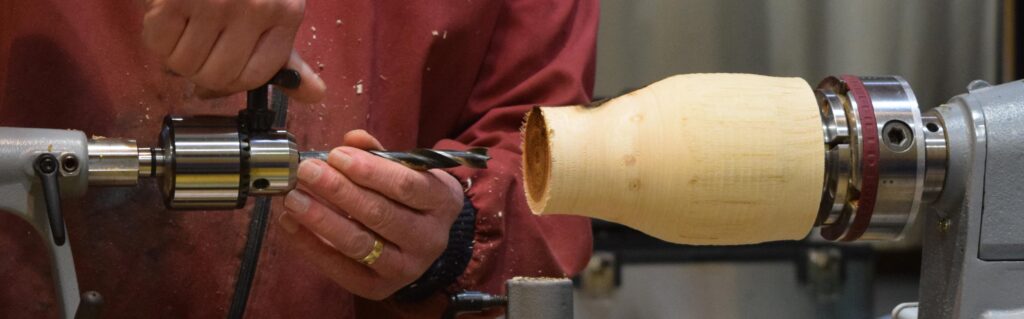
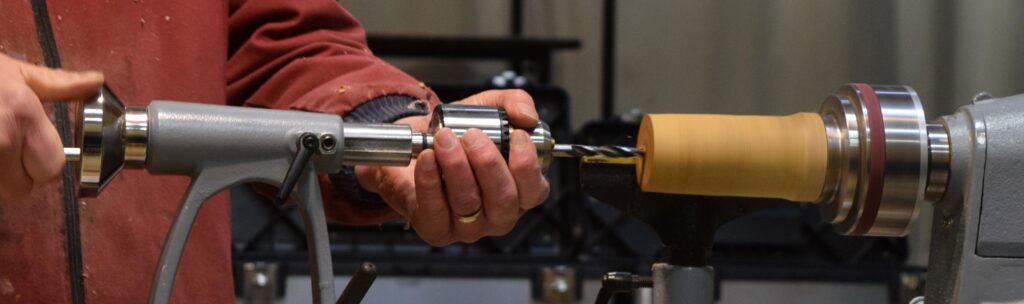
Round the log and create a deep dovetailed tenon. Hold the piece in a chuck with 50mm jaws. Roughly shape the vase. Drill a hole using a Jacob’s drill chuck in the tailstock. Always keep your hand on the drill chuck when pulling it out of the piece. Also beware that the bit will get hot. Drill a little at a time and clear out the savings. You could drill wide enough to accommodate a glass or plastic insert so that the vase can hold water.
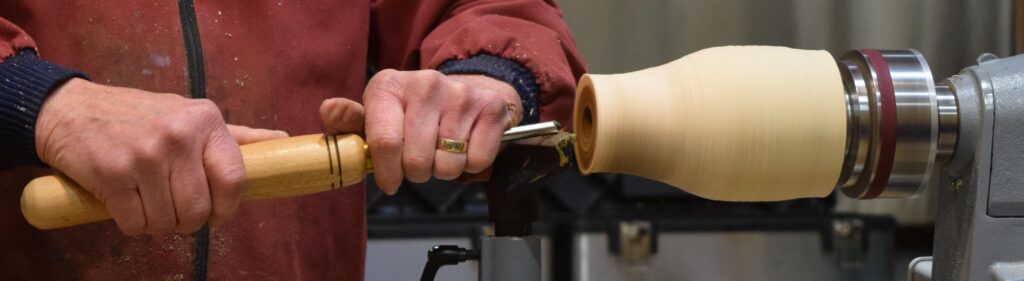
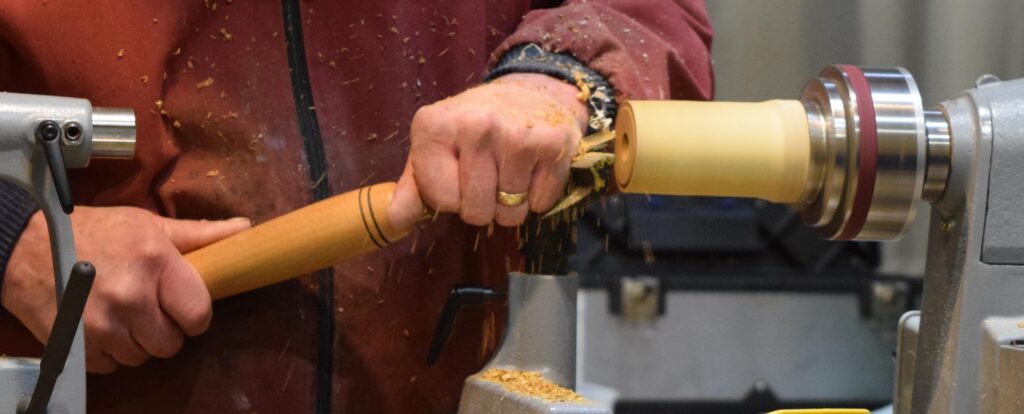
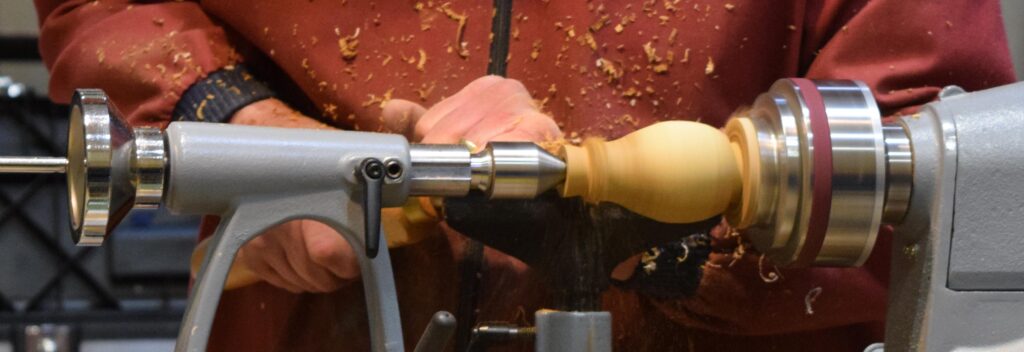
Widen the opening using a spindle gouge. Support the piece by a cone centre in the tailstock. Refine the shape using a spindle gouge.
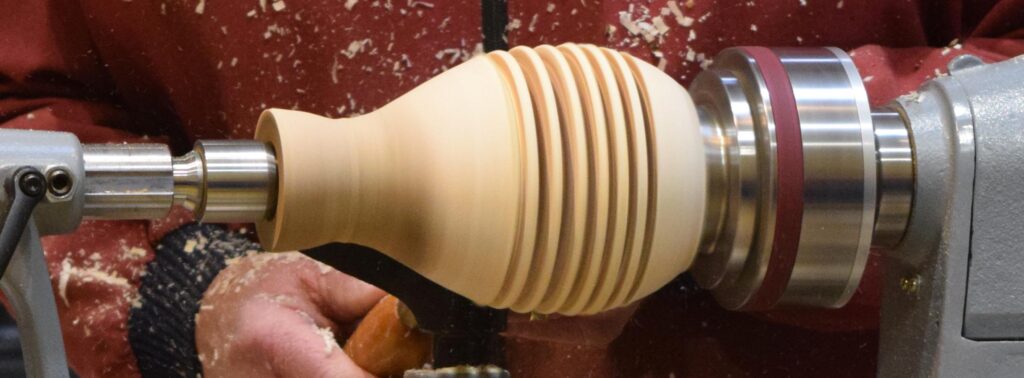
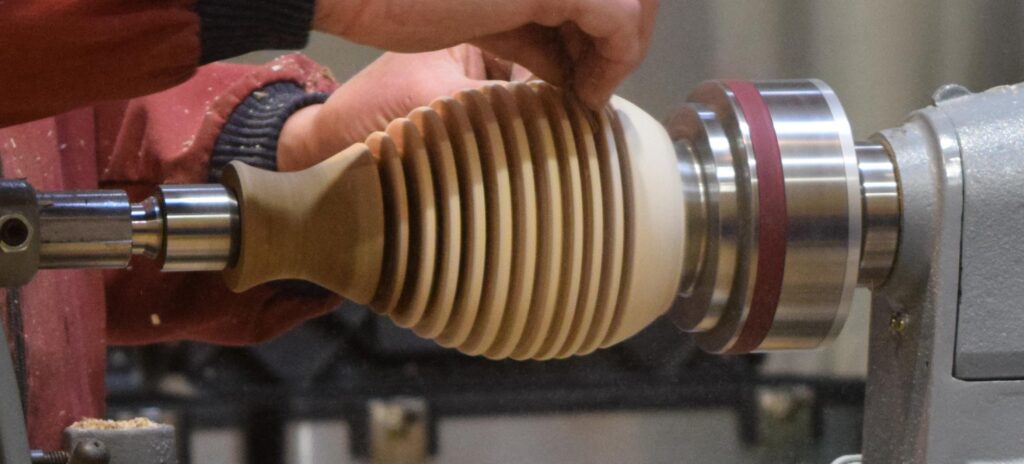
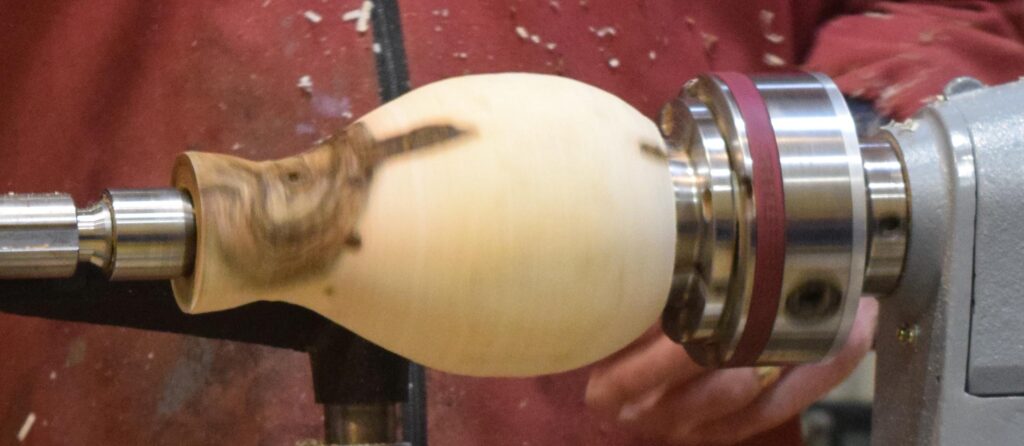
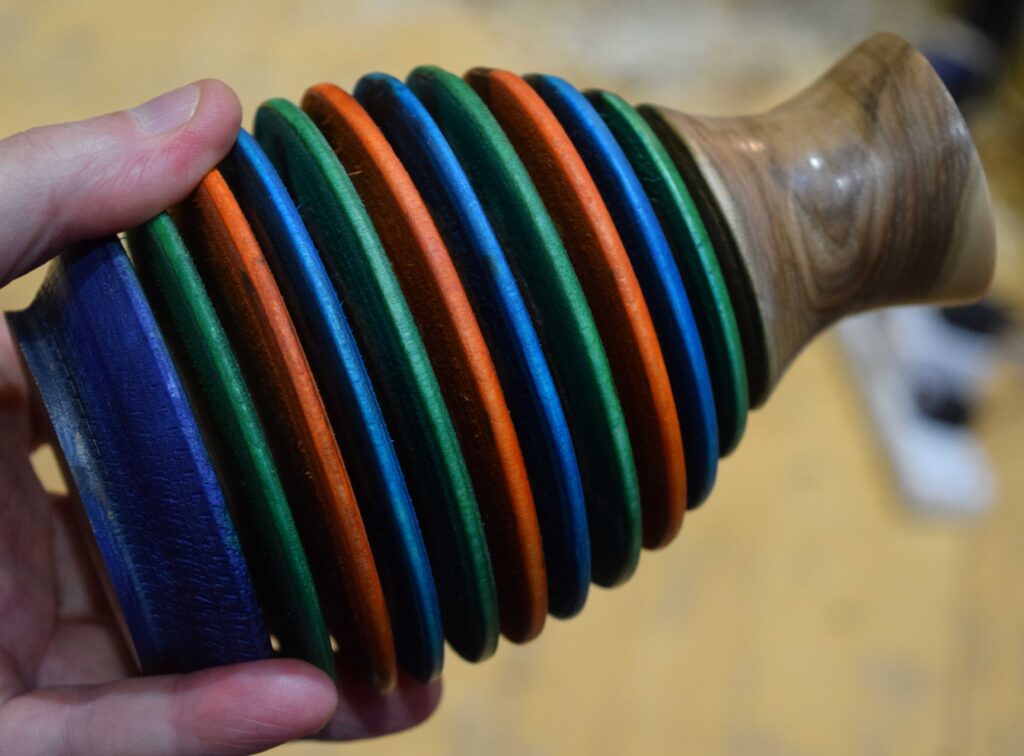
Cut a series of equally spaces slots using a parting tool. Remember to create wiggle room as you cut deeper. You need to take care not to snap off one of the rings. Gently sand in between the rings. The vase could be coloured at this stage (see below).
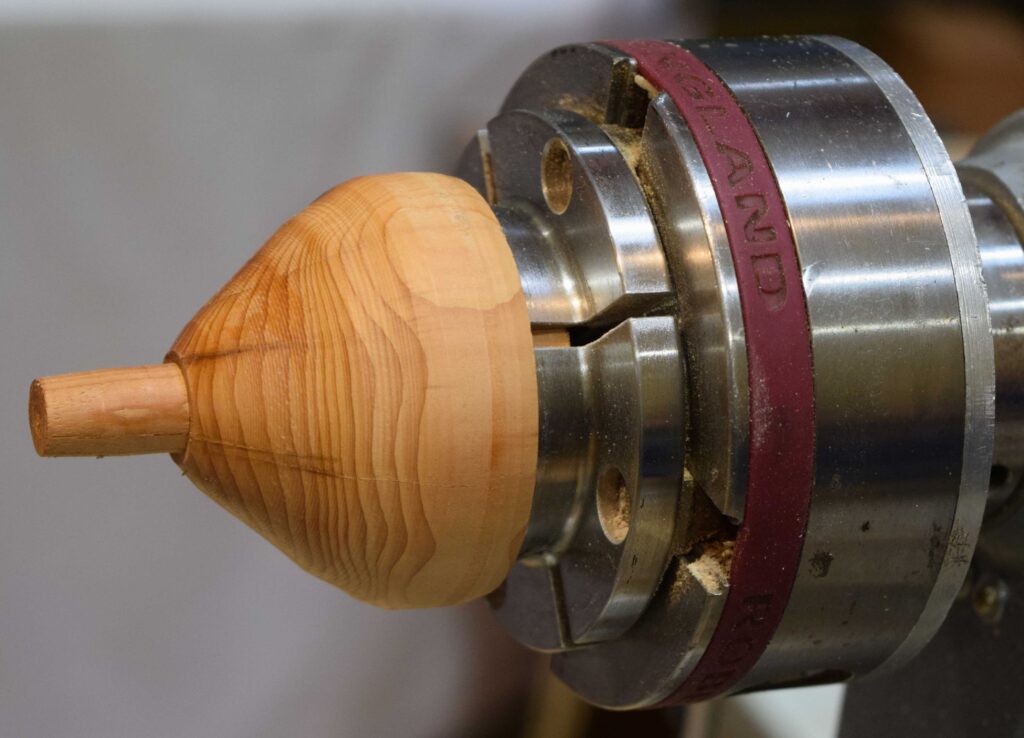
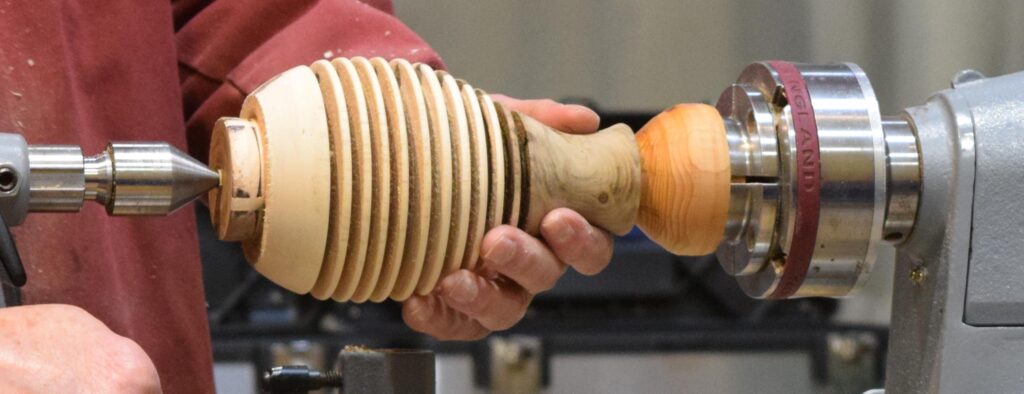
Reverse turn to remove the tenon. John made a wood chuck to hold the vase. The vase is supported by the cone centre in the tailstock and most of the tenon is removed. The final nub is removed and sanded by hand. Here is one John made earlier.
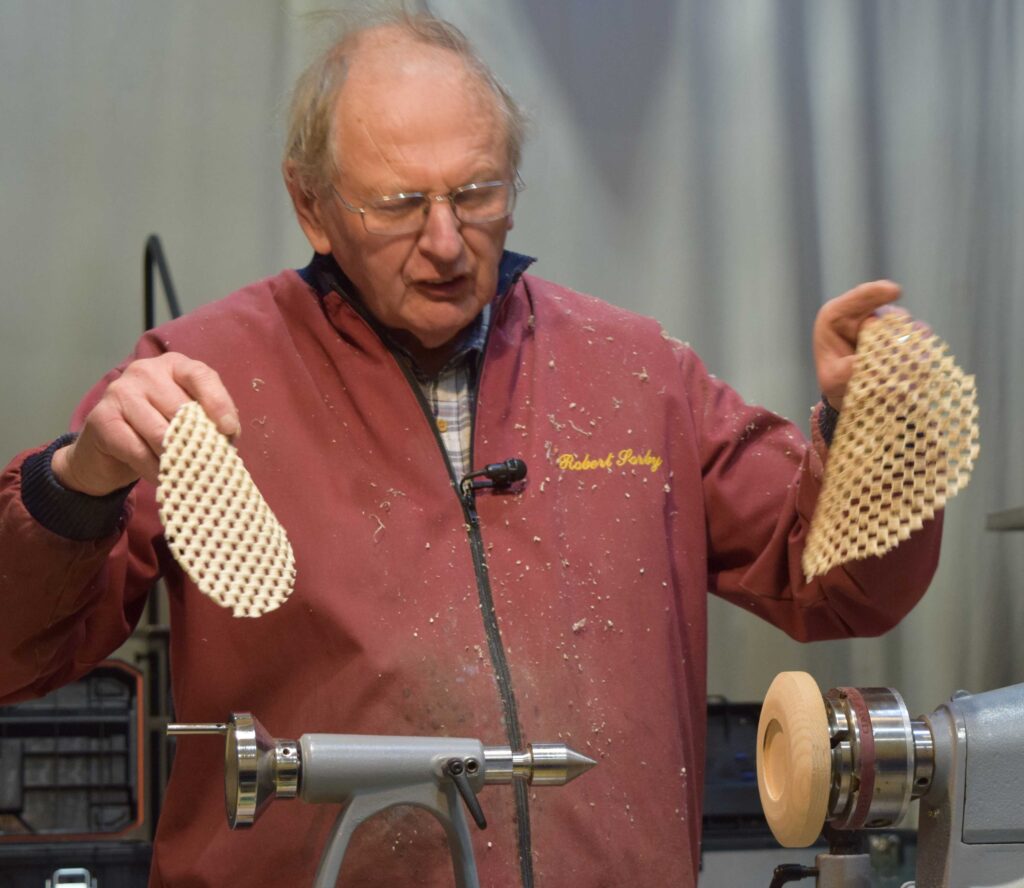
Platter with a Pierced Rim
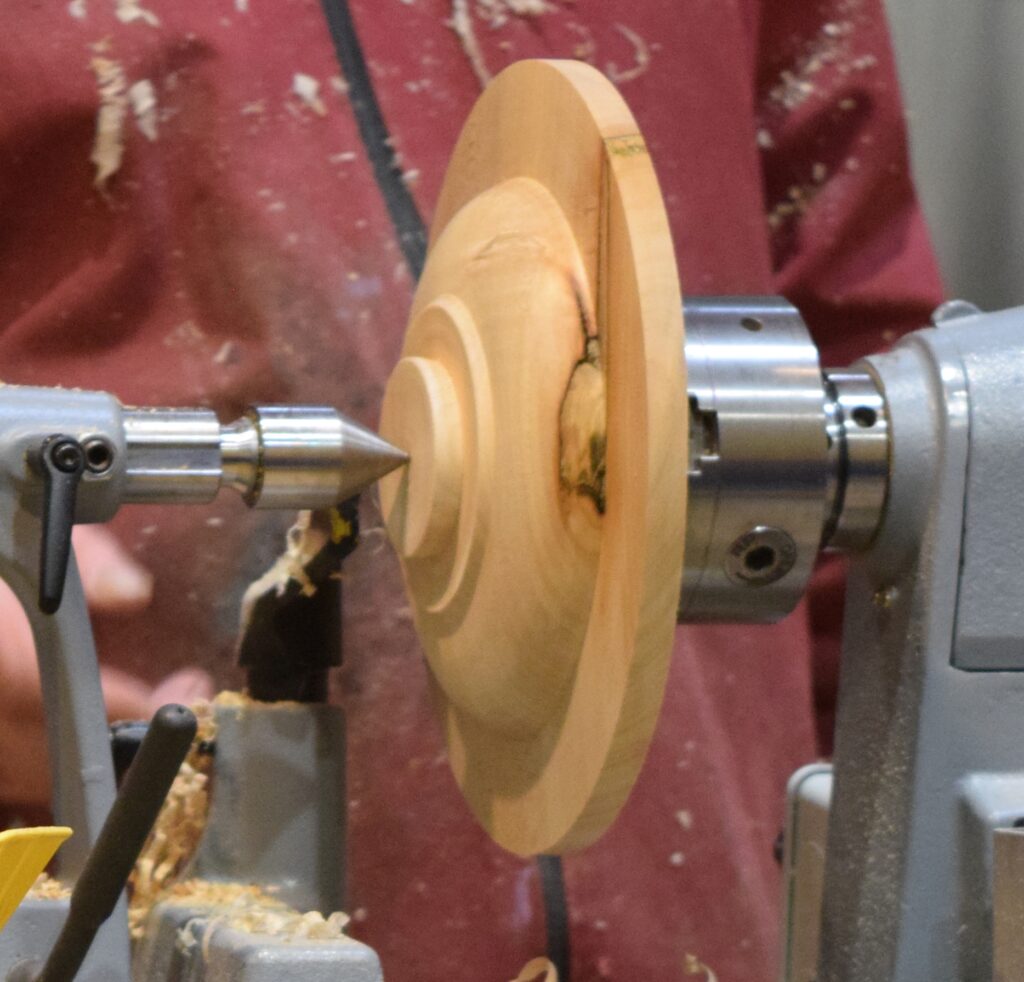
John used a maple blank, but sycamore, cherry, or elm would also work. Drill a centre hole to take 1” gripper jaws. Mount on a chuck and support with the tailstock. True up the face using a bowl gouge. Turn to round and roughly shape. Create a tenon using a bowl gouge and make the dovetail with a parting tool. Begin refining the shape. True up the reverse side. Size the foot diameter, establish the rim thickness and the final shape. Sand and finish.
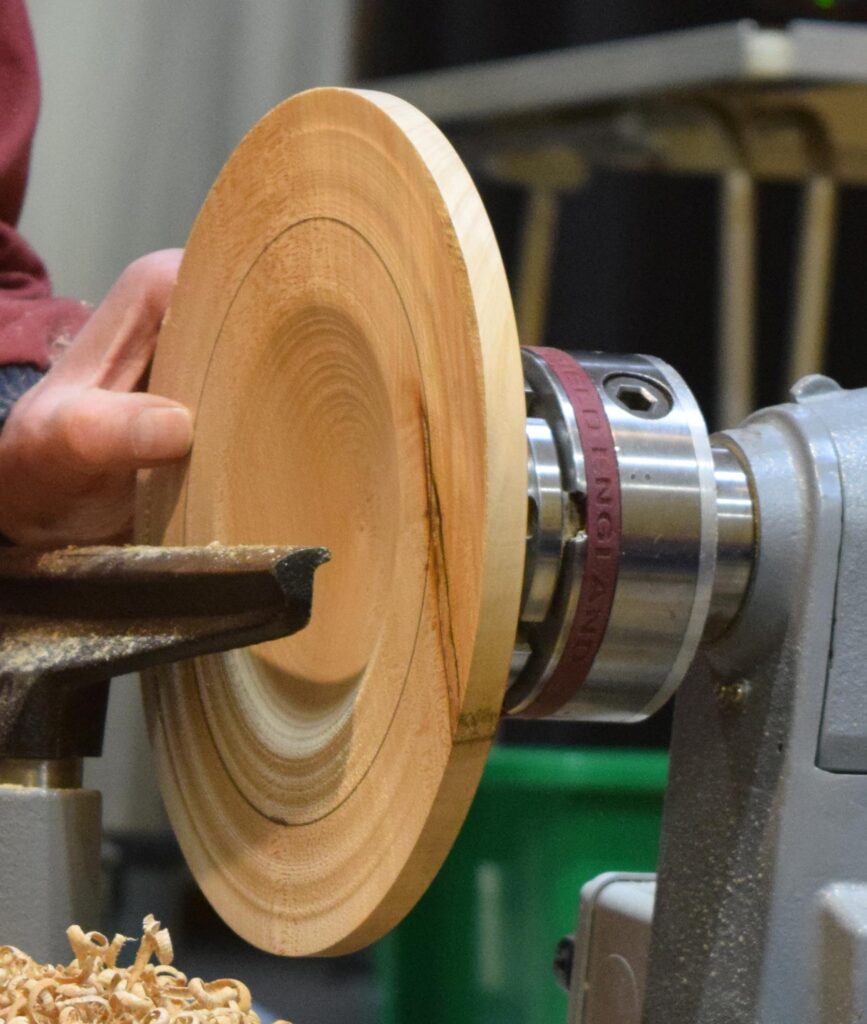
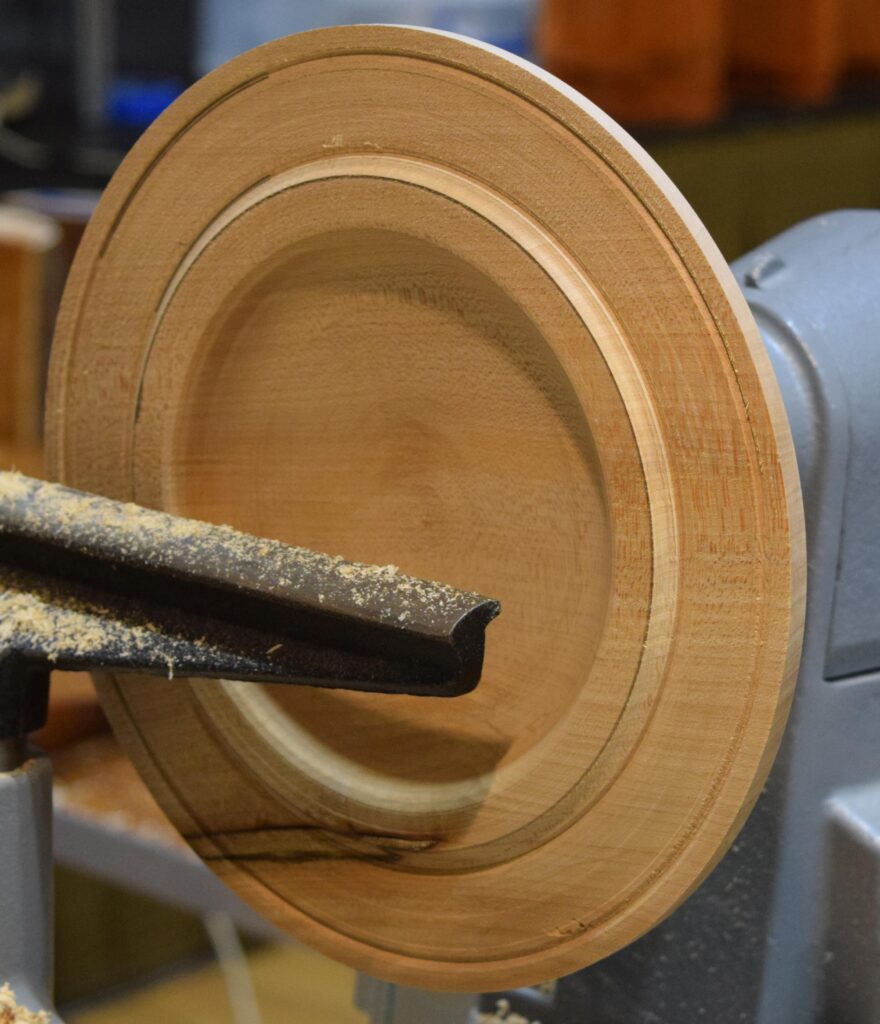
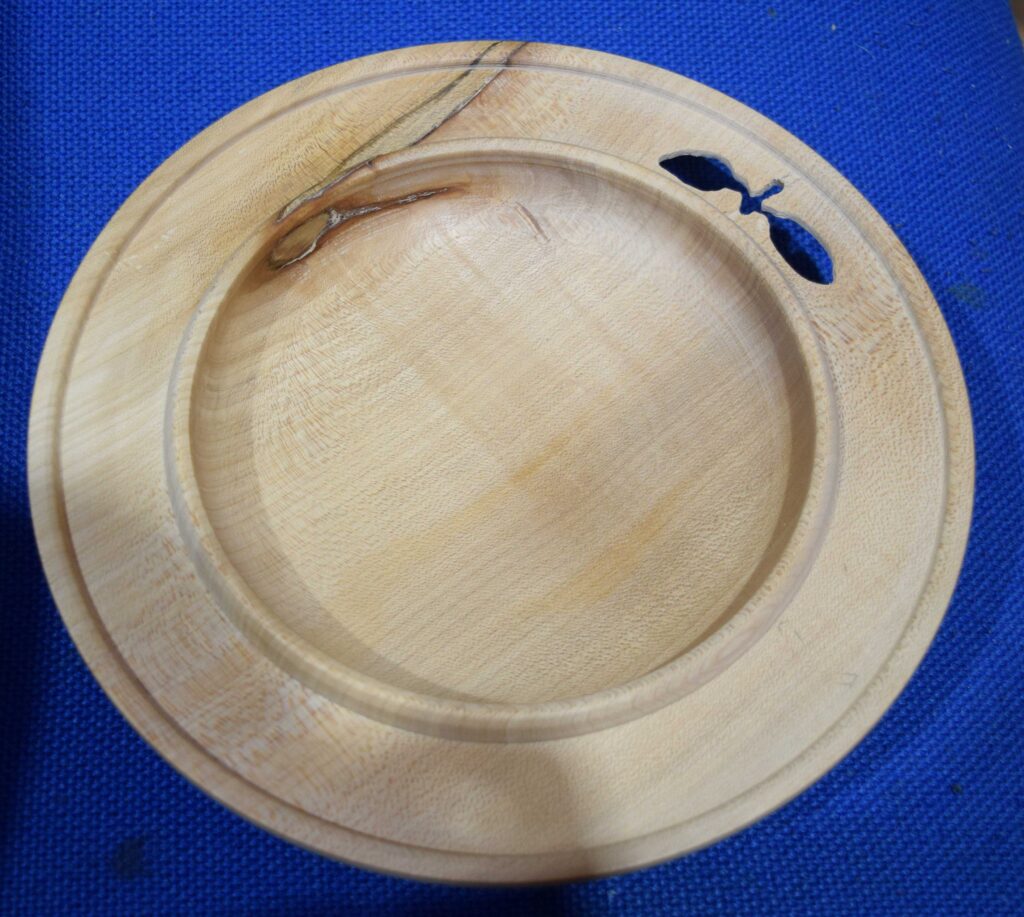
Reverse and hold in a chuck by the tenon. True up the face. Hollow out the central area. Mark the rim location with a pencil and continue to hollow. John created a raised feature around the hollow and created a groove about 1cm in from the edge. The aim is to thin out the area between the 1cm rim of the platter and the raised rim of the inner hollow ready for piercing. Try to obtain an even thickness by measuring with callipers. John turned the area to approximately 5mm thick.
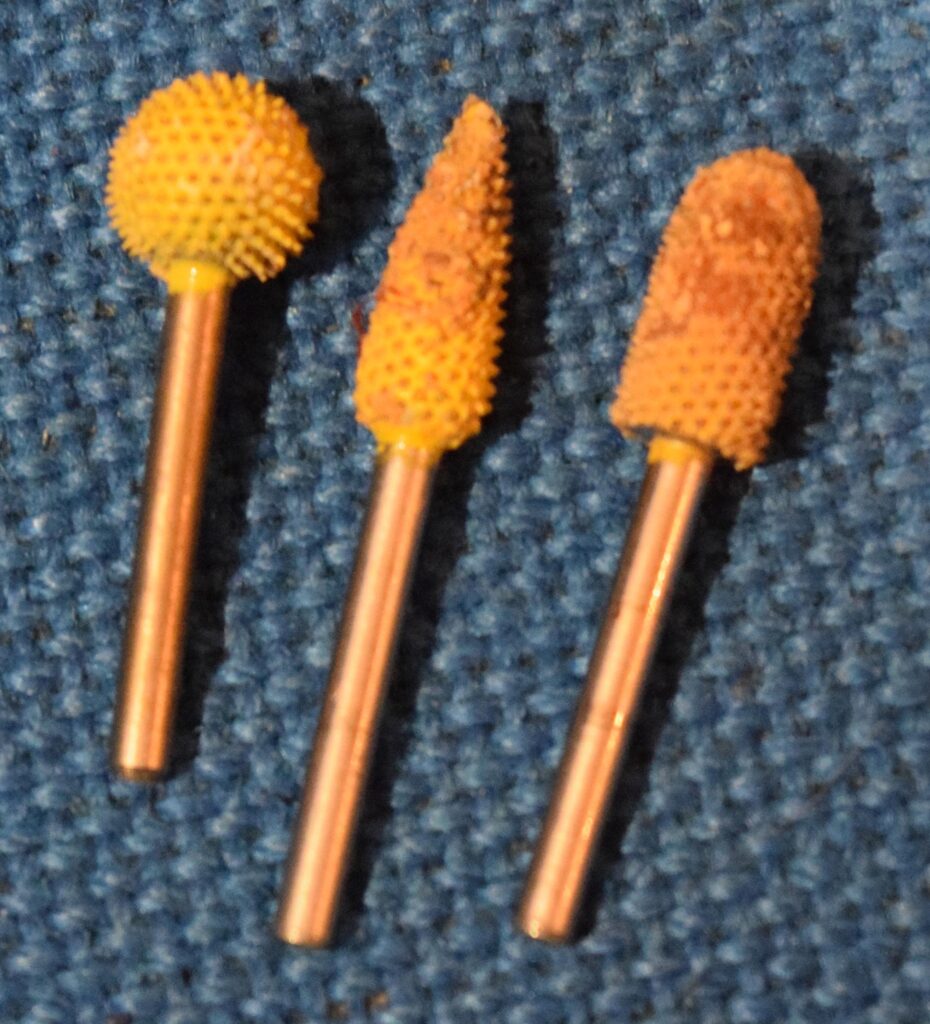
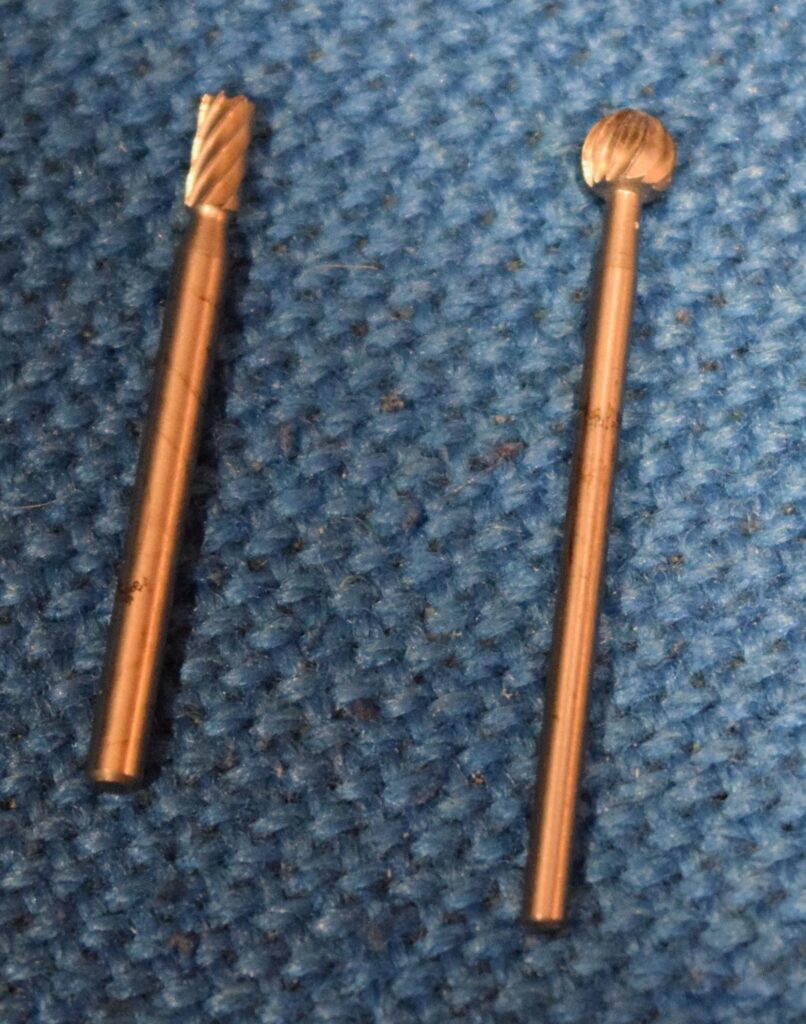
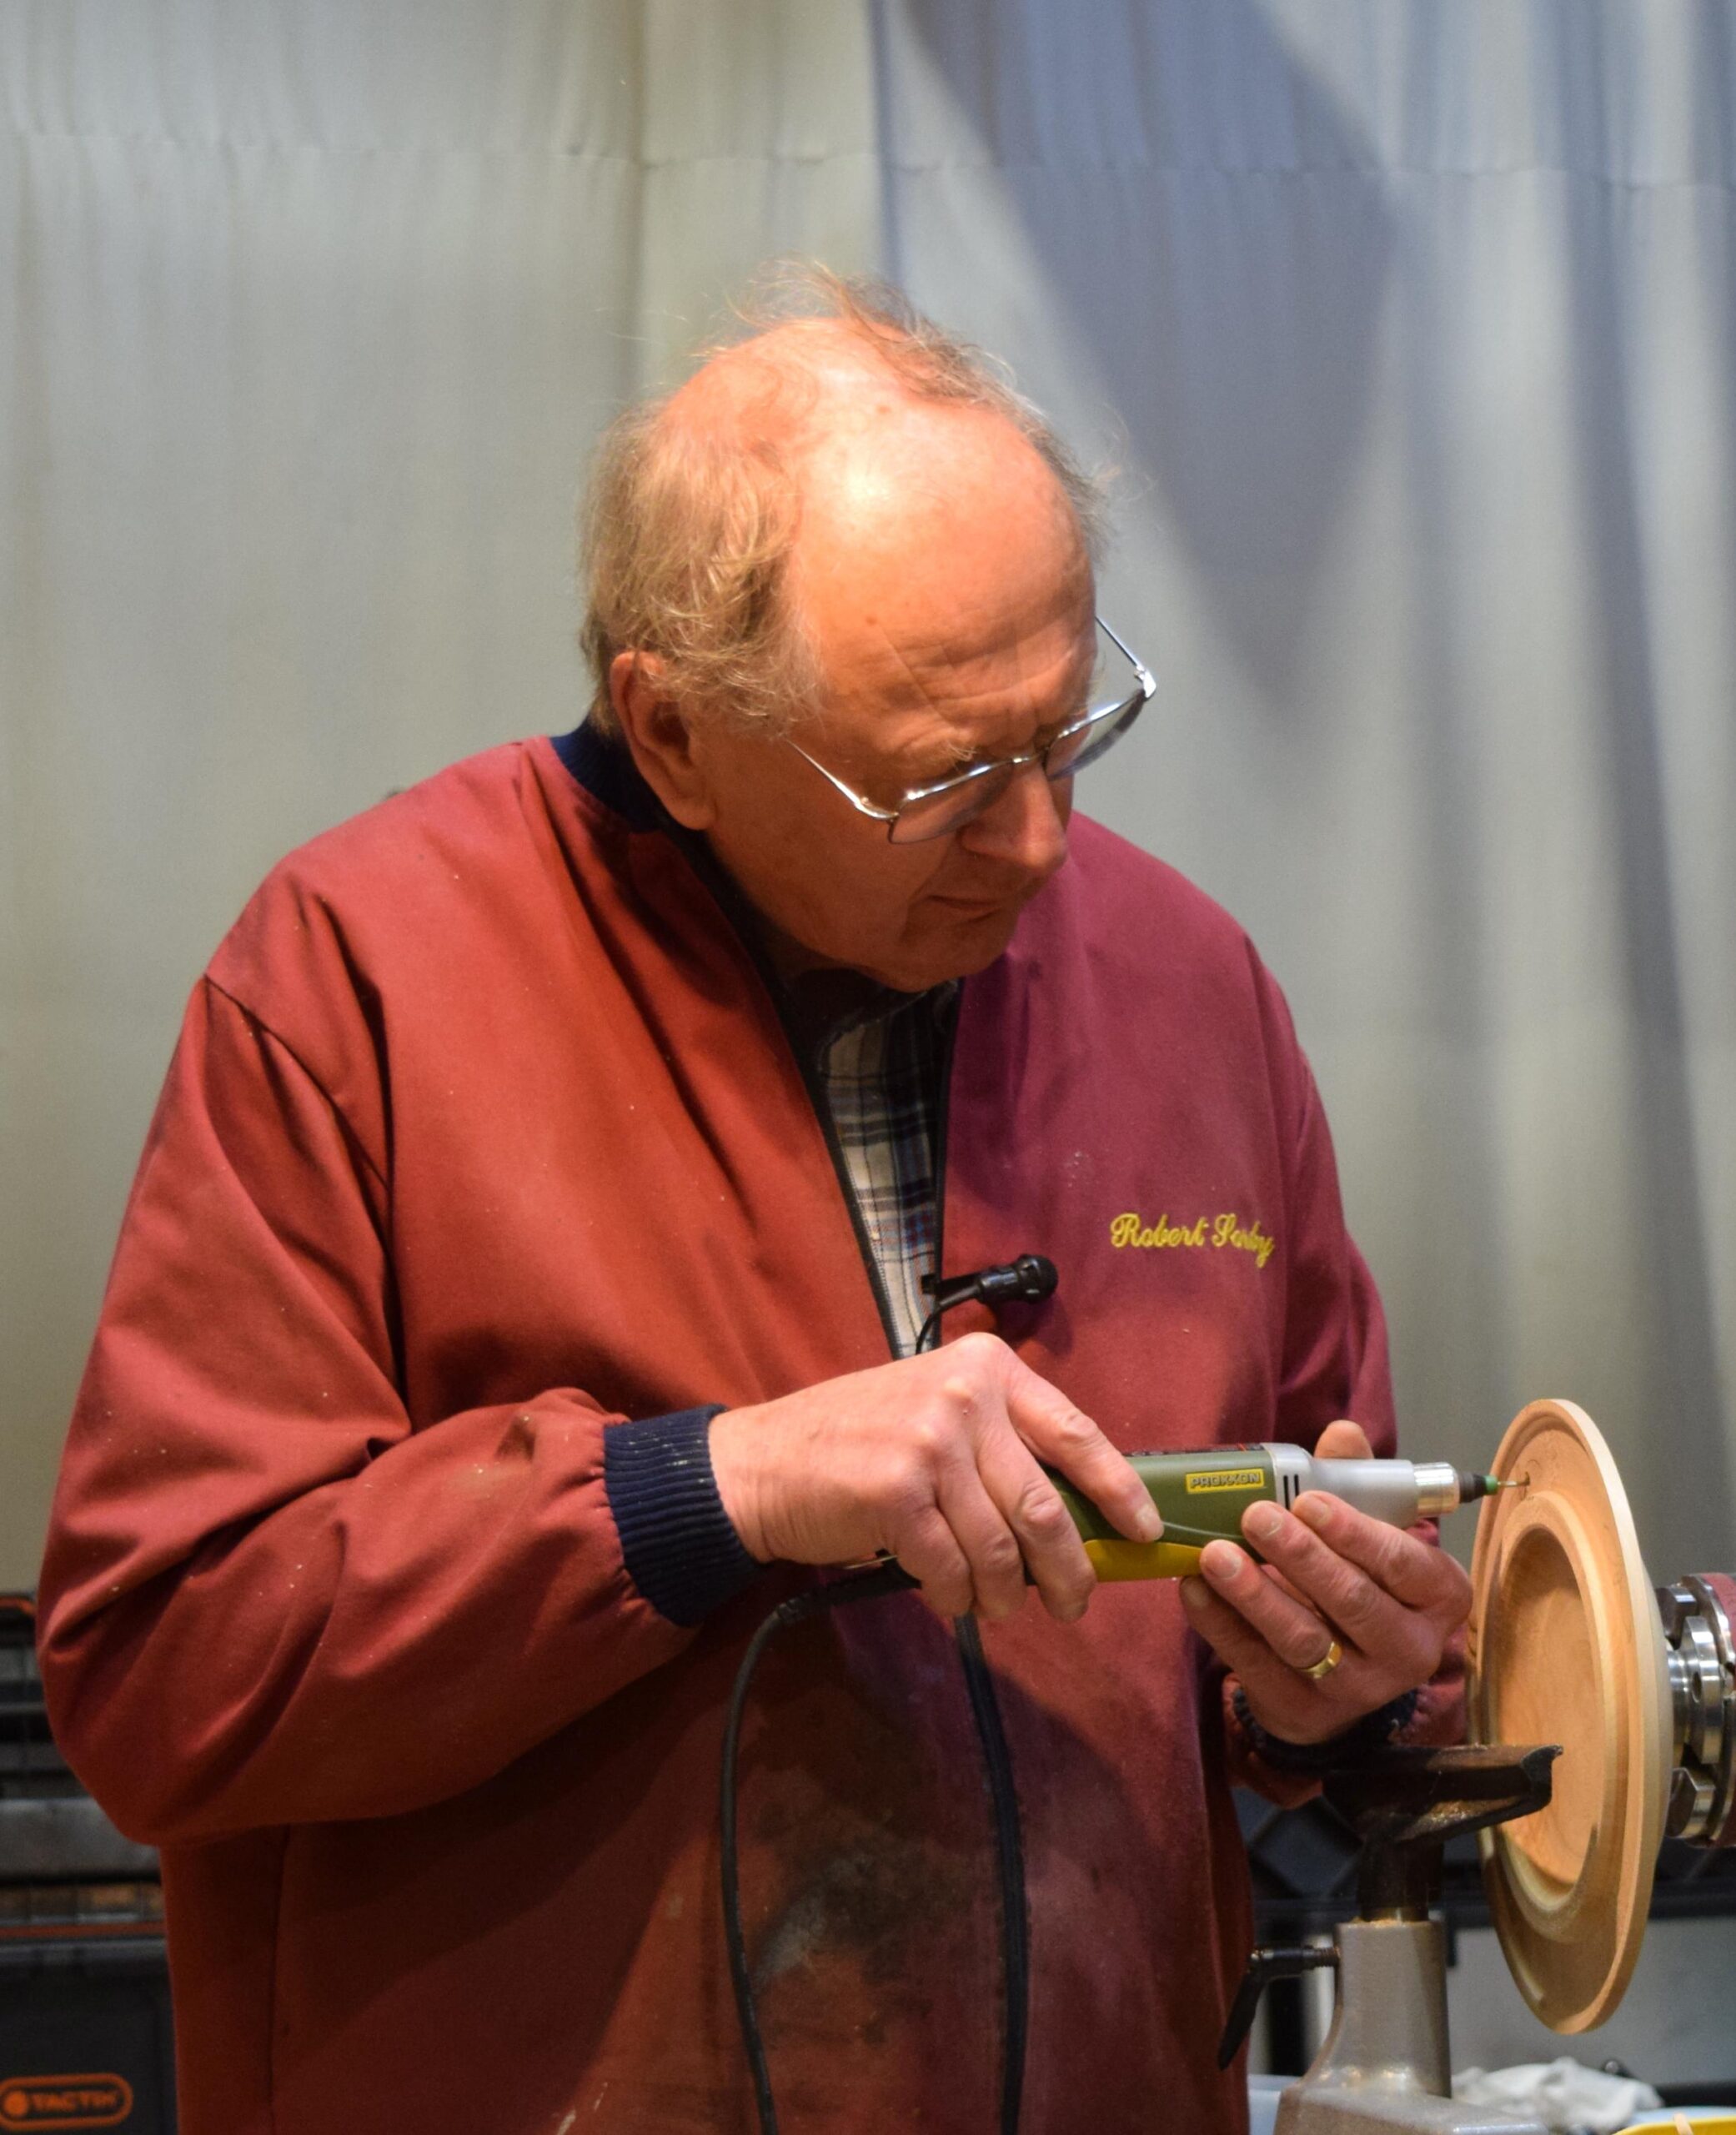
John showed us a number of burrs that could be used for piercing and carving with a Dremel type tool. These burrs can be obtained from Woodart (see Woodturning Suppliers). John used a Proxxon tool.
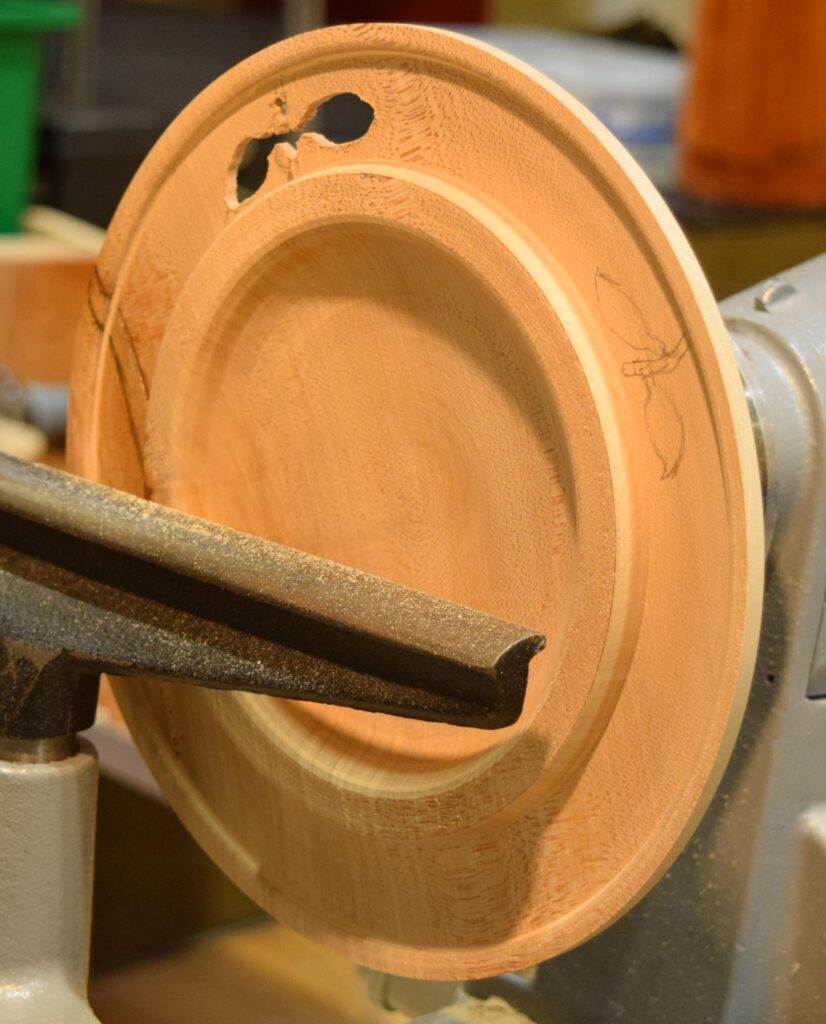

John pencilled in the outlines of leaves on the rim. Then a small hole was drilled to give access for the burrs to hollow out the leaf shapes. The maple proved to be a little hard (so maybe the rim needed to be thinner) but we got the idea of how to pierce a shape in the rim. The piercings needs a gentle hand sanding. Finish off the inner hollow creating an undercut under the raised rim feature.
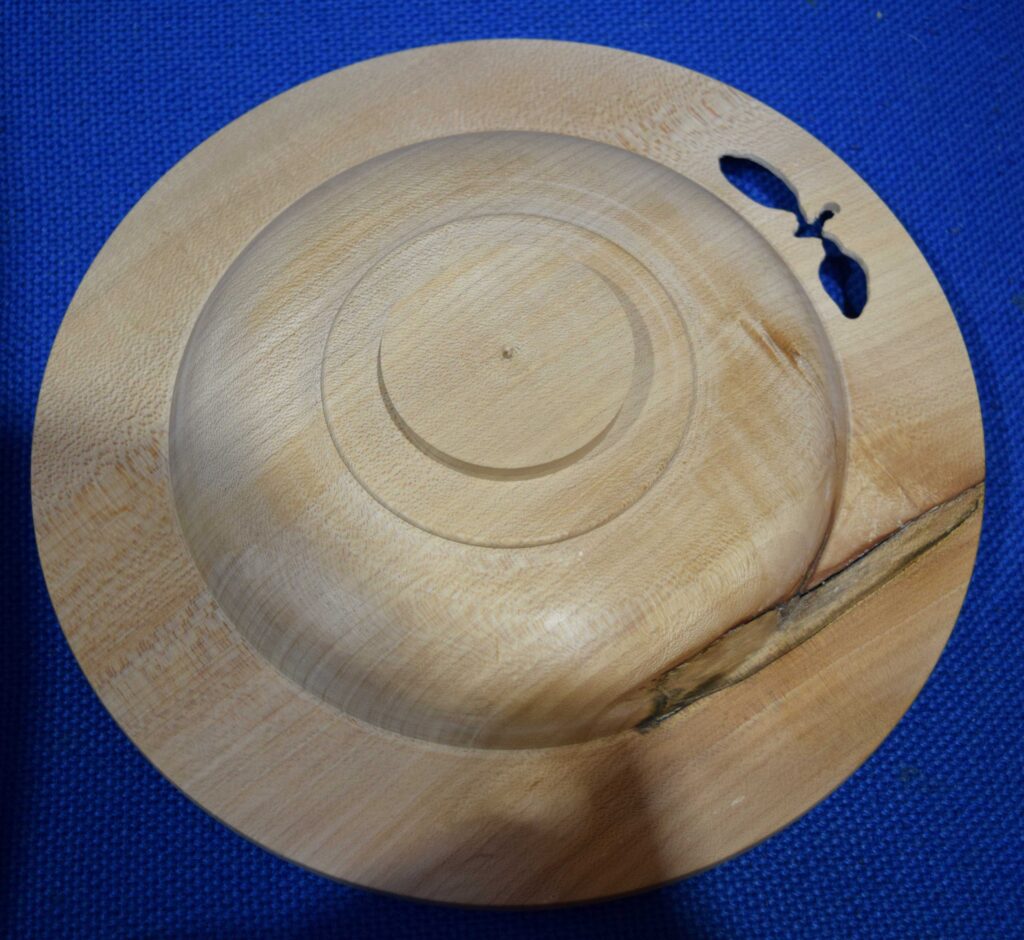
The platter is reverse turned to remove the tenon and to finish the foot. This is done by creating a friction chuck (see left picture) to match the shape of the inner hollow. Place router matting on the friction chuck to prevent the platter from moving and to protect the platter.
A Quick Bottle
John used a laburnum log approximately 50mm in diameter and 150-200mm long.
The log is rounded and a tenon is created. The piece is held in a chuck. A hole is drilled.
The hole opening is widened and shaped with a spindle gouge. The piece is shaped to look like a bottle.

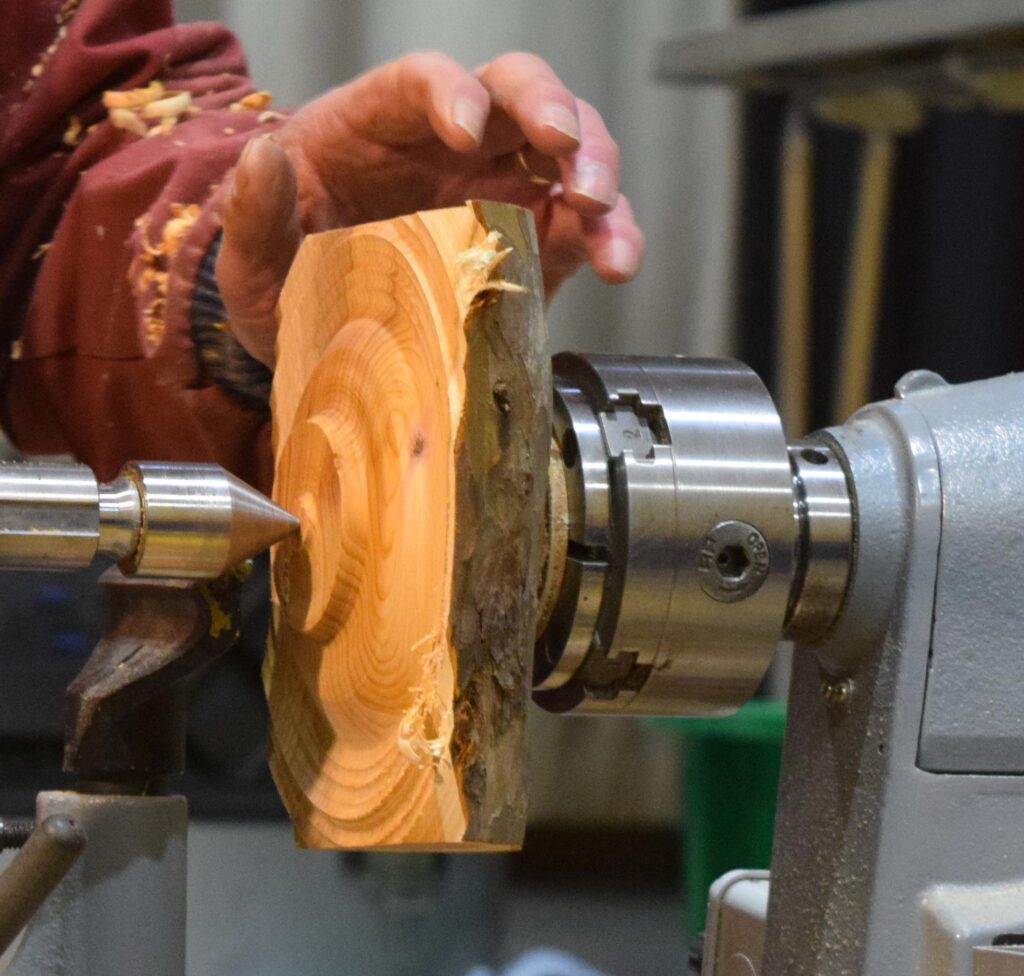
A Dish from a Half Log in Two Ways
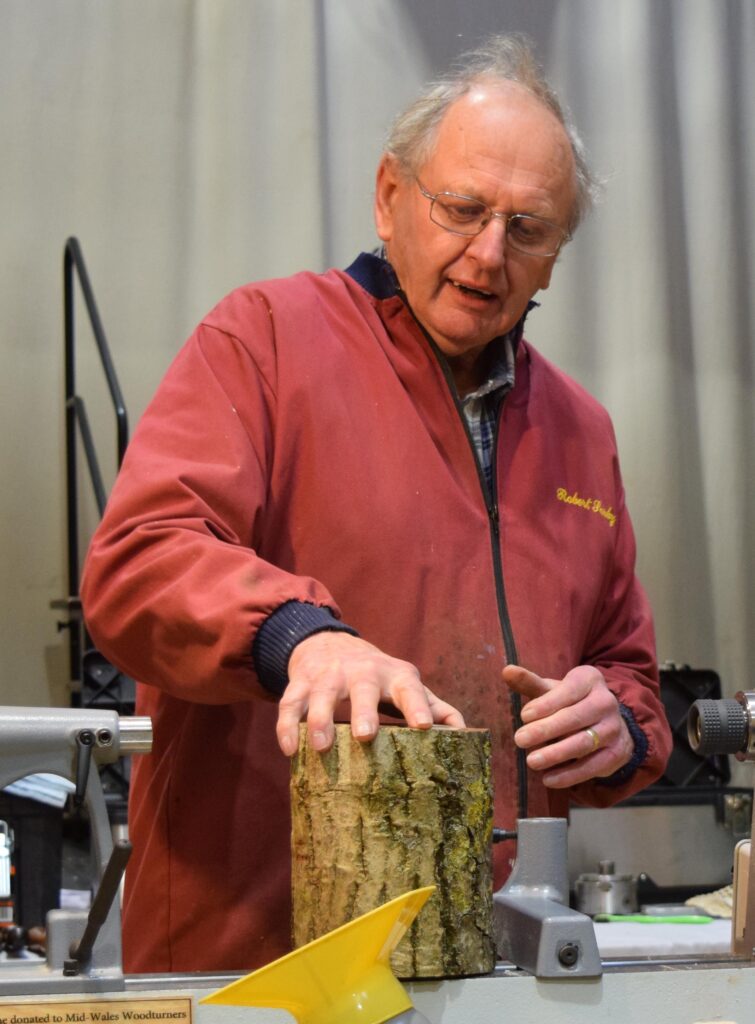
John demonstrated how to create two very different dishes from a half log of yew, just by mounting the log in different ways. Note that the “half” logs are slightly smaller than half as they have had the pith removed.
Version 1
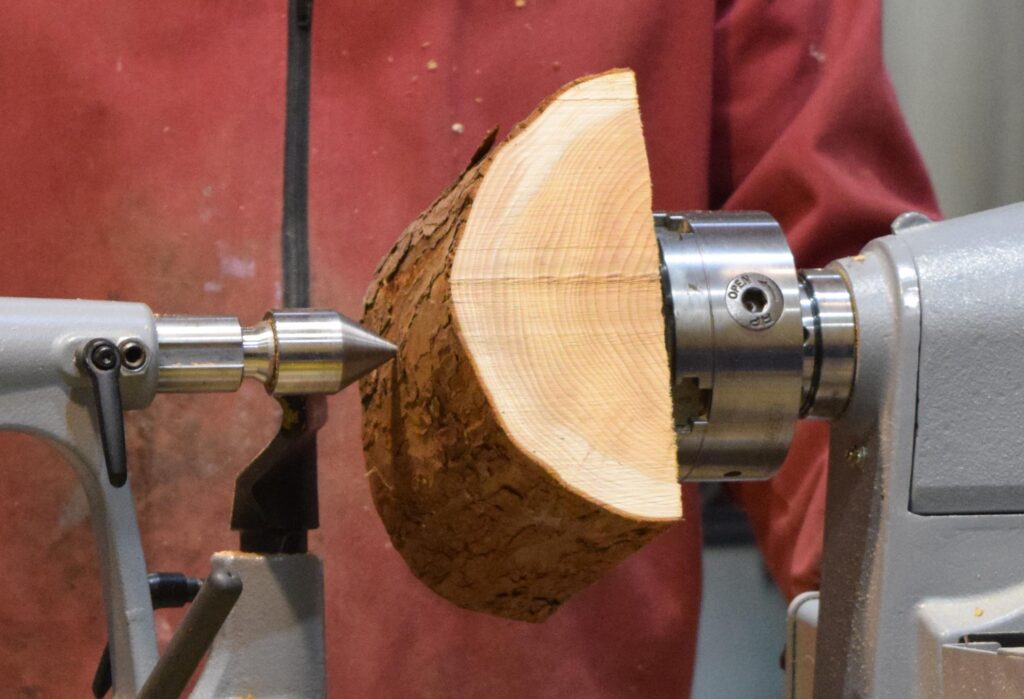
A 1″ hole drilled into the flat face of the log and held in a chuck by gripper jaws. You could also use a faceplate (which might be advisable for a larger log).
You must take caution of the corners when the lathe is running; in particular, rotate the piece by hand to ensure it clears the tool rest before switching on the lathe.
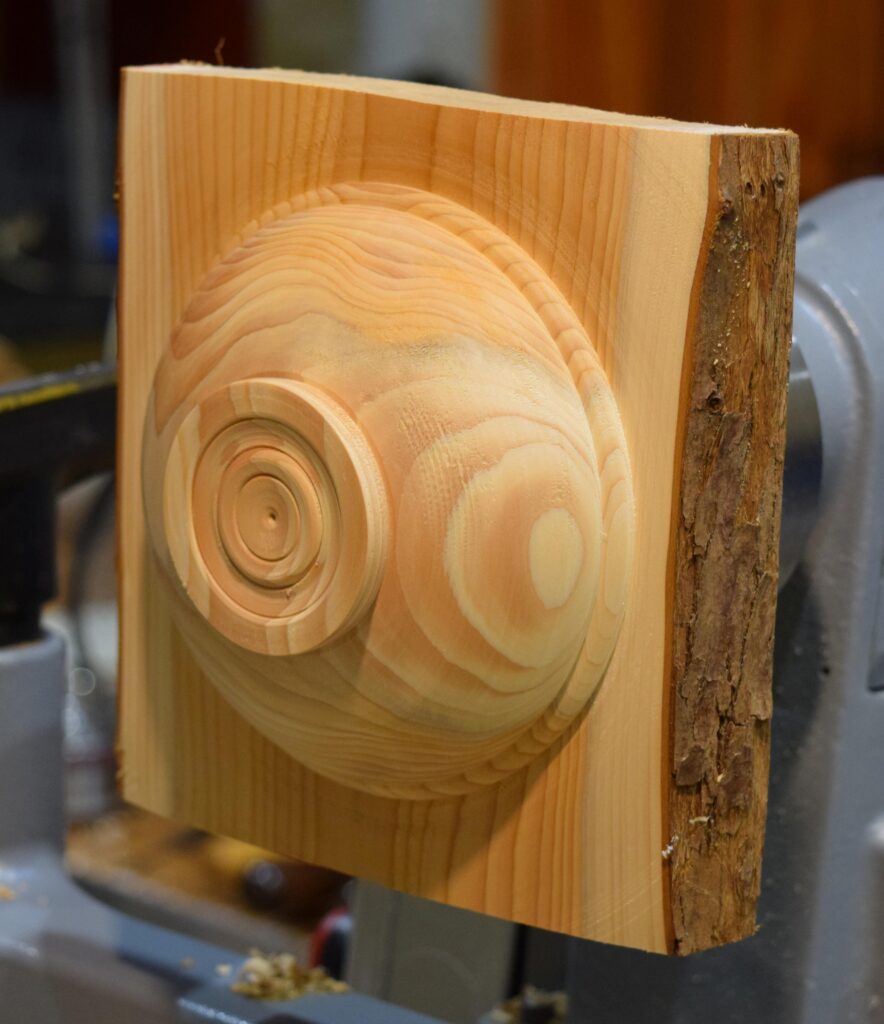
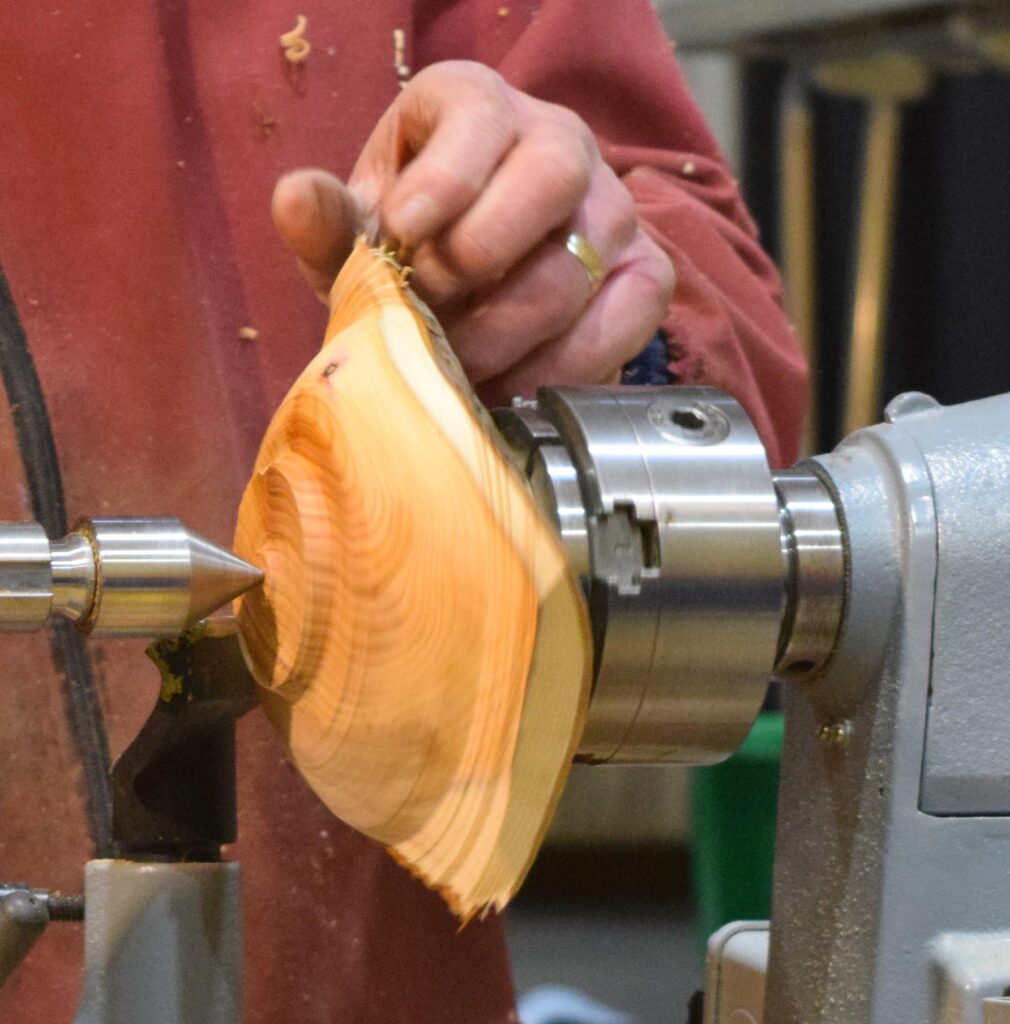
Create a tenon to fit 50mm jaws and begin shaping the dish. The tenon will become the base of the dish and will not be removed so it is decorated with a central bead. The dish is going to have a rectangular rim (also called a “wing”) and a central bowl. If possible, we would like to keep the bark. John created a bead feature where the bowl meets the rim. Texturing or other decoration could be applied to the dish at this staged. Remember to mark the centre of the tenon as we shall have to reverse turn to tidy up the tenon at the end. The piece is then reversed and held in a chuck by the tenon.

The piece is supported by a cone centre in the tailstock. True up the face and reduce the thickness of the rectangular wing and roughly form the bowl edge. As the wings get thinner turn from the inside towards the edge. Use callipers to check that the wings have an even thickness.
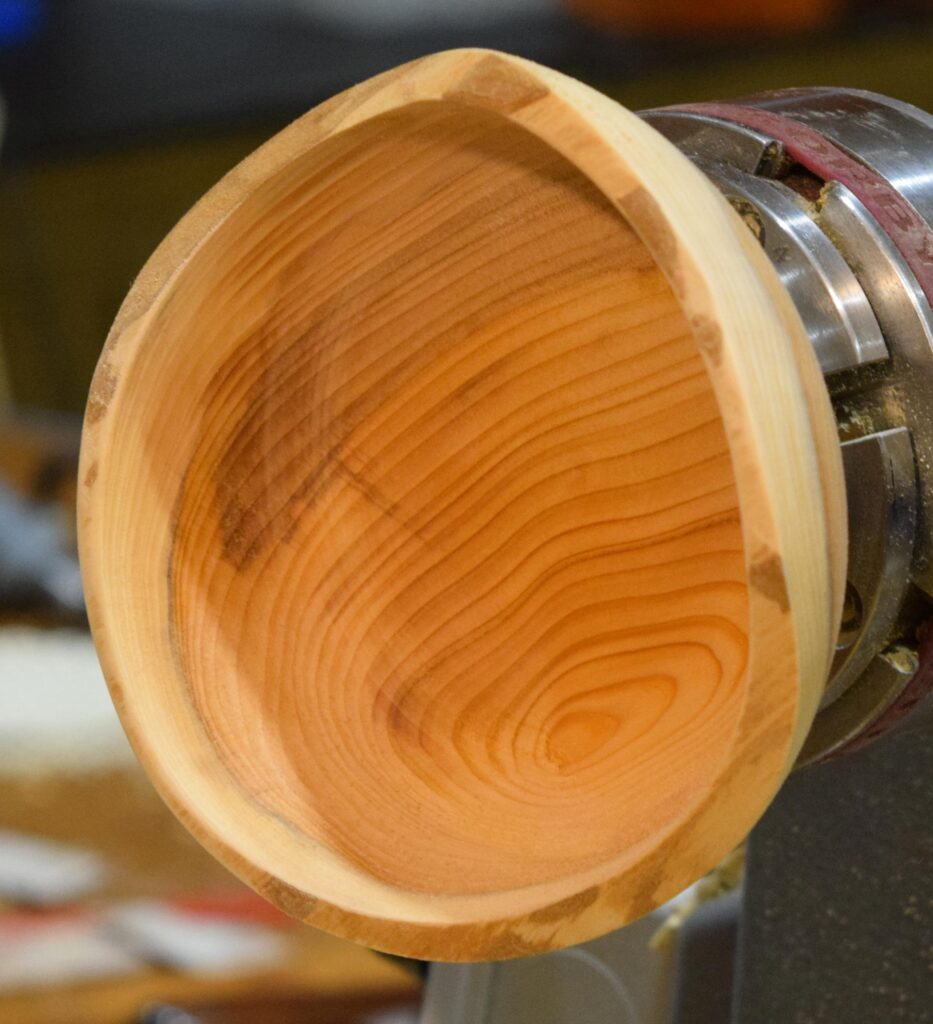
Decide whether to keep the bark or not. Sometimes superglue is applied to help keep it in place. Hollow out the inside and create an undercut to the bowl edge. Sand and finish. Reverse mount, supported by the tailstock (using the marked centre point), and tidy up the tenon.


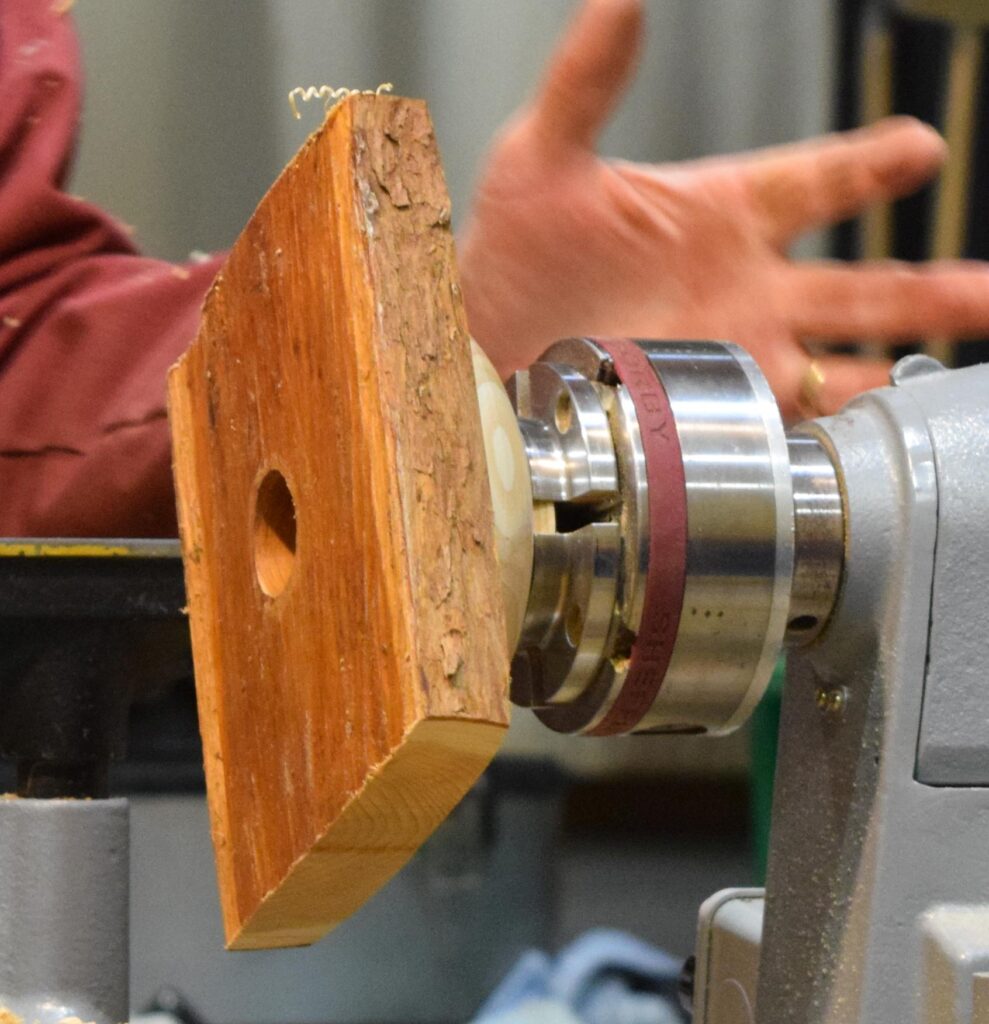
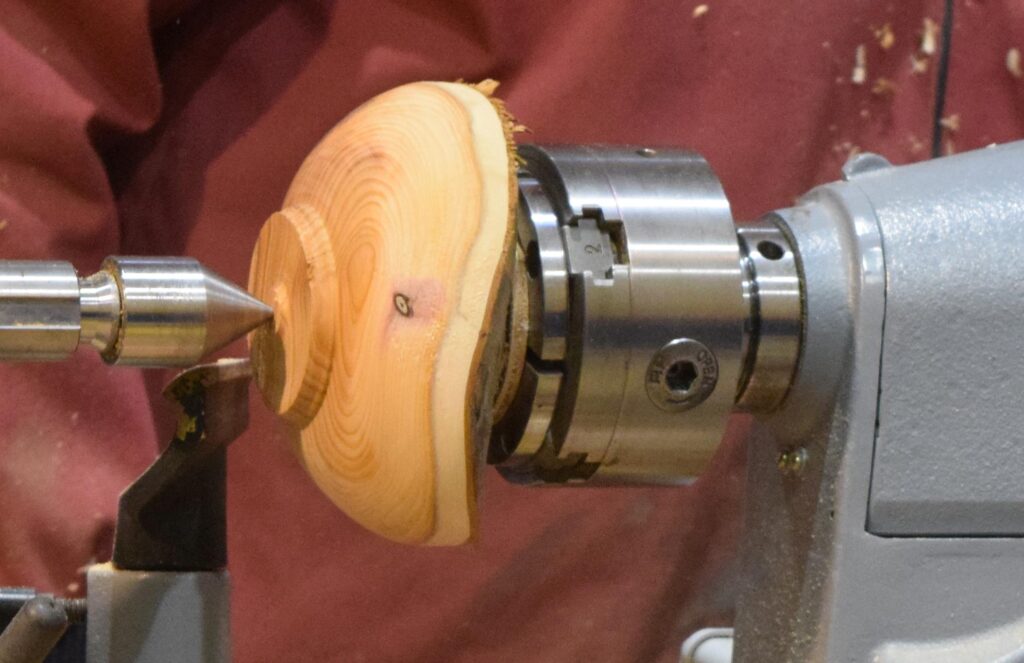
Version 2

The second half log is held the other way around. Drill a 1″ hole in the bark side, remove the bark around the hole, and hold in a chuck using 1″ gripper Jaws. You could also use a screw chuck. Support by a cone centre in the tailstock.
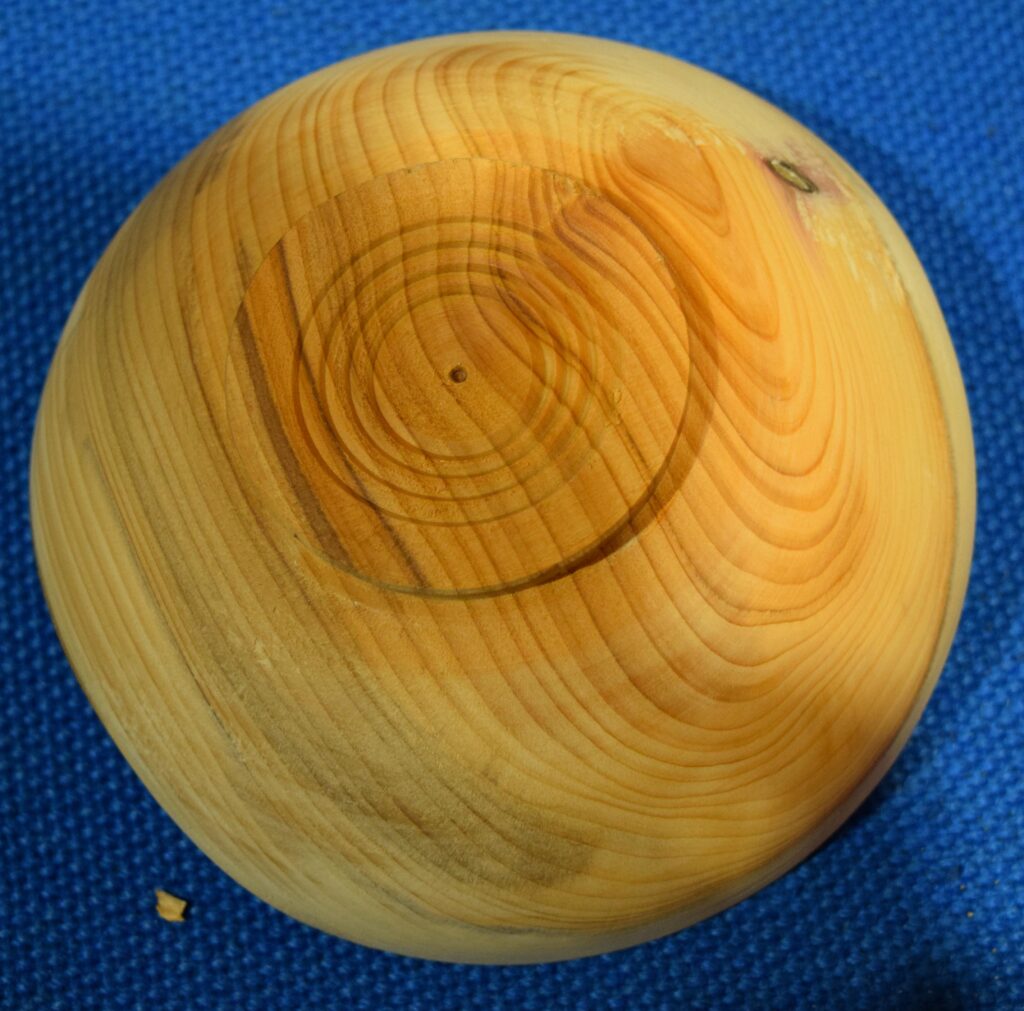
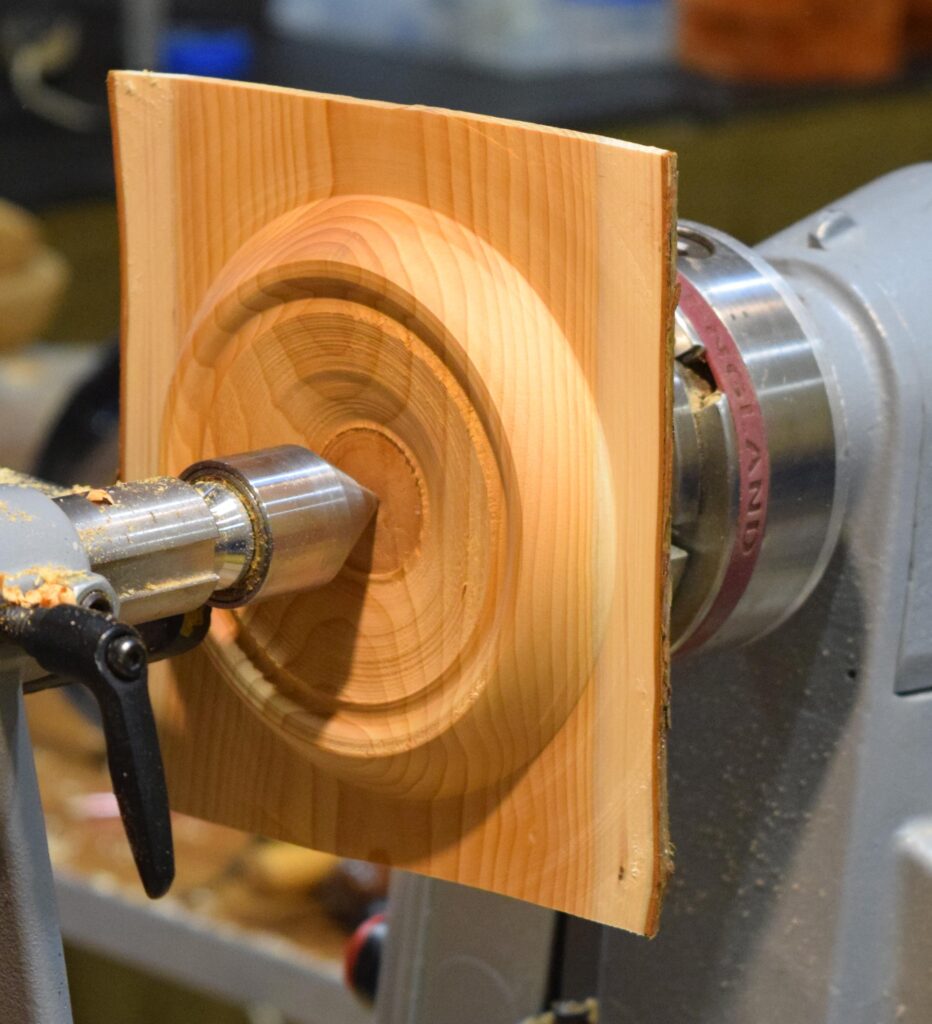
Create a tenon.Turn the outer dish shape extending to the bark. Remove the tailstock and decorate the inside of the tenon. The tenon will be kept as the foot of the dish.
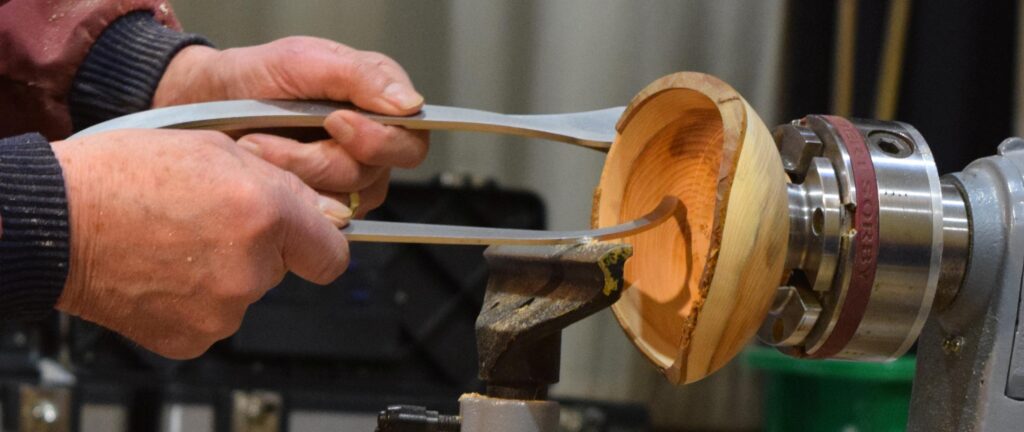
Refine the shape of the dish, then sand and finish. Reverse and hold in a chuck using the tenon. Hollow out the dish. Establish the wall thickness at the edge before removing the bulk central material. Try to get an even wall thickness. Refine the surface using a shear cut with scraper. Some of the bark was coming off so John decided to remove it all using a Stanley knife. Hand sand the edge. Sand and finish the inside of the dish.