Review: Ray Jones Demo – Sunday 25th June, 2023

Ray spent the morning giving us an overview of spindle turning techniques in preparation for the afternoon session in which he demonstrated a very nice four legged chair with spindle back.
Note: In the photos you will observe that Ray wore no personal protection equipment (PPE) during the demonstration. Even though spindle work is considered “safe” relative to face turning, you are strongly recommended to wear PPE appropriate to the work you are doing.
Practice Pieces
Ray spent the morning demonstrating various spindle turning techniques. Notably, Ray showed great adept using a skew fashioned from a 3/8″ beading and parting tool (BPT). A beading and parting tool is generally made from square stock with two (equal angled) bevels that are cut perpendicularly across. A skew is made from flat rectangular stock, also with two (equal angled) bevels that are cut at a skew angle. Ray’s skew is made from a BPT by creating a skew angle, so basically it’s a fat square skew. Ray also used standard spindle and bowl gouges, and spindle roughing gouges.
Ray used his skew to create beads and the spindle gouge to create coves. Beads are cut using only the tip of the skew. One notable tip was to support the roll of the tool by hooking the index finger under the tool rest as can be seen in some of the following photos.

The tulip feature, seen in the photo below, was particularly interesting. Ray emphasised that the proportions of the tulip matter: the diameter of the tulip is related to the length of the tulip. (Editor: the diameter at the tip of the tulip is about two-thirds of the tulip diameter.)

Ray gave a detailed explanation of how to create a ball feature and how to blend it it into the adjacent features. Ray used a 4″x4″x8″ pine spindle blank. Start with a rounded spindle. Mark halfway with a pencil. Measure the diameter with callipers and mark a radius distance on either side of the centre line. Cut away waste material on either side of the radius marks. Start rounding with a spindle gouge working from the radius edge back towards the centre line. Do not cut away the centre line.


Repeat on the other side of the centre line. Initially we eye-ball the shape, but as we get closer to the ball diameter use callipers set to the ball diameter to test where additional material needs to be removed. Unlike turning a ball, we cannot remove the piece and turn on multiple axes.


Once we are happy that we have achieved the ball diameter all around we make one last light cut to smooth the shape and remove the pencil line.
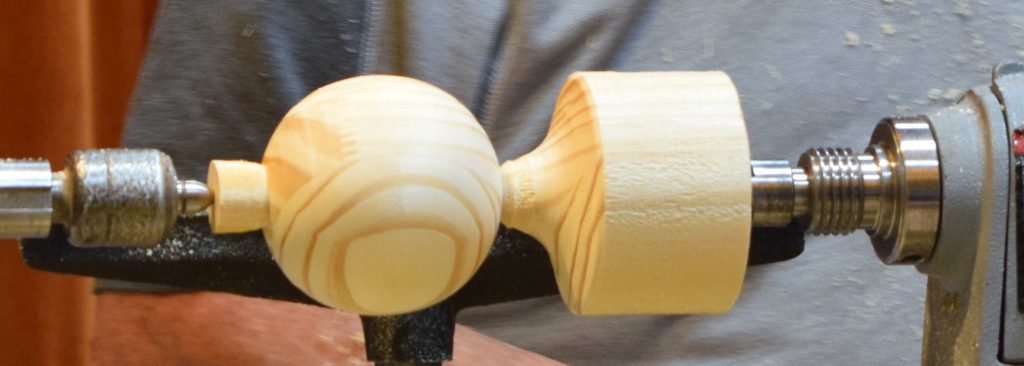
Ray recapped the techniques on a larger blank (3.5×3.5×14”) but this time emphasising how features can support each other, such as a small fillet on either side of the ball feature, and also how features should be blended to give a pleasing aesthetic.
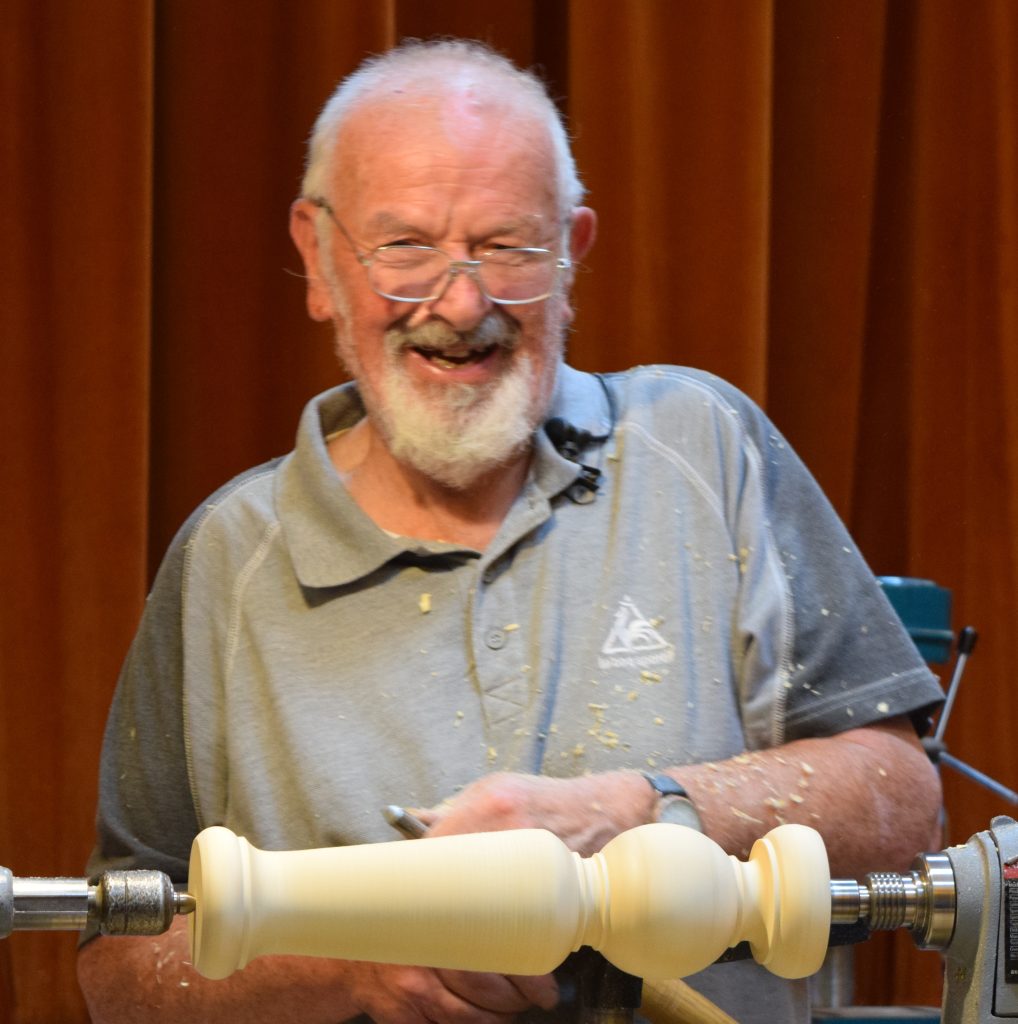
Spindle-Backed Chair
Templates: Backrest, Bottom of Seat, Spindles and Spreaders.
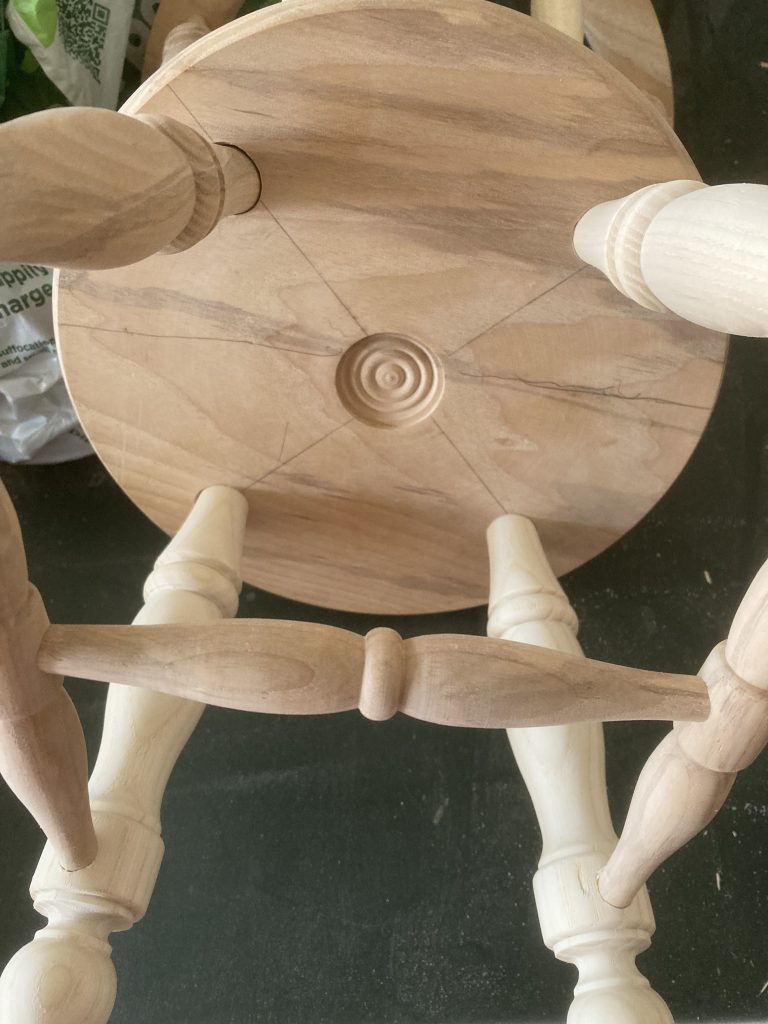
Ray’s chair is accompanied by a set of Templates which can be downloaded from the Demo Handouts section of this website or using the links above. Note that the templates are for a chair with diameter 8″ whereas Ray demonstrated a 10″ chair so the dimensions in this Review are not compatible with the templates. Further, Ray’s templates are incomplete – I tried to communicate with Ray to try to get further information but I was unable to get sufficient information from him to reconstruct the missing templates. Please refer to the final assembly picture for the shape of the legs and the positioning of the spindle holes in the seat.
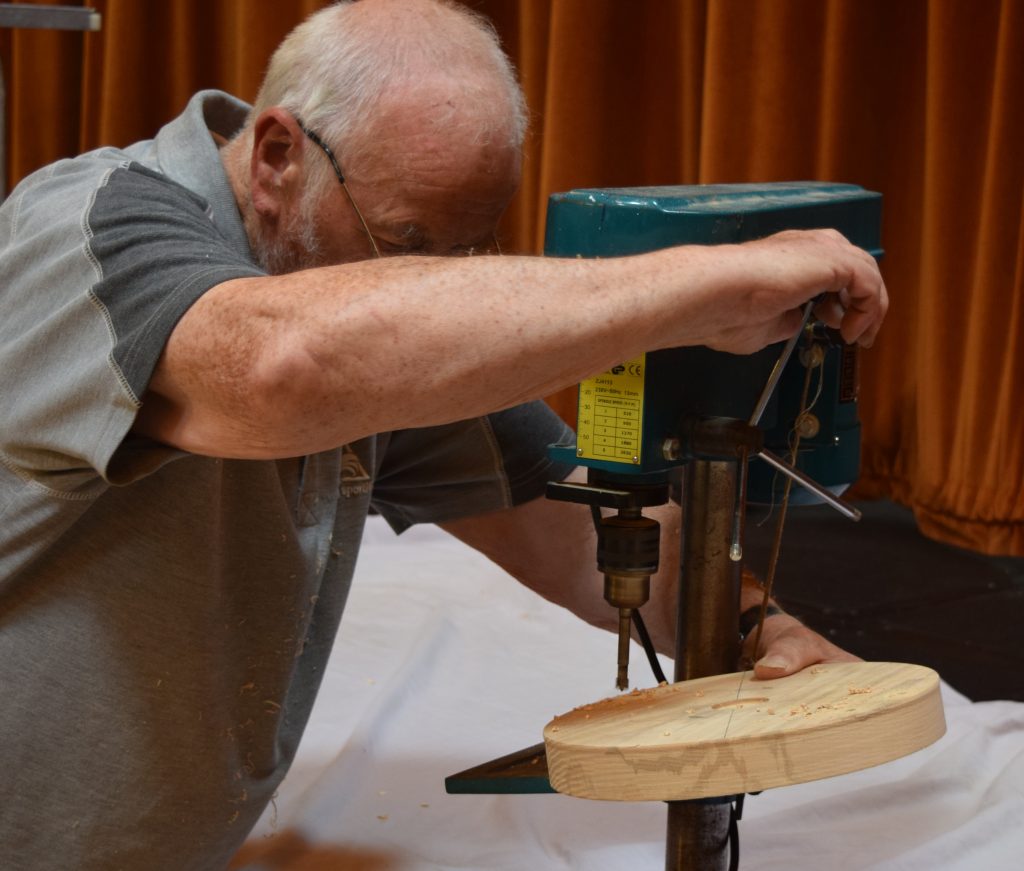
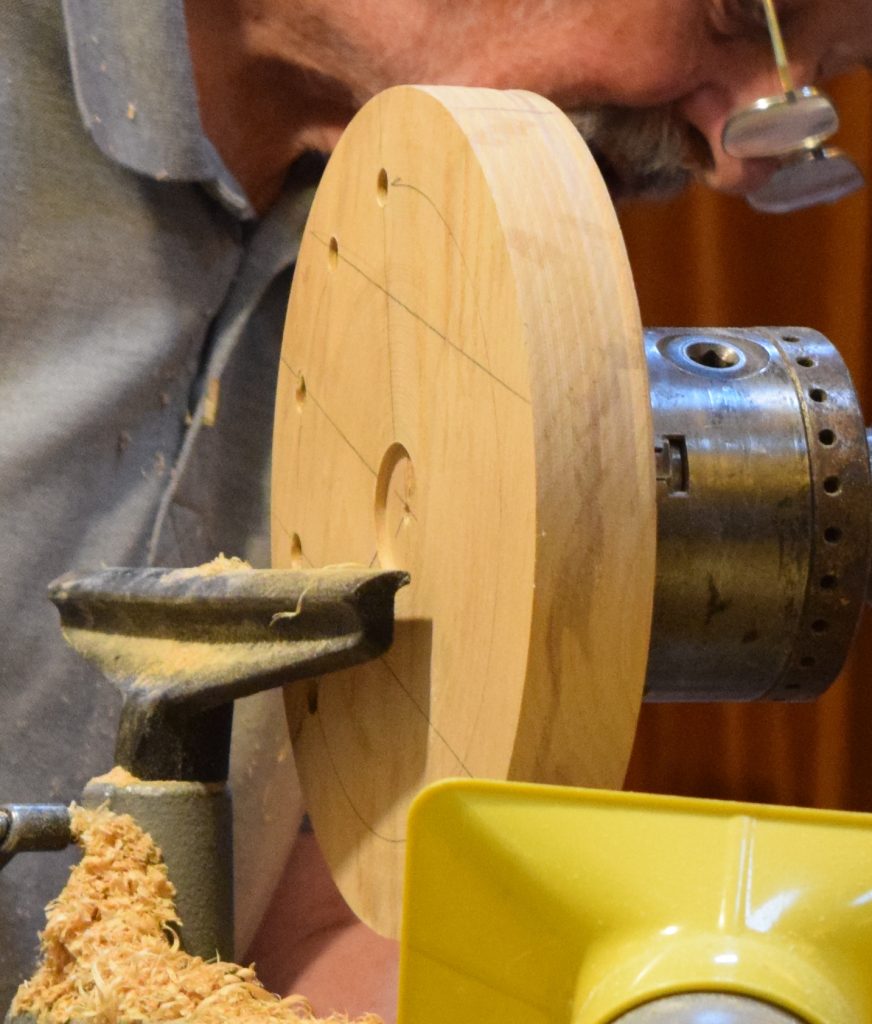
The chair is started by turning the top rail (back rest). Ray used a bowl blank of oak 1.5x12x12”. The rail is made by cutting through the blank about 1″ in from the edge. In fact we turn two chair rails in one go as the resulting piece is cut in half. So when the piece is marked out we drill the holes for two top rails. A chuck recess is created on both sides. The blank is turned round and the face is cut the the desired thickness (1 1/8″) and smoothed. The template for the chair spindle holes is marked on the smooth side of the blank. The 3/8″ holes are cut to a depth of 1/2″ at the angle specified on the template: 6 at 15 degrees and 4 at 10 degrees. Be sure that the angle is the correct direction with respect to the sight lines indicated on the template: the spindles point inwards whereas (later) the legs point outwards. We drill an additional through-hole to helps us gauge how far we have cut through as we turn. Ray used a Forstner bit to make the holes.

Use a parting tool to cut a 1/4″ recess to a depth of 1/4″ at 1 1/8″ from the edge.


Use a spindle gouge to round over. Tape is applied to hold the rim onto the piece as we cut through.


Reverse the piece in the chuck and cut a recess 1 1/8″ in from the edge. Widen the recess and round over with a spindle gouge. Slow down the lathe before cutting all the way through to release the top rail. Cut into two pieces with a saw. The central piece can be used to make the seat of this or another chair.


The seat is made from a 1.5x10x10″ oak blank. A chuck recess is cut on both sides with a Forstner bit. The piece is turned to round and the face is smoothed. The template is used to mark the hole centres and sight lines. The 3/8″ spindle holes are drilled on the seat side (1/2″ deep) and the 3/4″ leg holes are drilled (1/2″ deep) on the reverse side. Note that the front and back legs are drilled at differing angles: 10 degrees for the front, 20 degrees for the back.


Using the techniques we learned in the morning session, we need to turn four legs, and five spindles: 3 at 3/4″ diameter and 2 at 1″ diameter. Also, for the leg supports we need to turn two side-spreaders and one centre-spreader.
The legs are cut from 1 ¼” x 8” spindle blanks. The template is marked out on the blank and a parting tool is used to dimension the key depths. The beads are formed.


The foot of the leg is turned as a tulip feature and the middle section is shaped.


The tenon is shaped and dimensioned to the size of the leg hole. Four of these are turned.


Then two side-spreaders are turned.

Finally we turn the centre-spreader.

The chair is now ready for assembly.


