Review: Paul Hannaby Demo – Sunday 20th March 2023
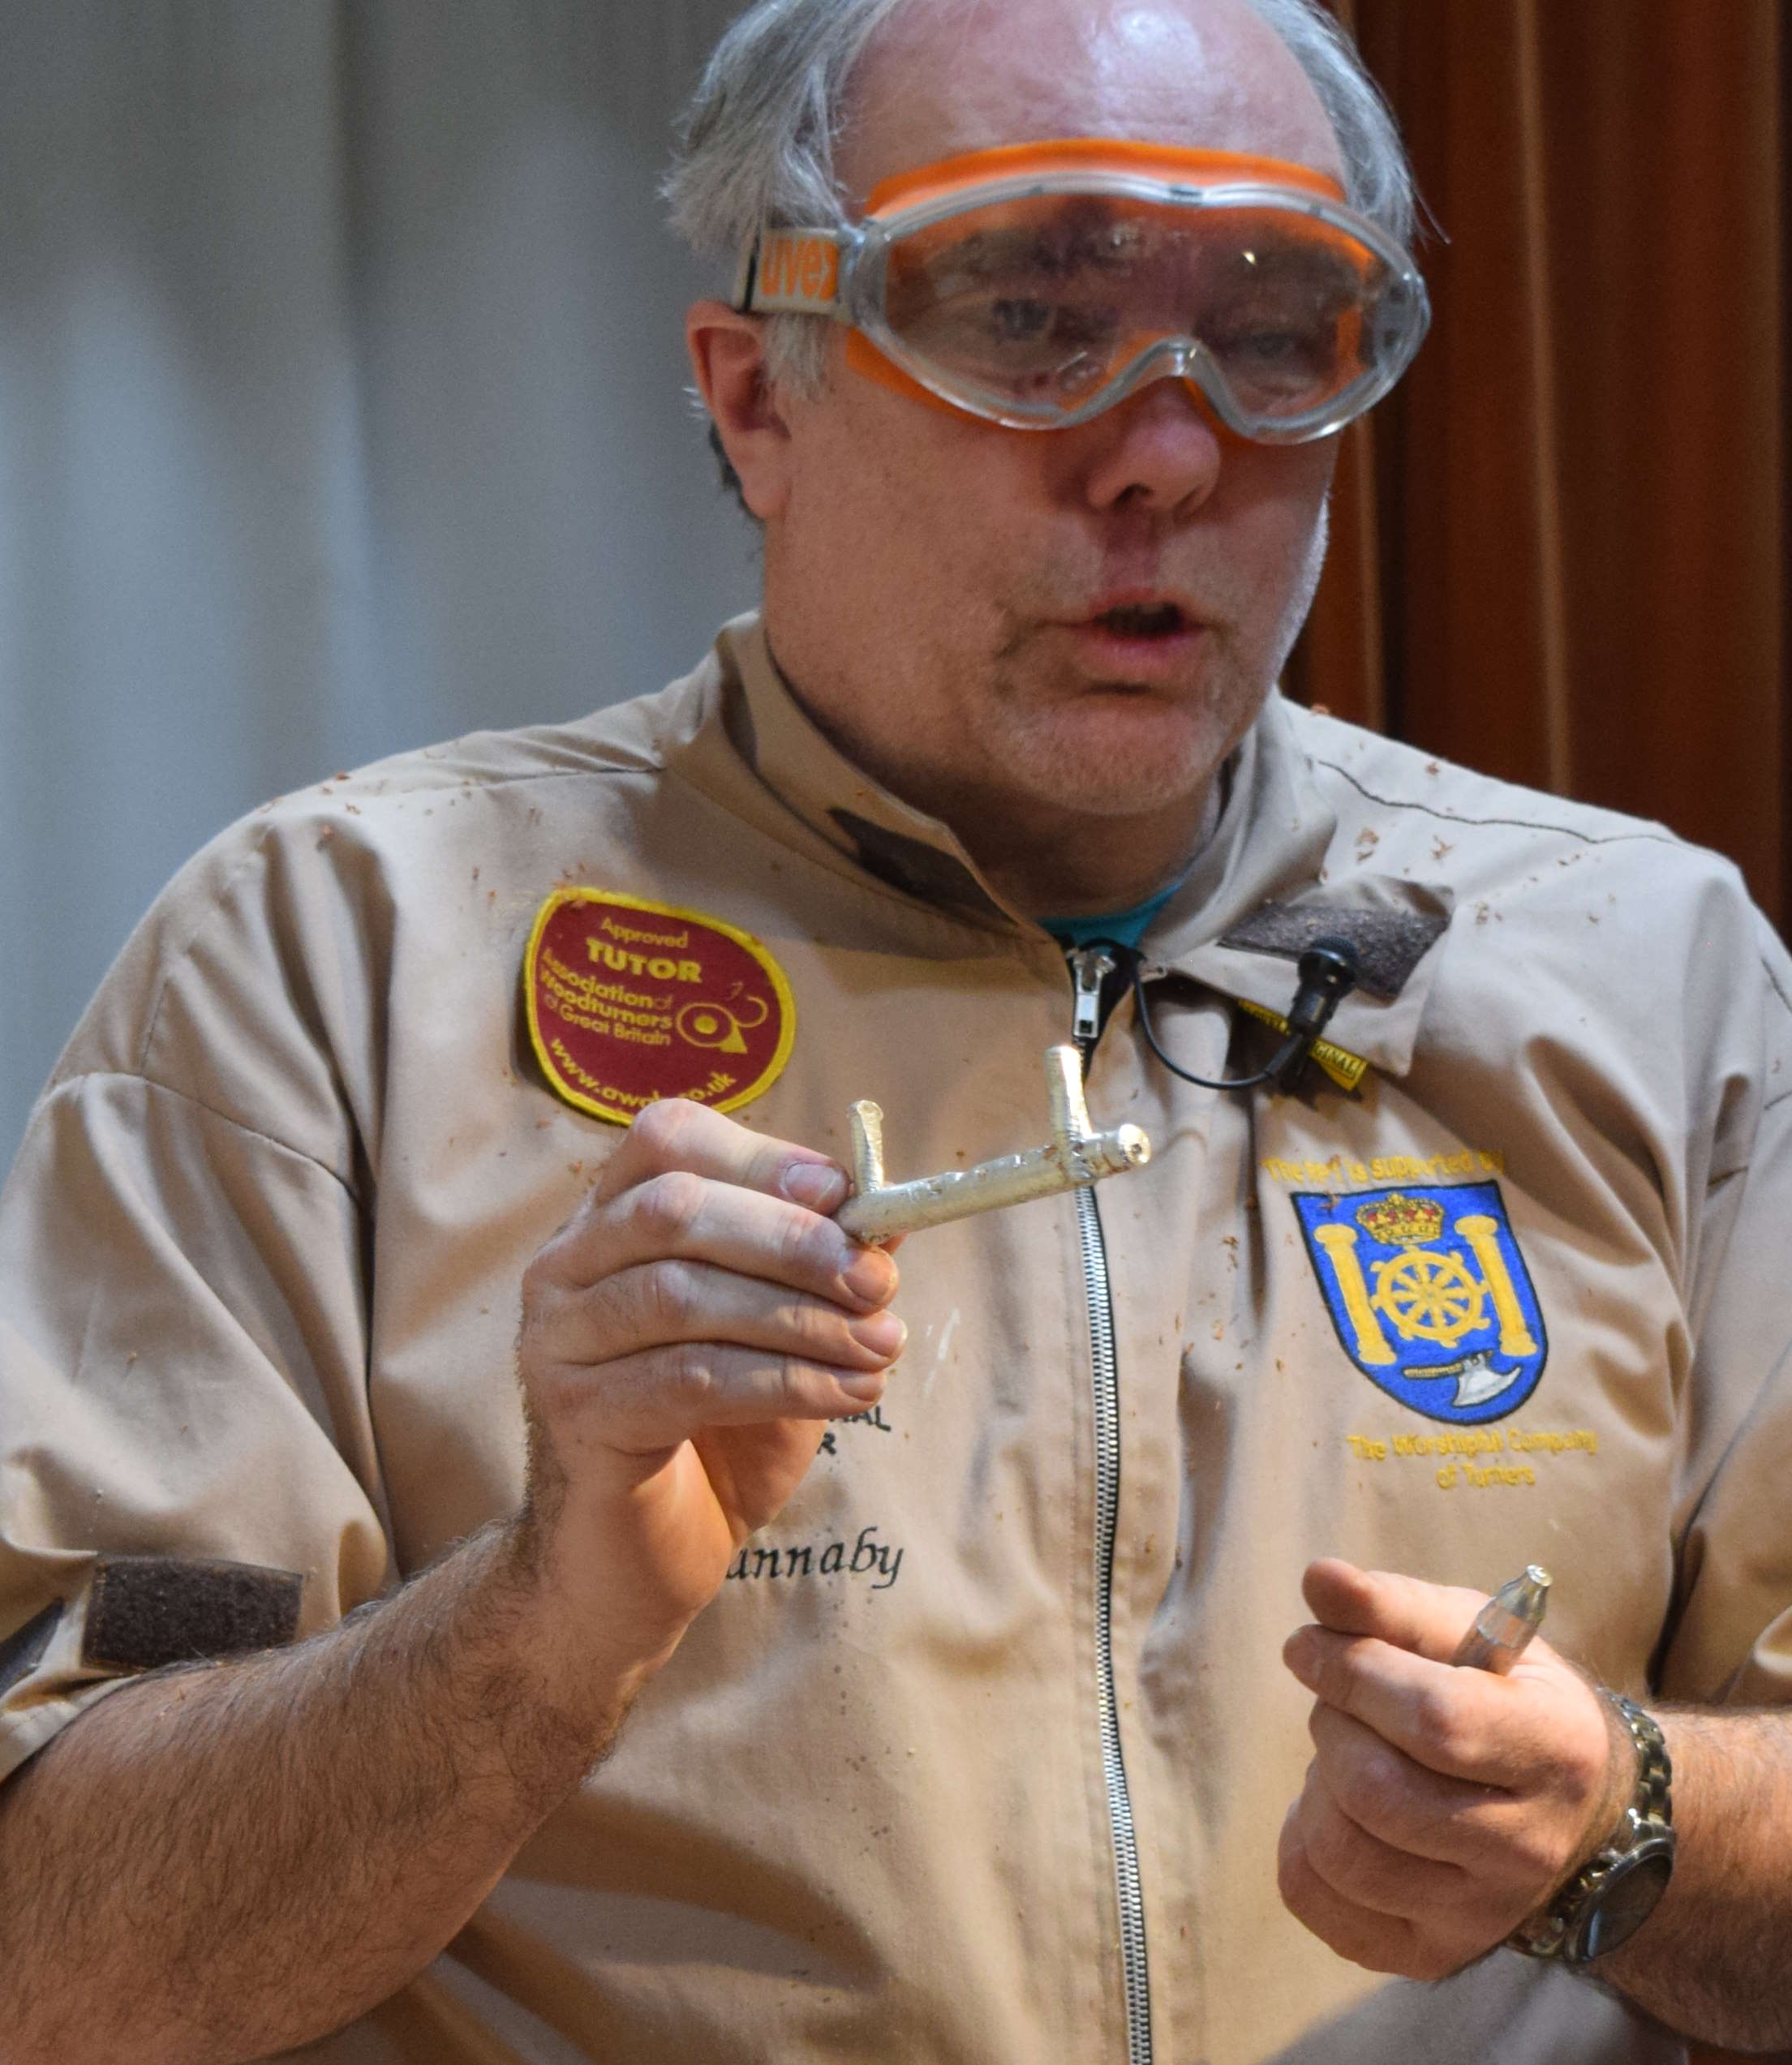
Paul Hannaby’s demonstration focussed on decorating turnings with cast pewter. Paul showed us how to create a bowl with a pewter rim and a small box with pewter inserts in the lid.
Bowl with Pewter Rim
Paul gave an introduction to using pewter and stressed the need for good ventilation and PPE. The pewter used is a lead-free casting pewter with 91% tin which has a melting point in the range 230-250ºC.
The pewter rim is cast separately to avoid the wood being burnt, which can occur when the pewter is poured directly onto the piece. The aim is to create a tenon on the bowl to hold the pewter rim with a tight fit. To melt the pewter, Paul uses a US-made casting pot designed for making gun pellets (see the picture later on). The pewter can also be melted in a saucepan on an electric hob.
Dark woods work best to contrast with the pewter. Paul used a screw chuck to mount a 6″x1.5” (approx) bowl blank. The tailstock is used for support and to mark the centre point for later reversing. A dovetailed tenon is cut and the outer shape is turned using a spindle gouge. The piece is then mounted in chuck jaws.
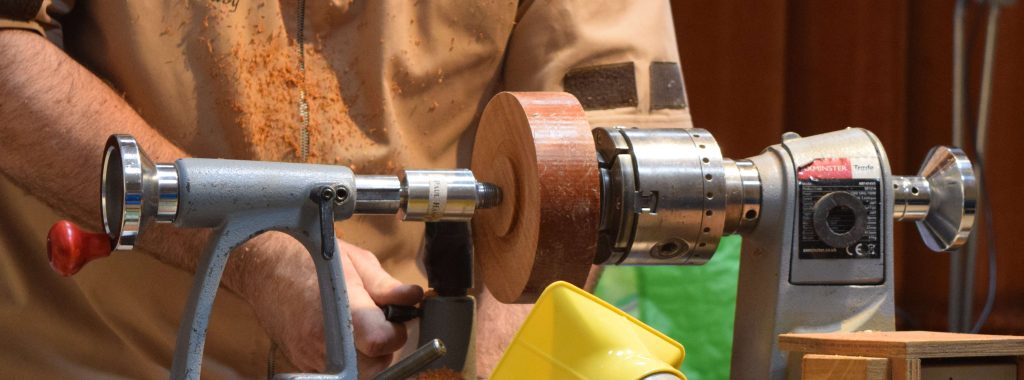
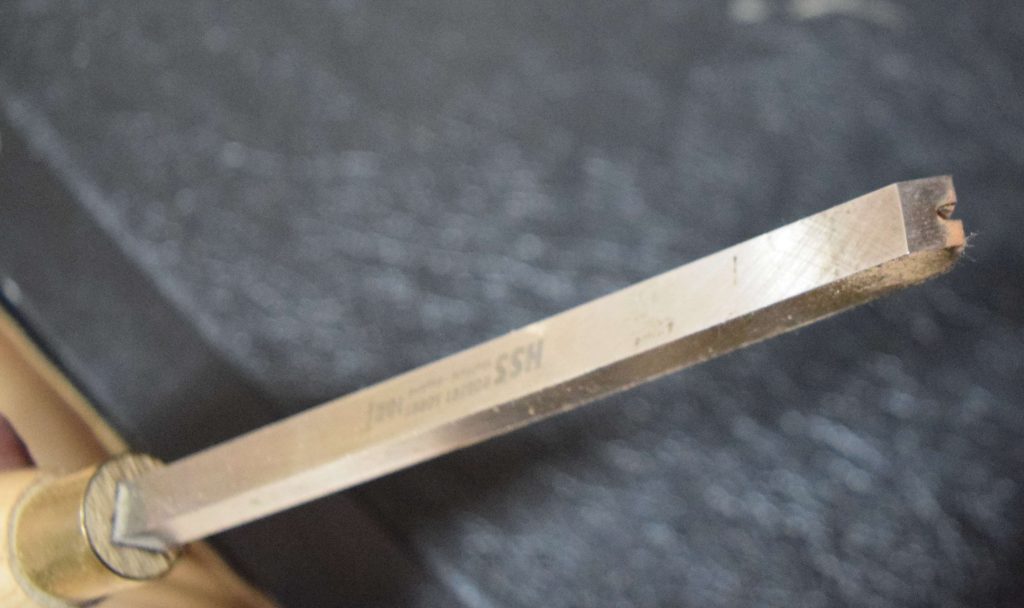
Next, Paul created grooves to fit the pewter rim. The widths of the grooves are determined by the width of your slimmest parting tool. Paul’s tool was 2mm. Paul has adapted a beading and parting tool so that it has a central recess to enable two grooves to be cut simultaneously and leave a tenon: this could be useful if you plan to make many inserts.
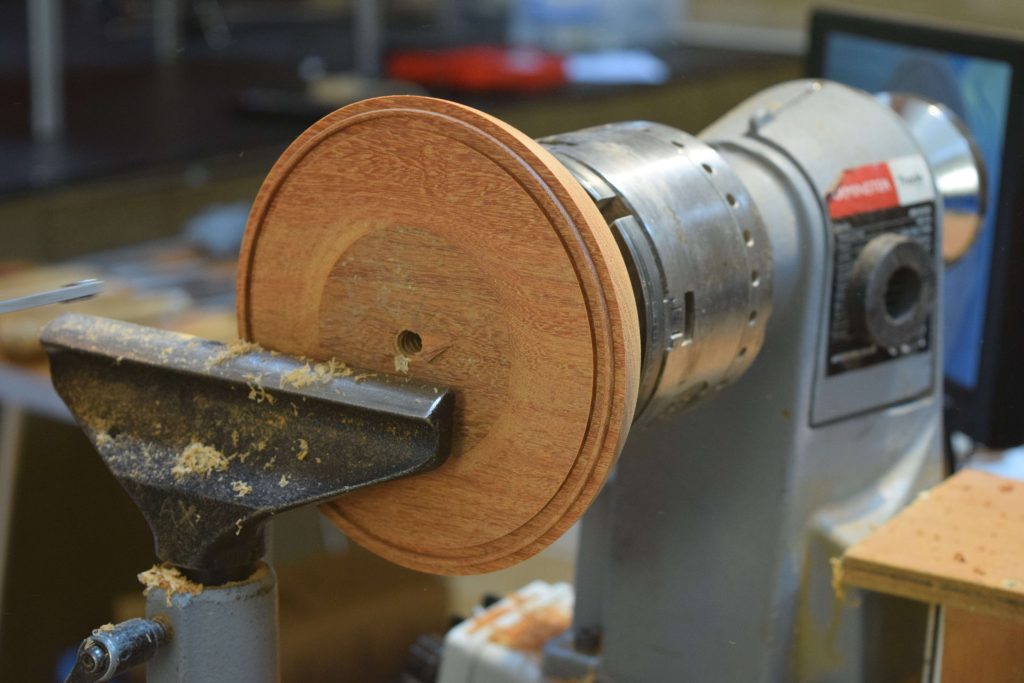
The cut is made along the bowl edge to leave a tenon 2.5mm wide and 2mm deep . The inner groove is widened using a parting tool to create a flat area for the rim.
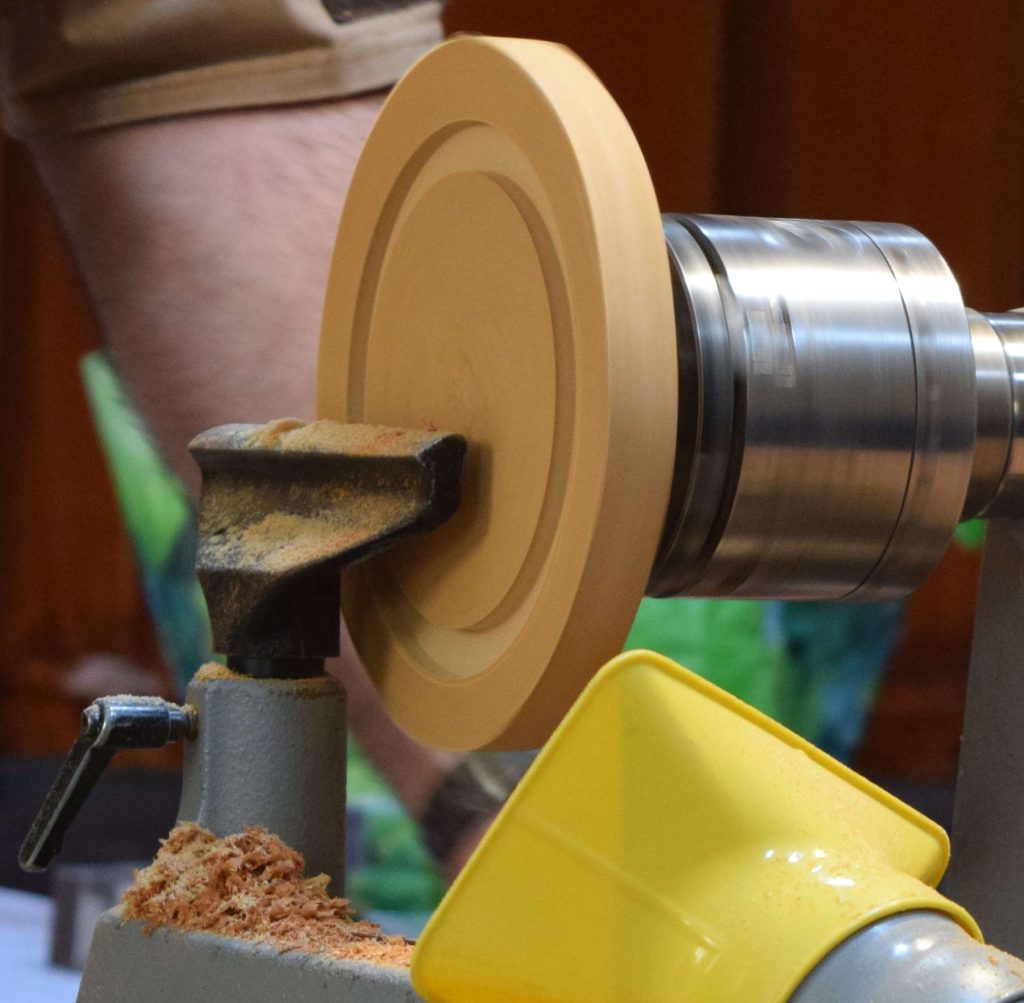
A spindle gouge is used to create the inner bowl shape. The piece and chuck positions are marked with a pen to help later remounting in the chuck.
Paul made a mould for the pewter rim from an MDF blank, but any closed grain wood would be fine (open grain woods may introduce air bubbles into the pewter). The blank needs to be wider than the piece. Mark the inner and outer diameters of the bowl’s rim using callipers. Cut the groove to the desired depth of the rim. Paul cut 7mm deep. Now to cast the rim. Note that the table needs to be level. (PPE: minimum of eye protection and welder gloves.) Skim the melted pewter to remove any oxidation. Pour the pewter until a ring is formed and then leave to cool.
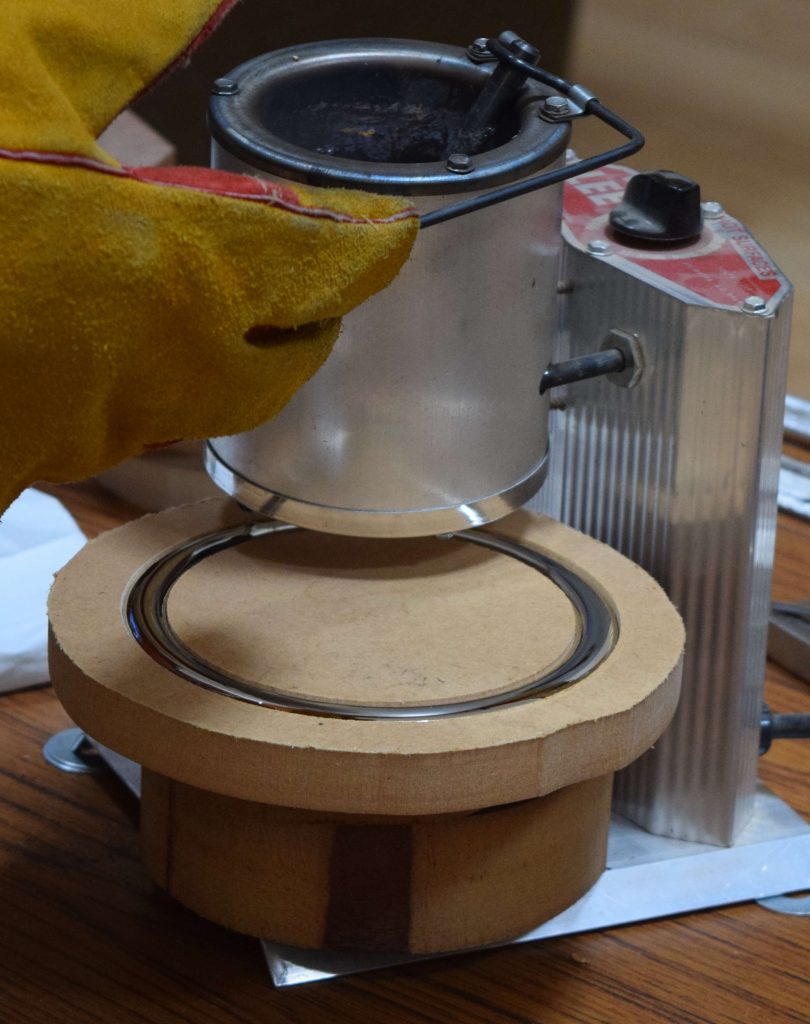
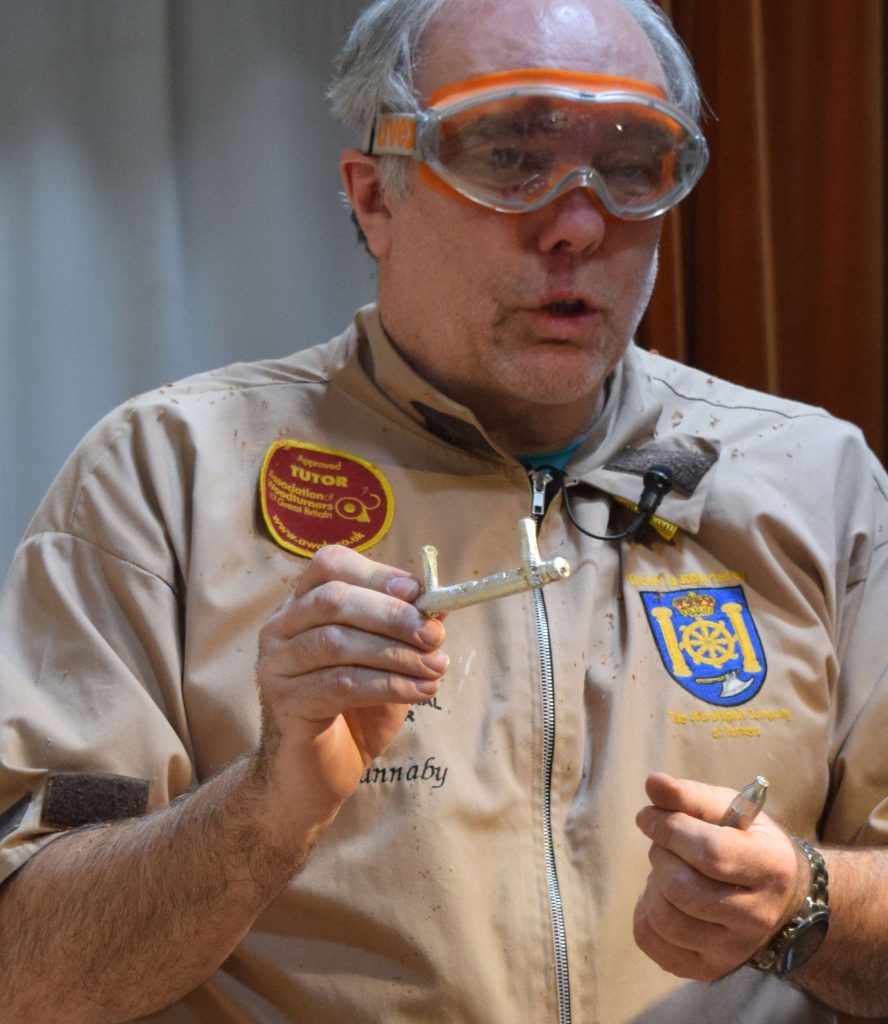
While we were waiting for the rim to cool, Paul showed us how to make a cast for a box finial. This is done by drilling a deep hole in a piece of wood, say 10mm diameter, remove any dust, and plug the end of the hole to leave a cylindrical cavity. Then, drill two holes perpendicular to the cylindrical cavity: one to pour in the pewter and another to let the air out. The cast is removed by splitting the wood away. There will be two “legs” of pewter (from the access holes) which need to be removed from the blank. Casting for thread chasing is also possible and Paul showed us some silicon moulds he uses. Pewter can be turned with normal turning tools. Beware, it can also catch just the same as wood! Paul turned a small example finial.

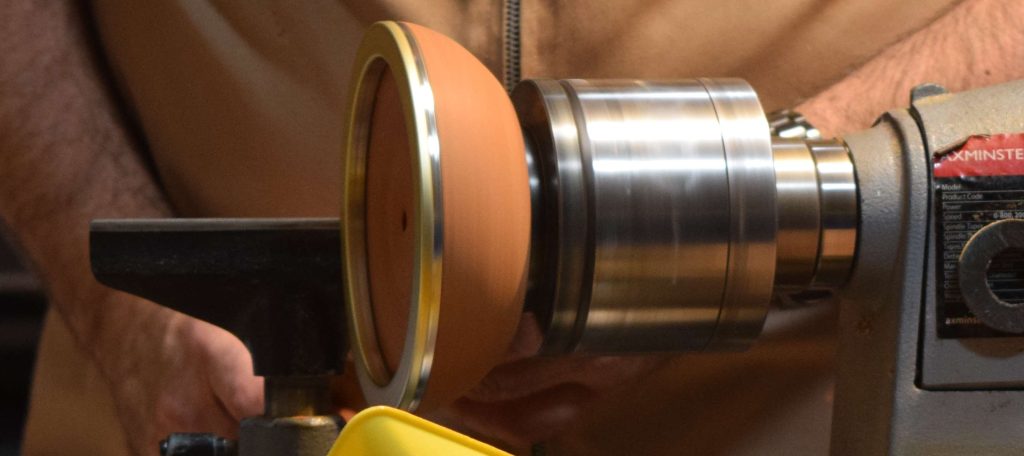
The pewter rim is now cool and is fixed to the MDF with a little glue to hold it in place. The rim and mould are mounted in the chuck. The pewter surface is levelled and the level is checked with a rule.
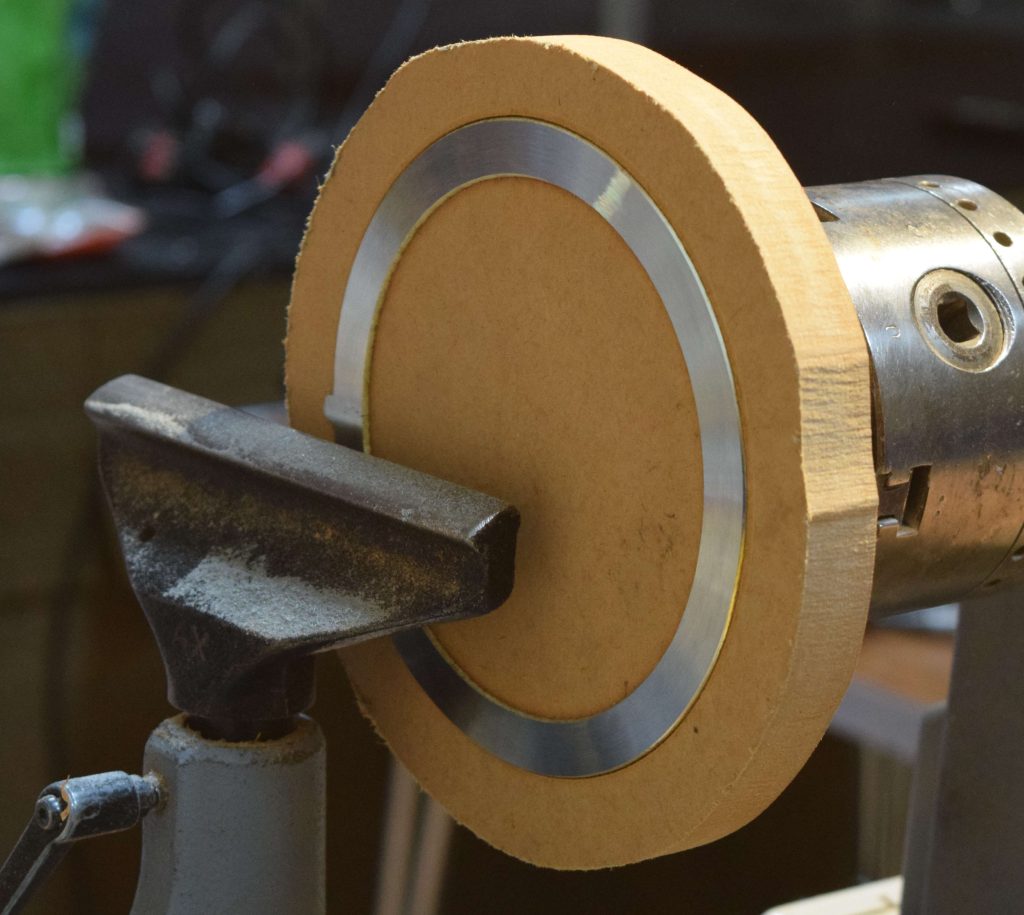
Paul made a groove in the pewter with a parting tool to match the tenon in the piece. It needs to be a little deeper than the depth of the tenon to leave space for the glue. Double check the tenon size. Try to make one side of the groove fit tightly against the tenon. Next release the rim from the mould by turning away wood on the inner part of the mould. Tease out the rim with a screwdriver if necessary. Always turn out a little bit at a time to avoid the rim spinning off the lathe. The rim is then glued to the bowl using epoxy (Paul used medium CA in the demo).
While we waited for the glue to dry, Paul created a textured circular insert cast in a circular recessed mould. Paul uses wood texturing tools and metalwork knurling tools. The “Elf” works best in a groove. Even chatter tools work well. Paul introduced us to patina dyes (used for stained glass lead) which are brushed onto freshly cut pewter to create colour changes in the pewter. The copper patina becomes brown on pewter. Rub with wire wool to remove patina colour from the surface but leaving colour in the texture.
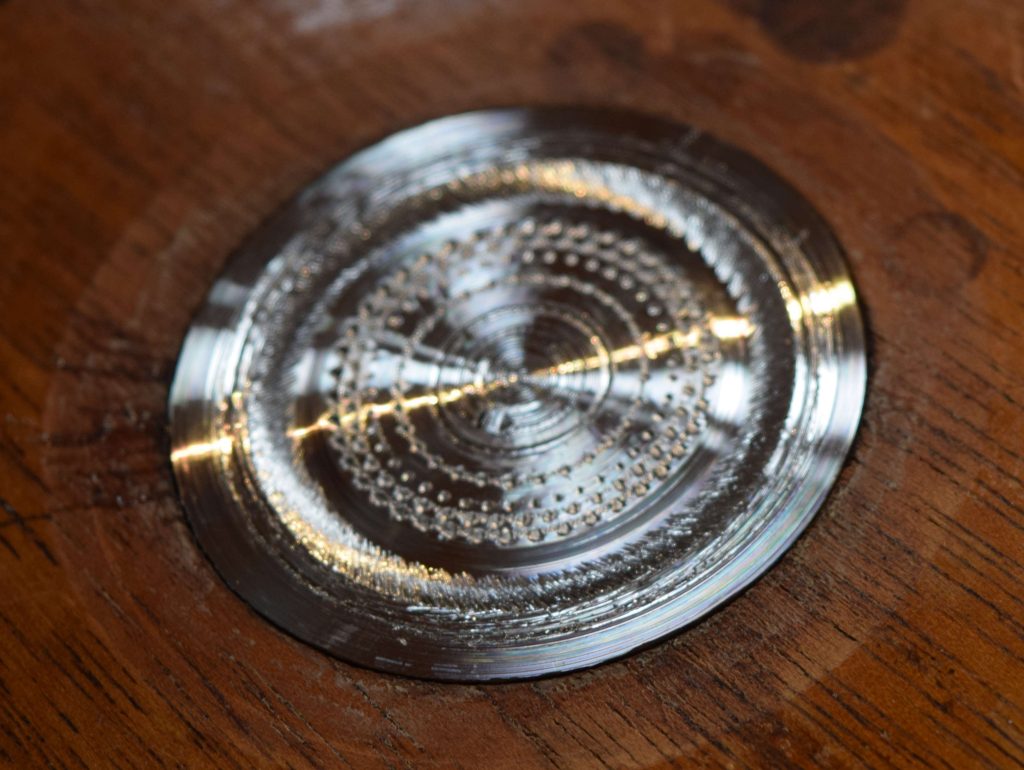
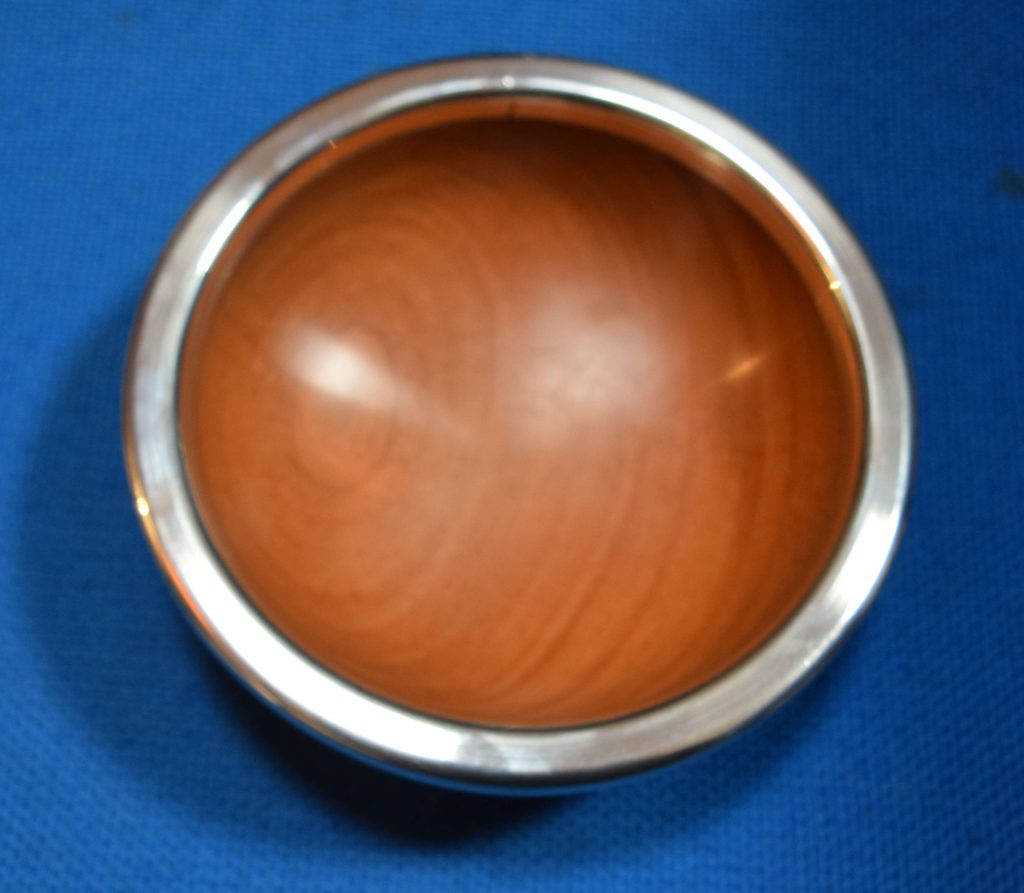
Finally, the inside of the bowl is shaped to match the thickness of the insert. Sand to 400 grit and apply sanding sealer. The pewter is polished using wire wool. Then AutoSol metal polish is applied with paper towel to bring out a shine. Microcrystalline wax can be used to preserve the shine on pewter.
Box with Pewter Inserts
A 2″x5” spindle blank is rounded between centres and a dovetailed tenon created for the base. The blank is mounted in a chuck. The blank is parted off to the desired length and a second tenon is cut for the lid. The lid of the piece is parted off.
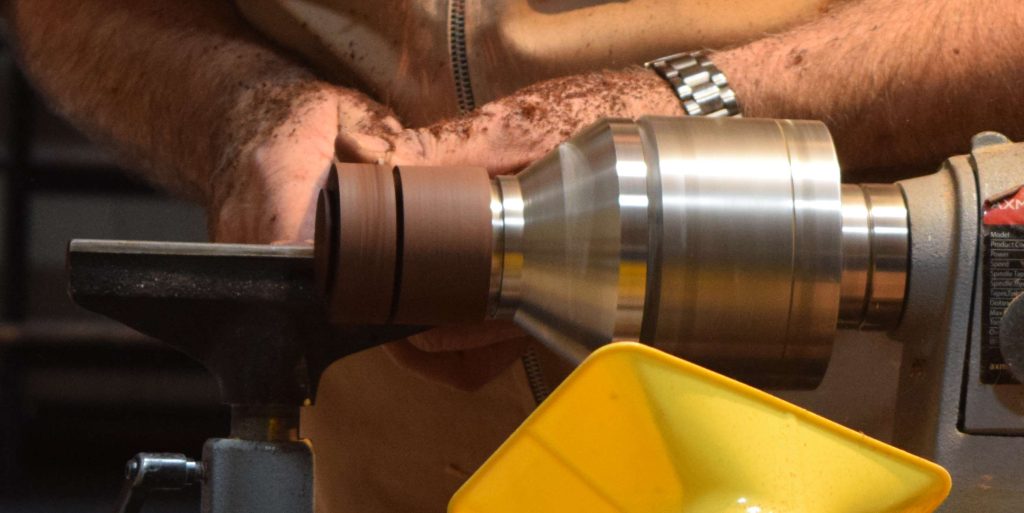
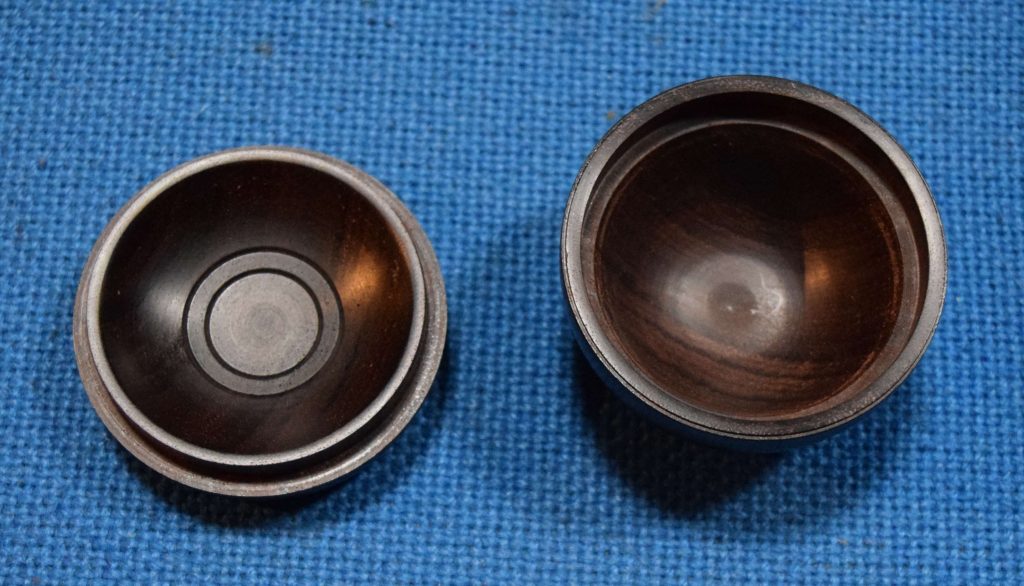
The base is left in the chuck. Level off the face of the base. Hollow out using a spindle gouge. Cut a straight inner opening for the lid tenon. Check that it is indeed straight using internal callipers or the corner of a rule.
Mount the lid in chuck jaws. Level off the face. Measure the box lid recess using callipers and them set slightly big. Cut the tenon to the calliper size. At this point the lid tenon will be too big to fit the base recess. Shave a small chamfer taper on the tenon. Test the fit. You can leave a burnishing mark to indicate the true recess size. Take off another whisker. Test again and repeat until the lid is fitting tightly. Remove any excess tenon taper. Hollow out the lid leaving quite some bottom thickness for the insert. Sand and finish with microcrystalline stick. Both the base and lid insides are now done.
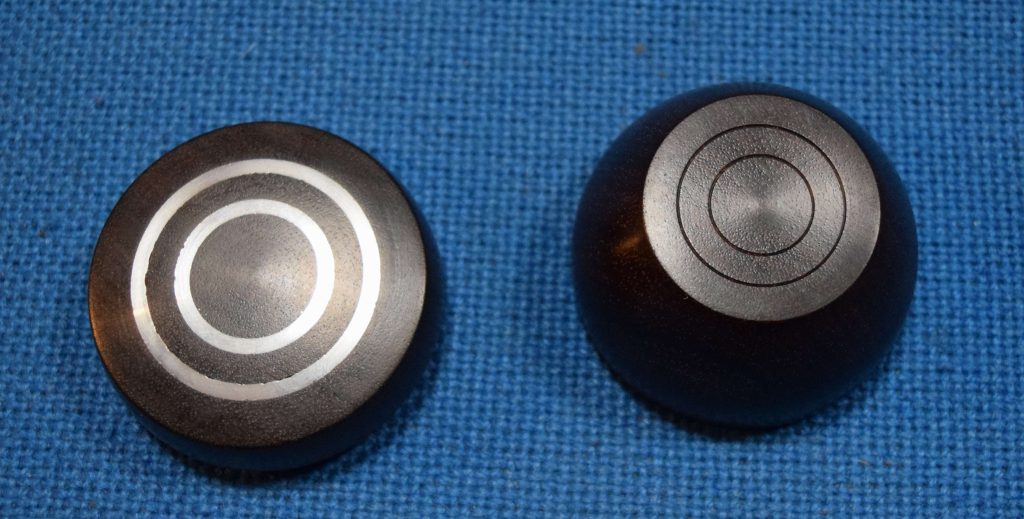
Remount the base. Fit the lid snuggly in the base ready to shape. Remove the lid tenon using a spindle gouge and shape the lid. Cut narrow grooves in the lid for the insert using a parting tool. (You can dovetail the grooves slightly as this will help secure the pewter.)
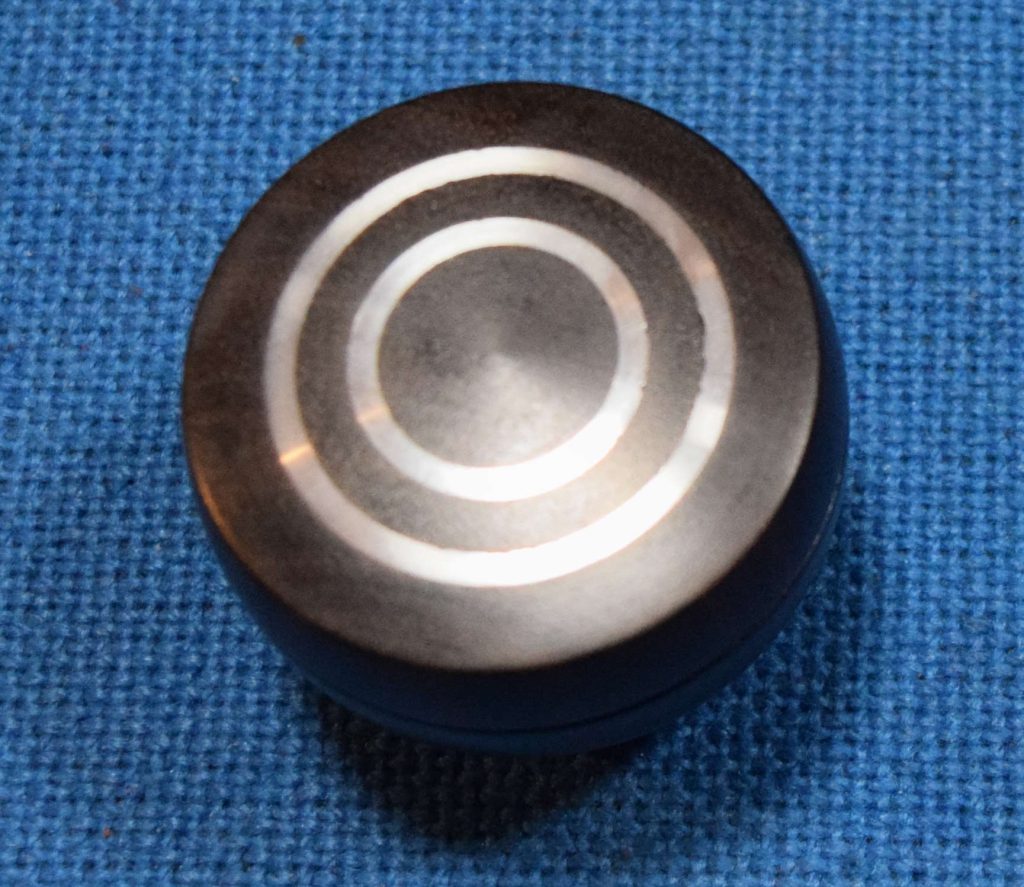
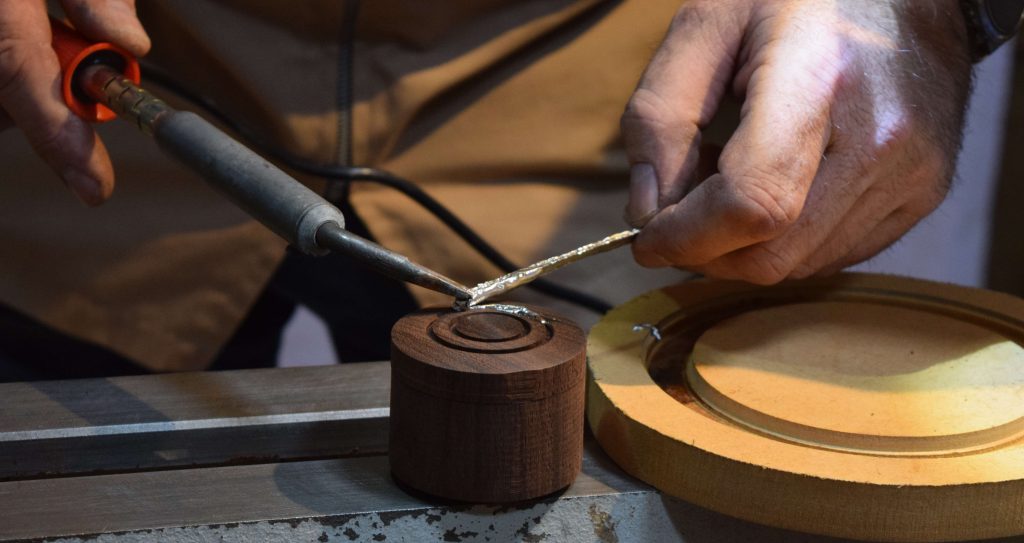
Sit the lid (and base) securely on a flat surface. For the insert, Paul used a bismuth tin alloy: 43% tin, 57% bismuth. This ratio melts at 131ºC meaning you can achieve a semi solid state which can be moved about without it flowing away. Strips of pewter are melted into the lid grooves using a high wattage soldering iron. It is better to add too much pewter than too little.
When the pewter has set and cooled the piece is remounted in the chuck. Turn off the excess alloy using a half round scraper. Sand to 400 grit. Complete the shaping of the outside of the box. Finish with a melamine lacquer followed by wax stick and polishing with wire wool.
To finish the box, add a separating cut on the outermost edge of base tenon. Then, when the base and lid warp a little over time, the created gap makes the warping less obvious. Fit the base to a jam chuck and bring up the tailstock. Refine the shape of the lower part of the base. Turn away the tenon as much as possible and reduce the base thickness. Remove the tail stock and remove the remainder of the tenon. Turn a slight concave hollow in the bottom of the base so that the box sits on the outer edge of the base. Sand. Avoid sanding the rim as it needs to match the lid. Finish with melamine lacquer. Add a little decoration to base. Cut back with wire wool. Add wax stick.
