Review: Neil Turner Demo – Sunday 16th October 2022
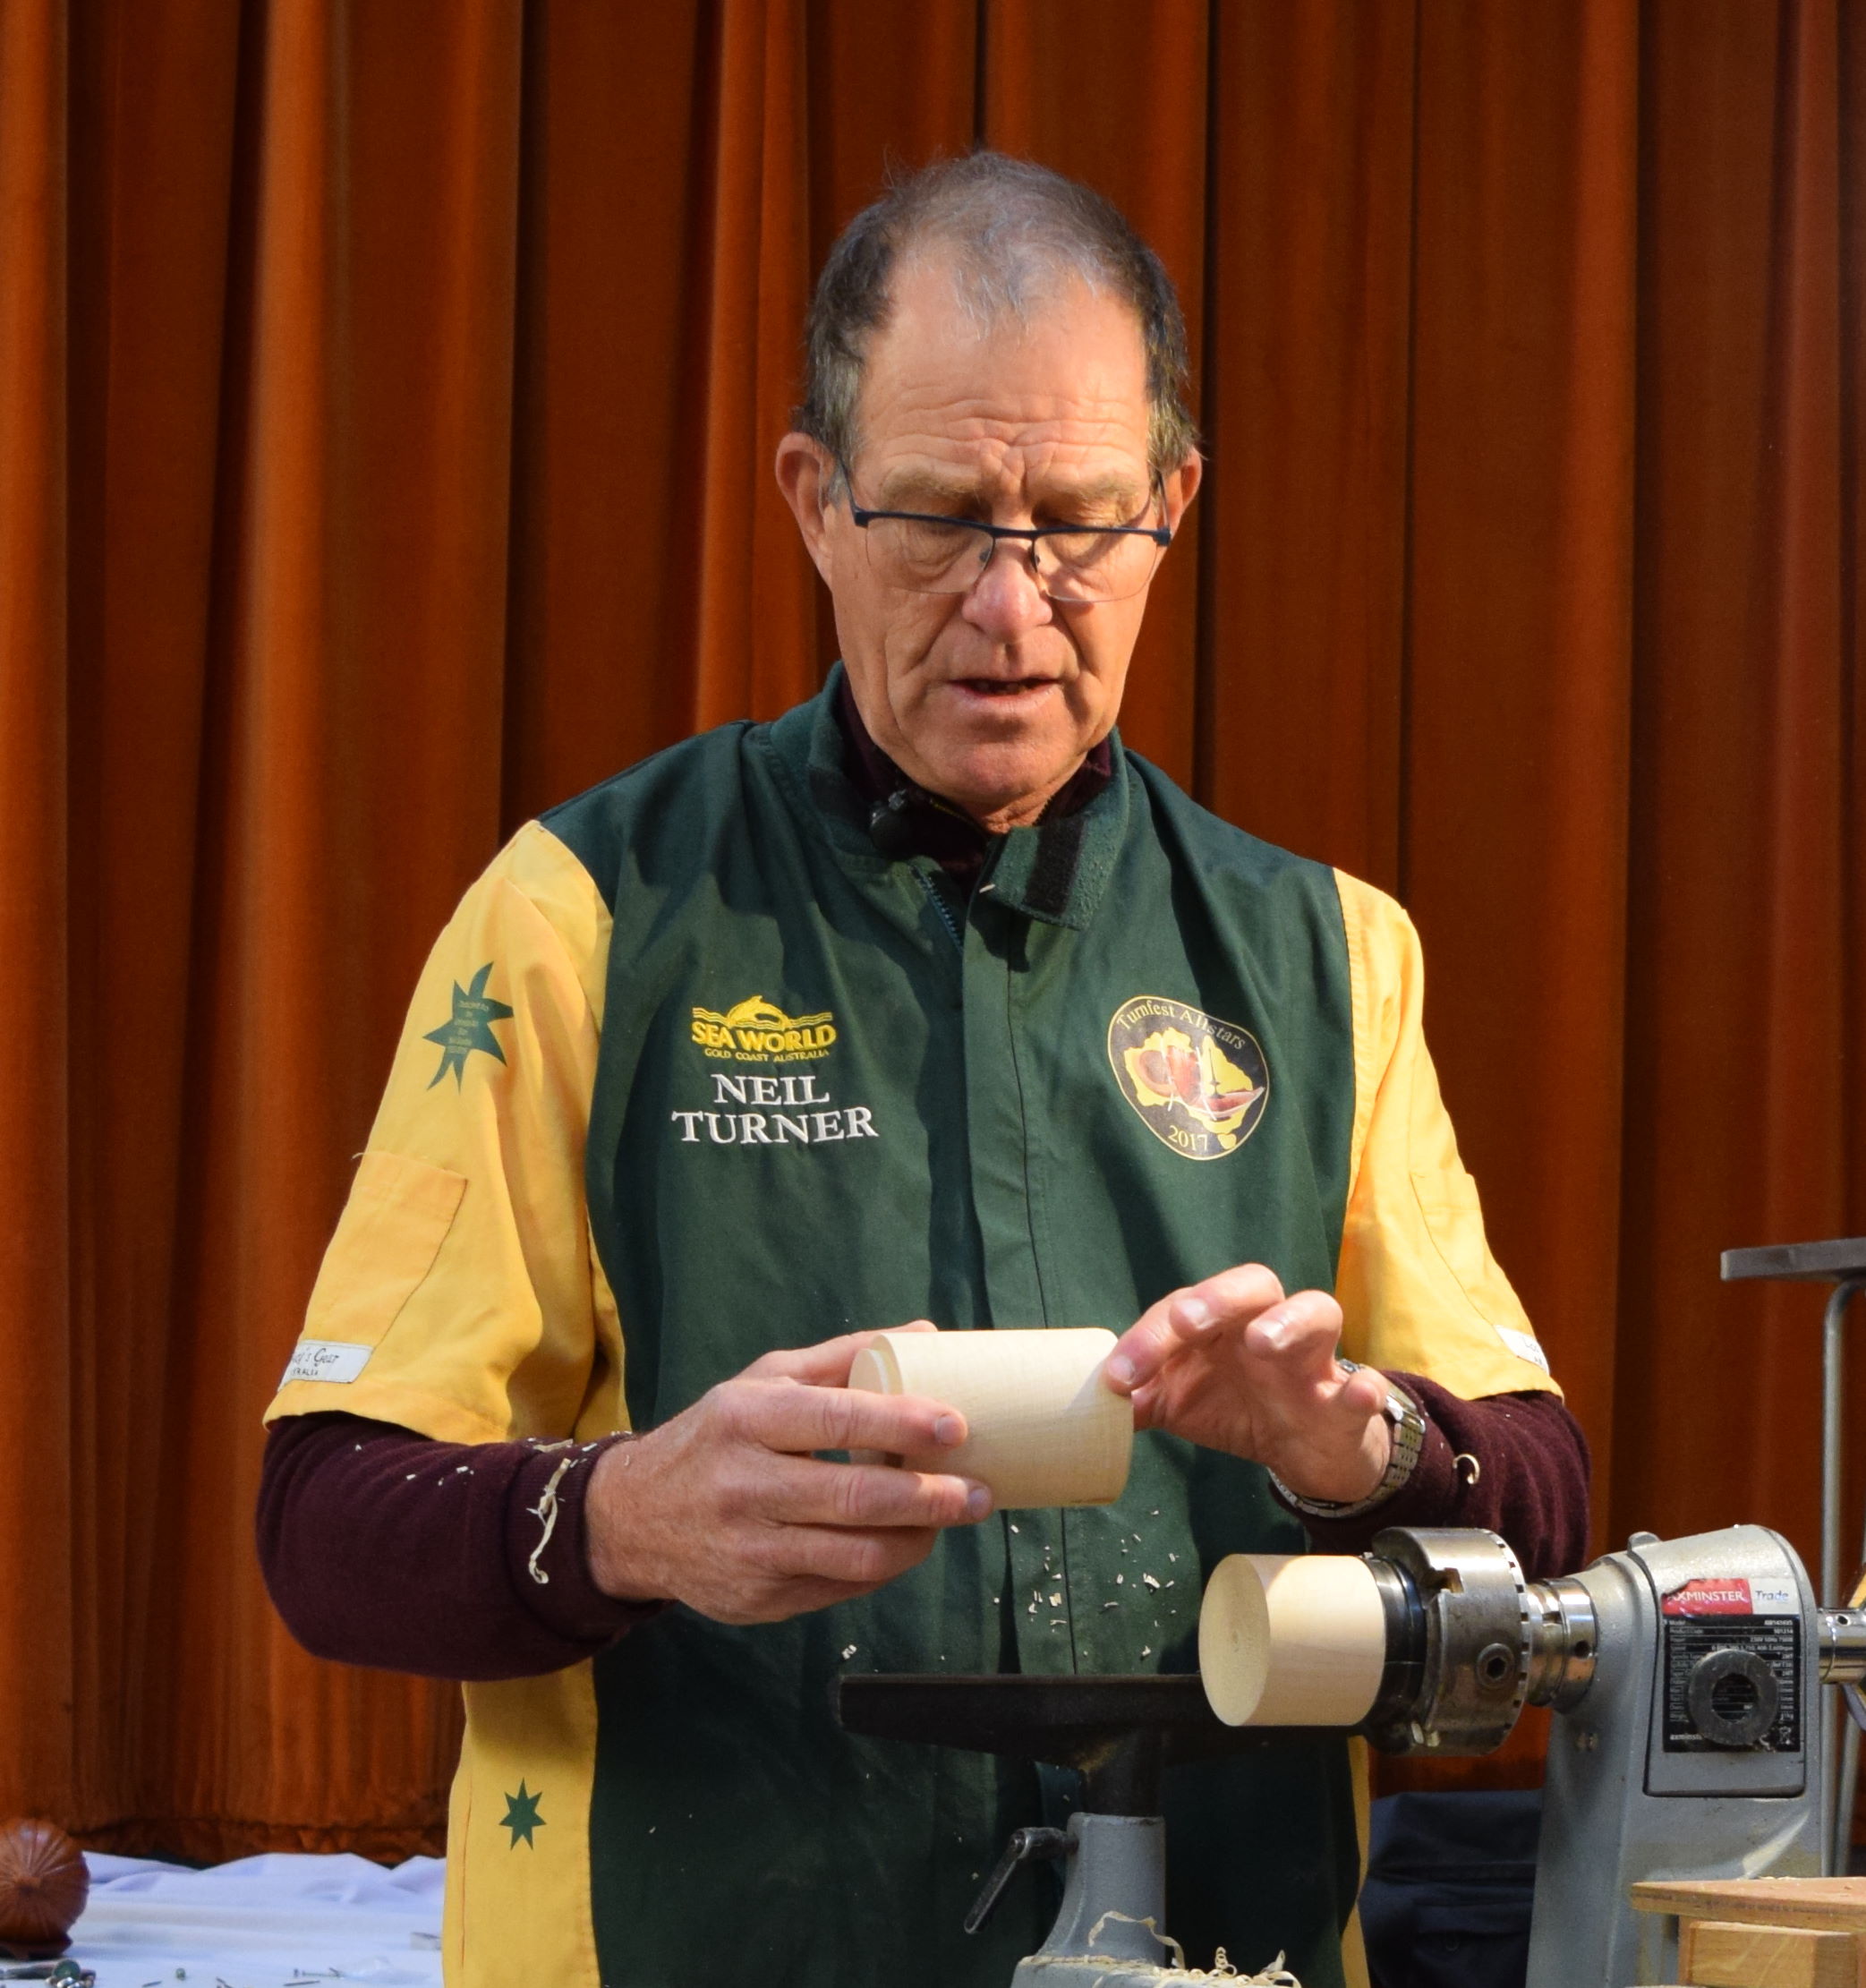
We enjoyed a full day’s demonstration by Neil Turner accompanied by Jason Breach who kindly helped out. Neil is known for fire forms and turned pieces with embellishments inspired by his native Australia. His turnings are highly embellished and therefore it would have been impossible to complete a piece in a one day demonstration. So Neil’s aim for the demo was to give some examples of his techniques and to provide some helpful information about the tools he uses.
Urchin Ring Box

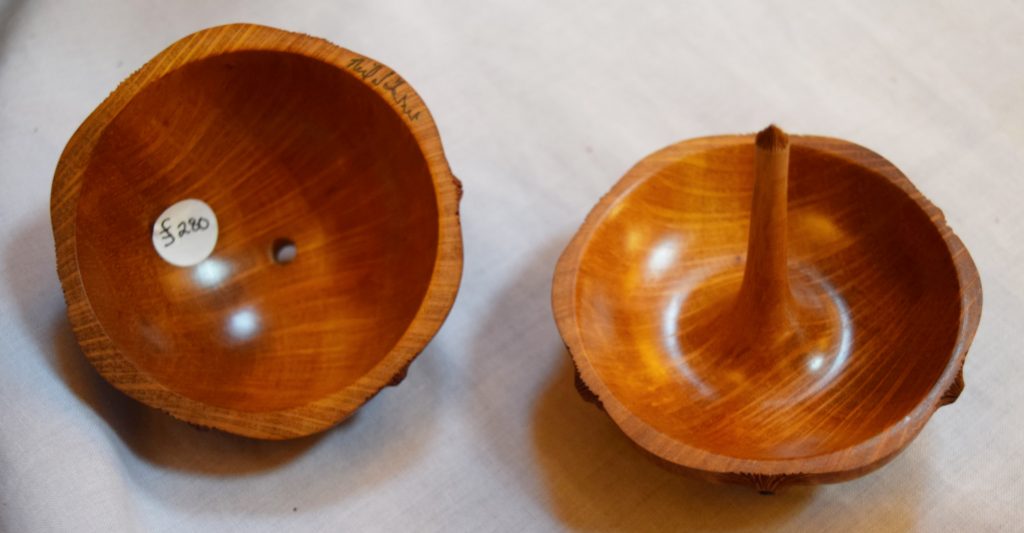
For the demonstration Neil used a sycamore blank. The blank is rounded and tenons are created at both ends. Leaving plenty of waste material on the lid end, the base piece is parted off. The outer shape of the lid is formed. Care is taken to ensure that the rim face is flat. The rim is not sanded in order to keep a crisp edge. The lid is hollowed to a 5-6mm wall thickness. Again care should be taken to obtain an even wall thickness as the wall thickness will be very visible due to the piercing.

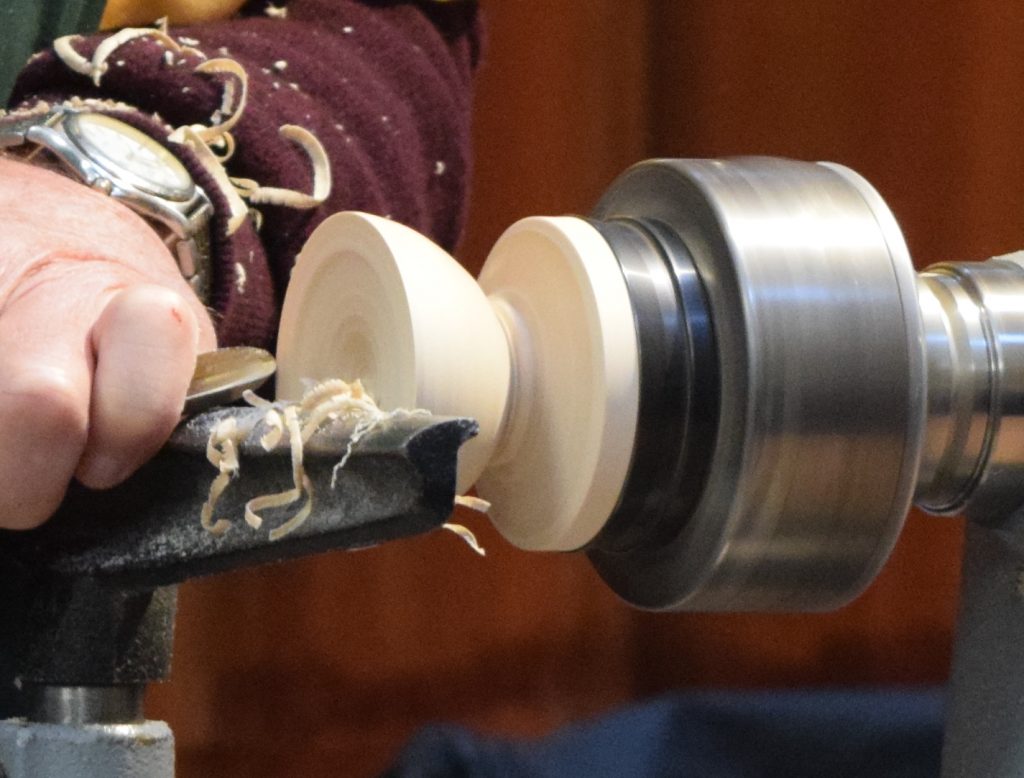
A centre point is marked using a skew and a 5mm through-hole is drilled. In a non-demo piece the inside would be sanded and finished at this point.

Next, the base piece is mounted and the central ring “finger” shape is turned. The finger will pierce through the hole made in the lid and hold the lid in position, so measure the lid size carefully and ensure that the finger is much longer than necessary. A Vernier will help with turning the tip to the required diameter. At this point the lid will not completely close. Make a burnishing mark by gently pressing the lid onto the finger. Turn away more material from the base up to the burnish mark. This process will need to be repeated a couple of times: each time the lid should get nearer to closing and pivot firmly (but not tightly) on the finger.
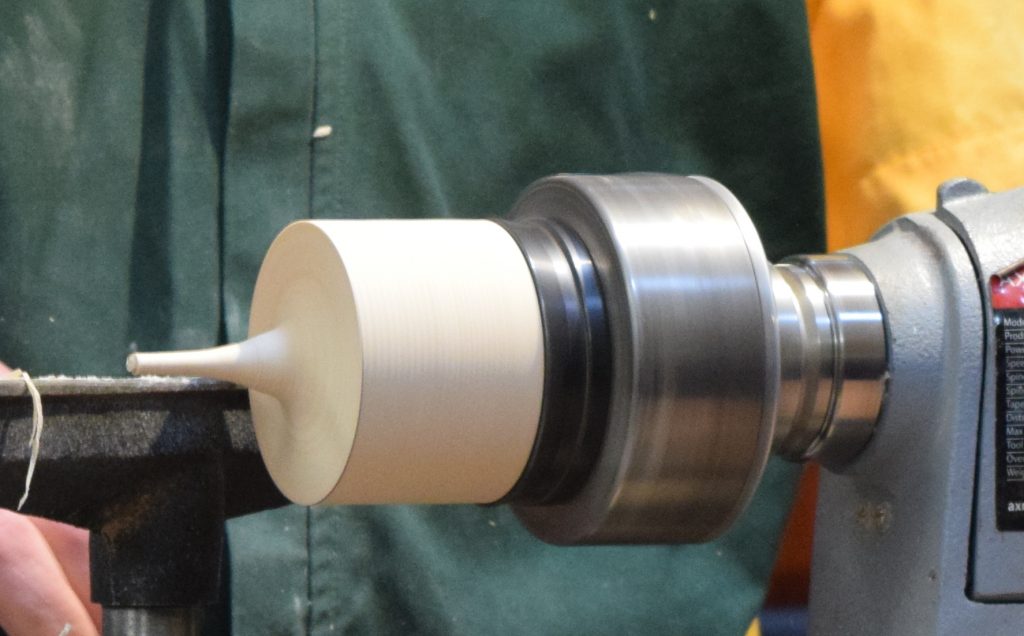

Once the lid fits, mount both lid and base pieces on the lathe and support with the tailstock. Complete the shaping of the outside of the box. Lightly sand the area where the lid meets the base. Wrap the join with blue tape to prevent the lid spinning. Gradually reduce the waste at the tailstock end. Try to separate the waste without touching the protruding finger.

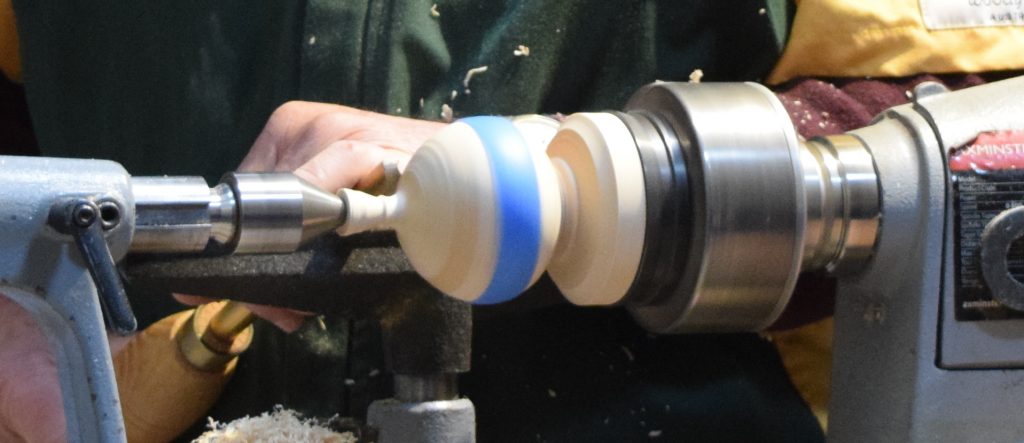
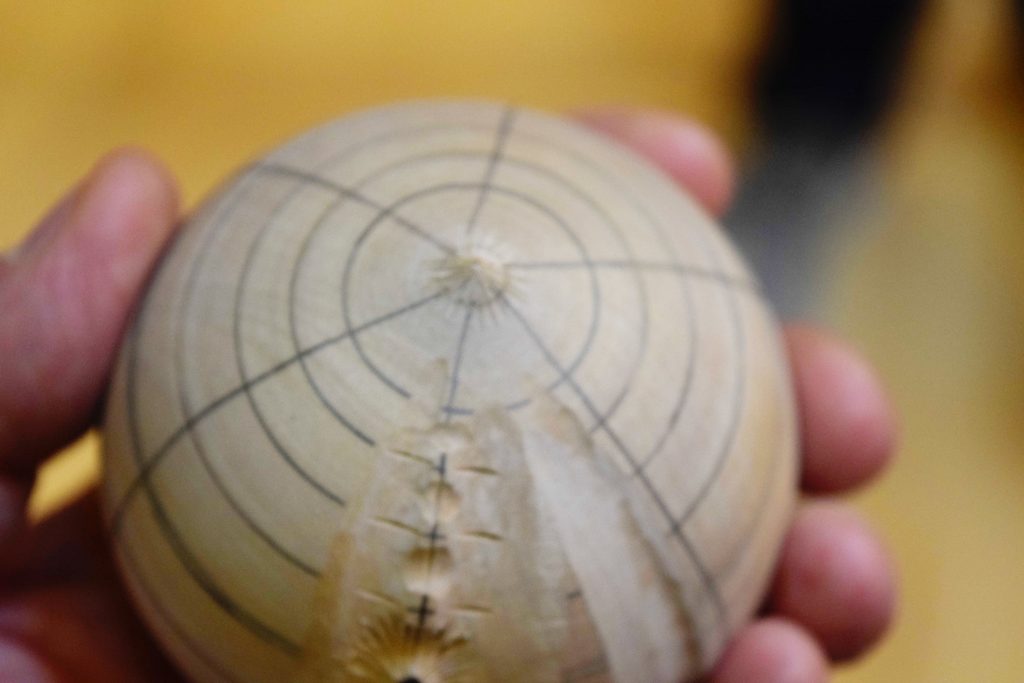
Create the final shape bringing the finger to a short point. Remove the tape. Pencil in the guide lines for carving: six longitudinal lines and any number of latitudinal lines (these should become closer together towards the top and bottom of the piece). Remove the lid. Hollow out the base replicating the wall thickness of the lid. Lightly sand but do not touch the finger. Reverse the piece into the jaws using a rubber band to protect the outside of the piece. Turn a tiny base. Extend the pencil lines where necessary. The shaping is now complete.
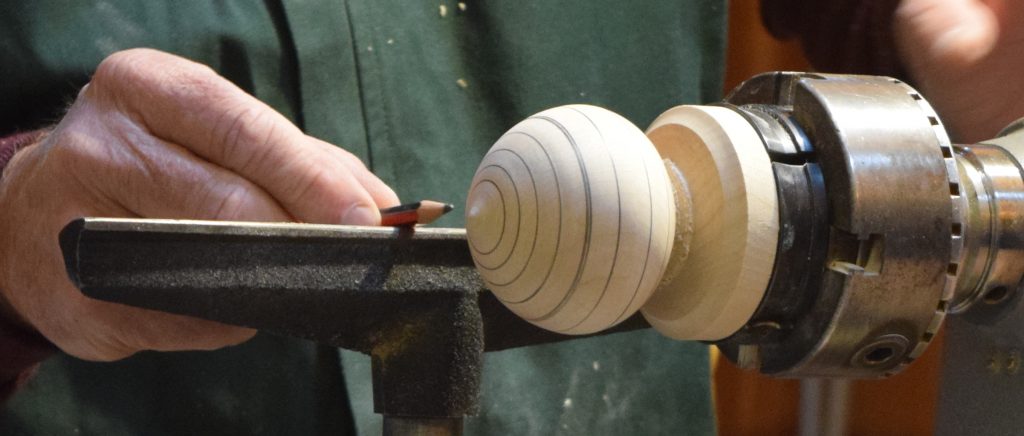
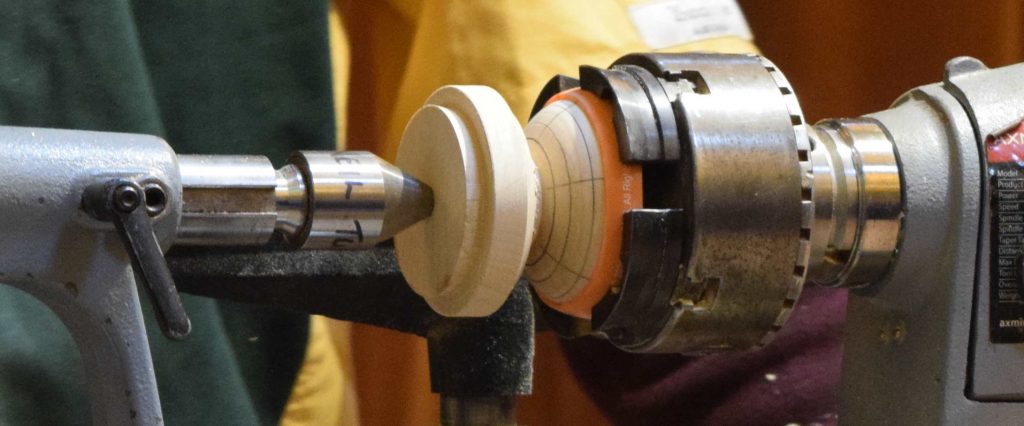

For the carving Neil used a Wecheer pendant motor and flexible hand piece. Many of Neil’s burrs are the type used by the jewellery trade. Neil removed material between the longitudinal lines using a 5-6mm bull-nosed cylindrical burr. Then further material was removed to leave pimples at the guideline intersections.

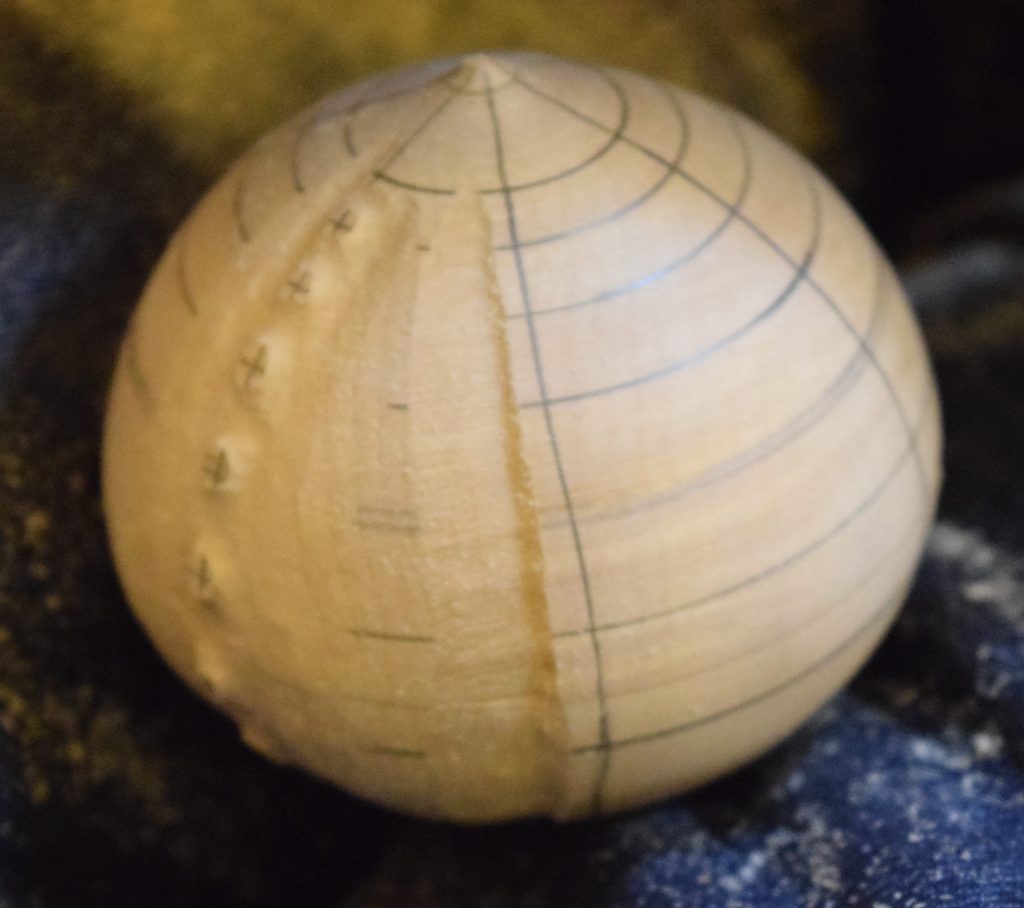
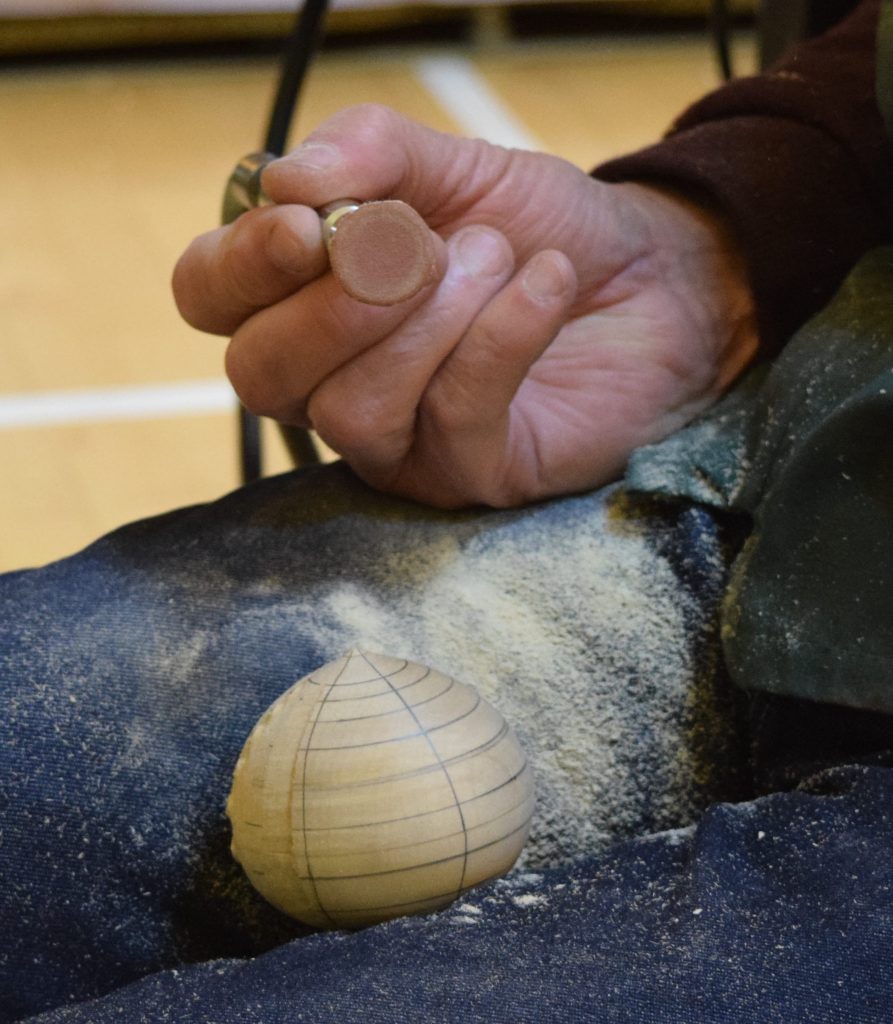
The detail was sanded using a home made sanding tool. This consisted of a rubber jewellery polisher with added Velcro. Various grits of abrasive can be attached. Neil also sanded using a split mandrel with small pieces of abrasive held on by small rubber O-rings.
The star effect around each pimple is created using a knife-edge cutter burr 4-6mm. Cut at 12-6-3-9 o’clock around each pimple. Then make multiple cuts in between in a radiating star fashion. Leave the centre 2mm of the pimple untouched. Use a jewellery cup burr to burn in the centre of each pimple.


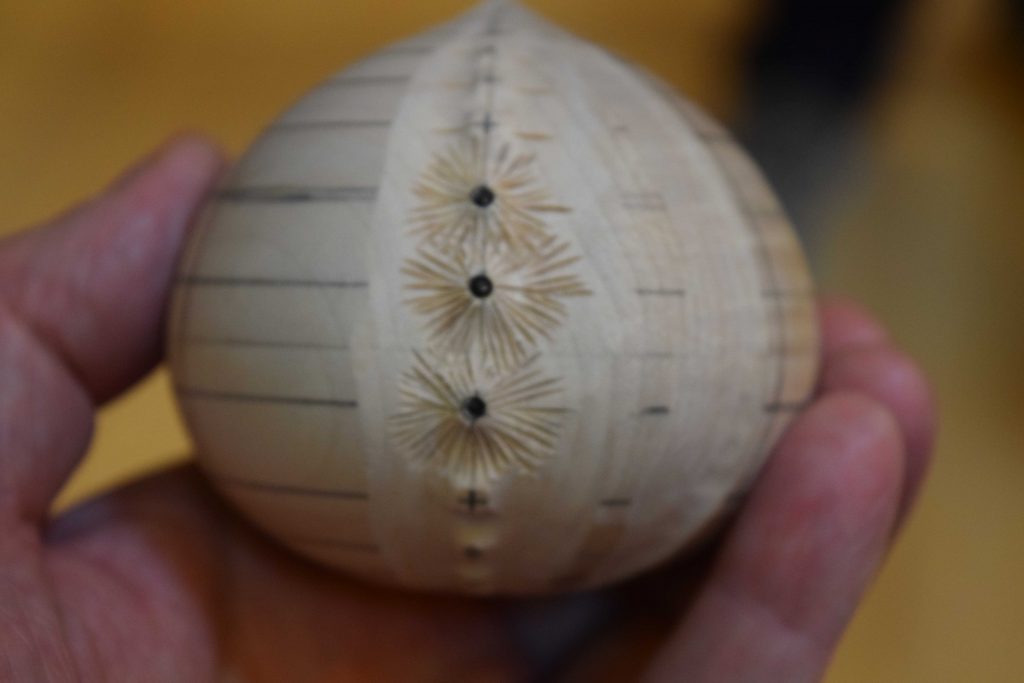
Finally, use the knife-edge cutter burr to create a radiating pattern around the centre of the base. Fit the lid and do the same to the top centre including the protruding finger.
Coral embellishment
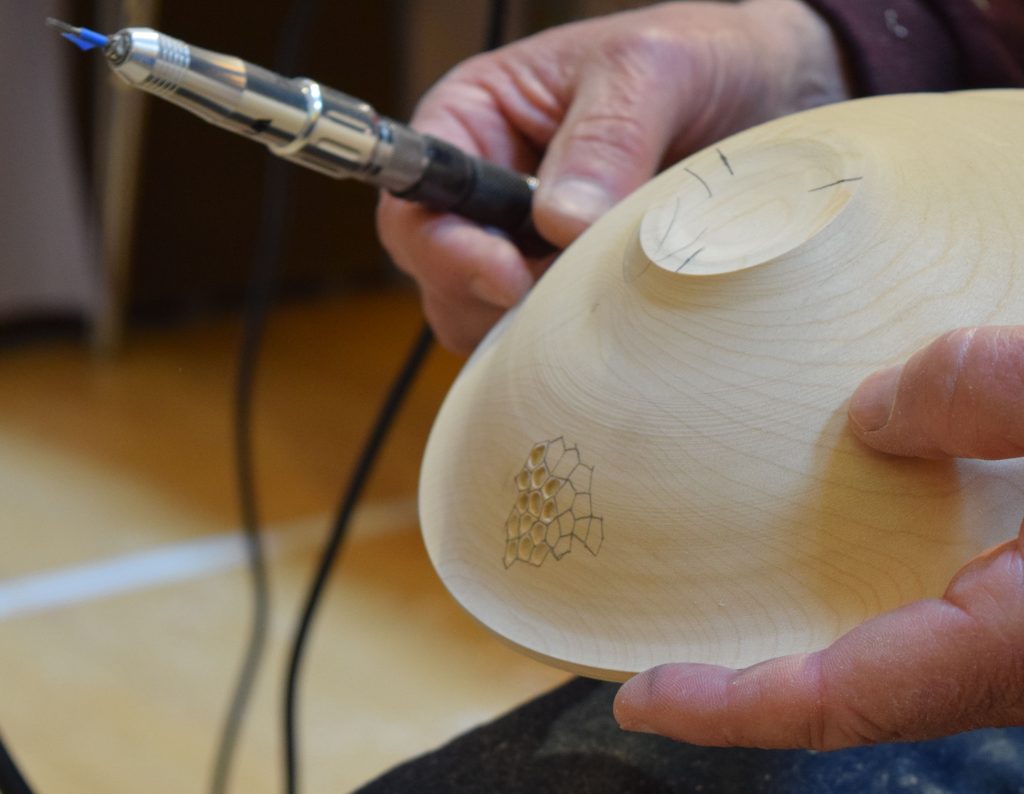
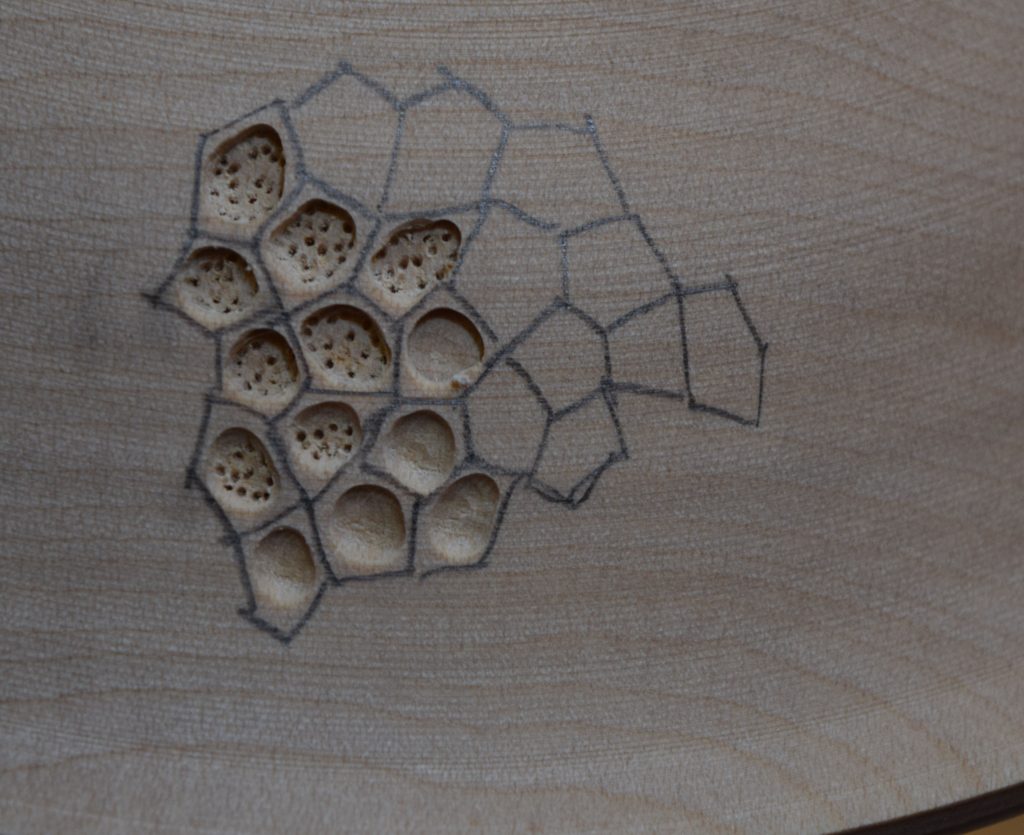
For the coral embellishment, Neil turned an ogee shaped bowl. A pentagon lattice is marked with pencil. A ball burr is used to cut the inside of the pentagon cells. A square-ended cylindrical cutter is used to fine finish the cell edges. Then a 0.5mm burr is used to create the internal dotting: about 20 dots to a cell. To complete the piece the embellishment needs to be extended over both the exterior and interior surfaces. The aim is to reduce the wall thickness so that light can shine through the overlapping cells on either side. A key tip is to extend the pattern to the edge of the bowl so that the pattern can be continued over onto the other side.
Fire form
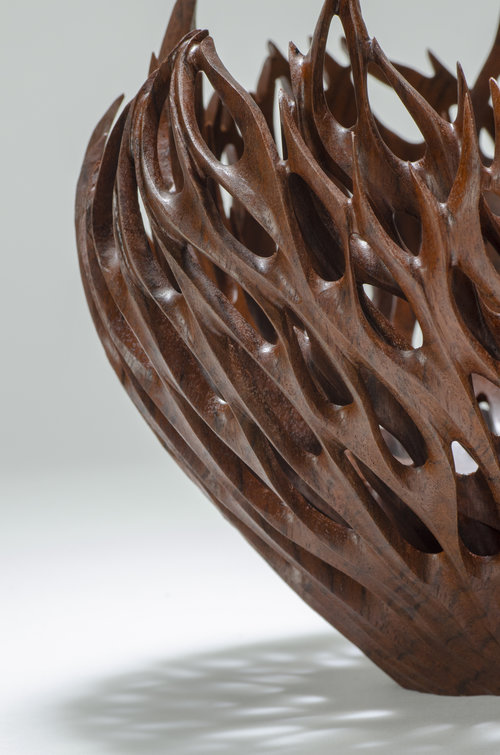
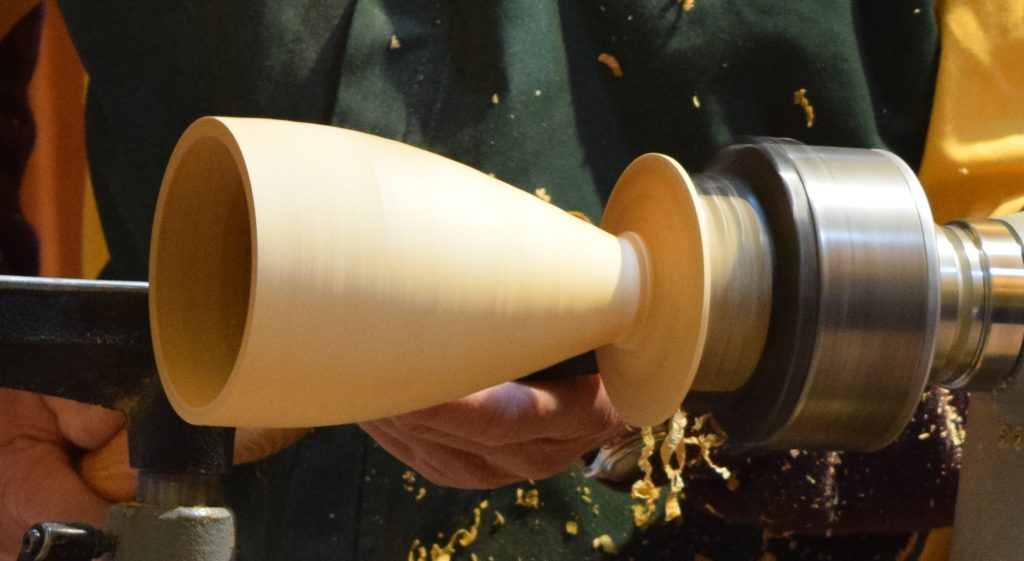
For the fire form demo, Neil turned a deep cup with a slender base.
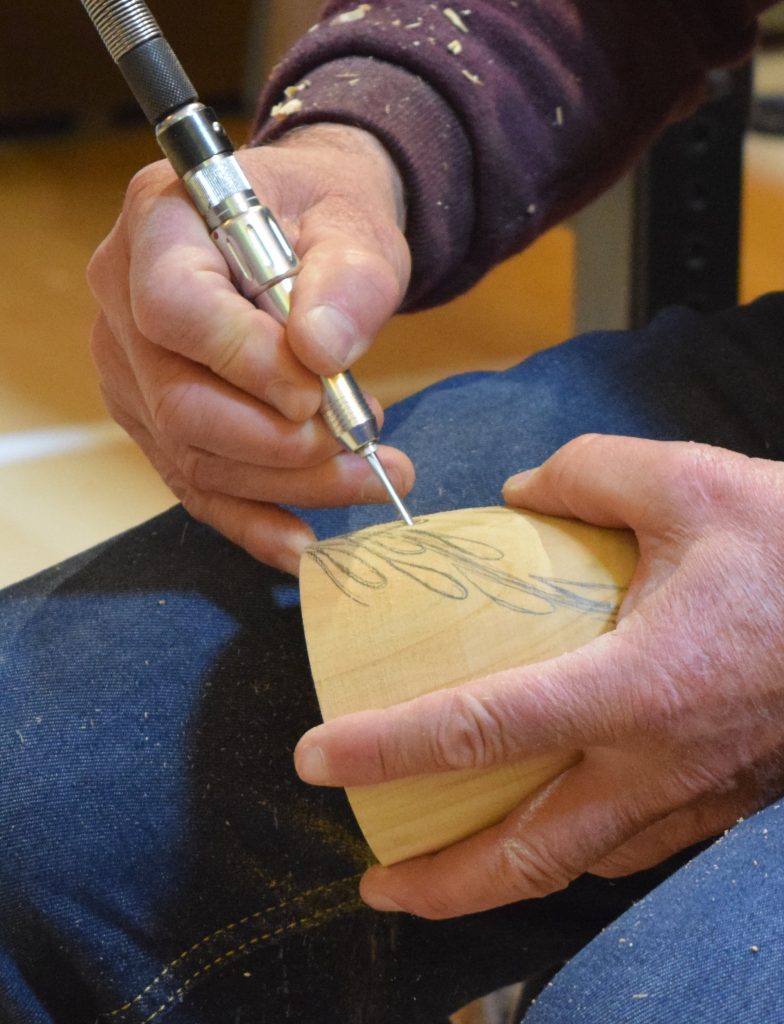
The piercing is performed with a Dremel spiral cutter.


A cross-cut burr is used to cut the edges around the hole.
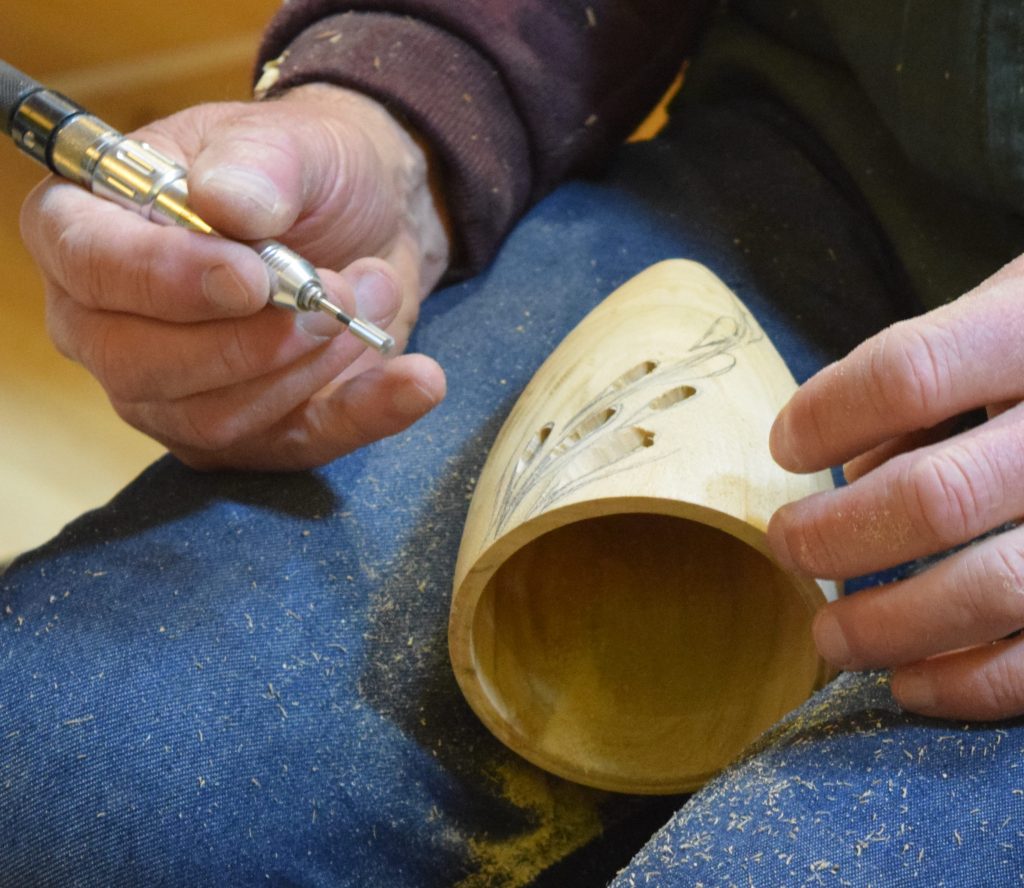

A hand held rifler is used to get into corners. Sanding is performed using the home made sanding tool. The flame points around the edge are left until last as they are easily damaged.


The foot of the piece, which is thicker than the rest of the piece, is carved rather than pierced, and the embellishment is gradually blended from carving into piercing. Finish the piece with a satin lacquer.
